The premise of this article’s headline is nonsense, sure, but it isn’t clickbait—I promise.
You’re almost certainly here because you searched for “best productivity apps.” I understand that impulse. You want to get more done in less time, which is about as universal a feeling as humans can have at work. The problem: productivity is deeply personal, and the words “productivity tools” mean a lot of different things to different people. What works for you may or may not work for me, which is why—after over a decade of writing about productivity software—I don’t really believe there are objectively “best” productivity apps.
5 things you should automate today
I do, however, think there are categories of tools that can help you become a better version of yourself. Some of them work better for more people than others, and not everyone needs an app from every category. Knowing what kinds of apps exist, and what you should look for in an app, is more important than knowing what the “best” app in that category is.
Having said that, you’re here for software recommendations, not my personal reflections on the nature of productivity. So I’m going to go over the main kinds of productivity apps I think most humans who use electronic devices at work should know about. I’ll explain why I think each category is important, point to an app or two that I think will work well for most people, then offer links to other options if you want to learn more.
Just remember: the specific app doesn’t matter. The best productivity app is the one that works best for you. The most important thing is having a system. Sound good? Let’s jump in.
- To-do lists
- Calendars
- Notes
- Distraction blockers
- Habit trackers
- Read-it-later apps
- Screen recording tools
- Other categories
How we evaluate and test apps
All of our best apps roundups are written by humans who’ve spent much of their careers using, testing, and writing about software. We spend dozens of hours researching and testing apps, using each app as it’s intended to be used and evaluating it against the criteria we set for the category. We’re never paid for placement in our articles from any app or for links to any site—we value the trust readers put in us to offer authentic evaluations of the categories and apps we review. For more details on our process, read the full rundown of how we select apps to feature on the Zapier blog.
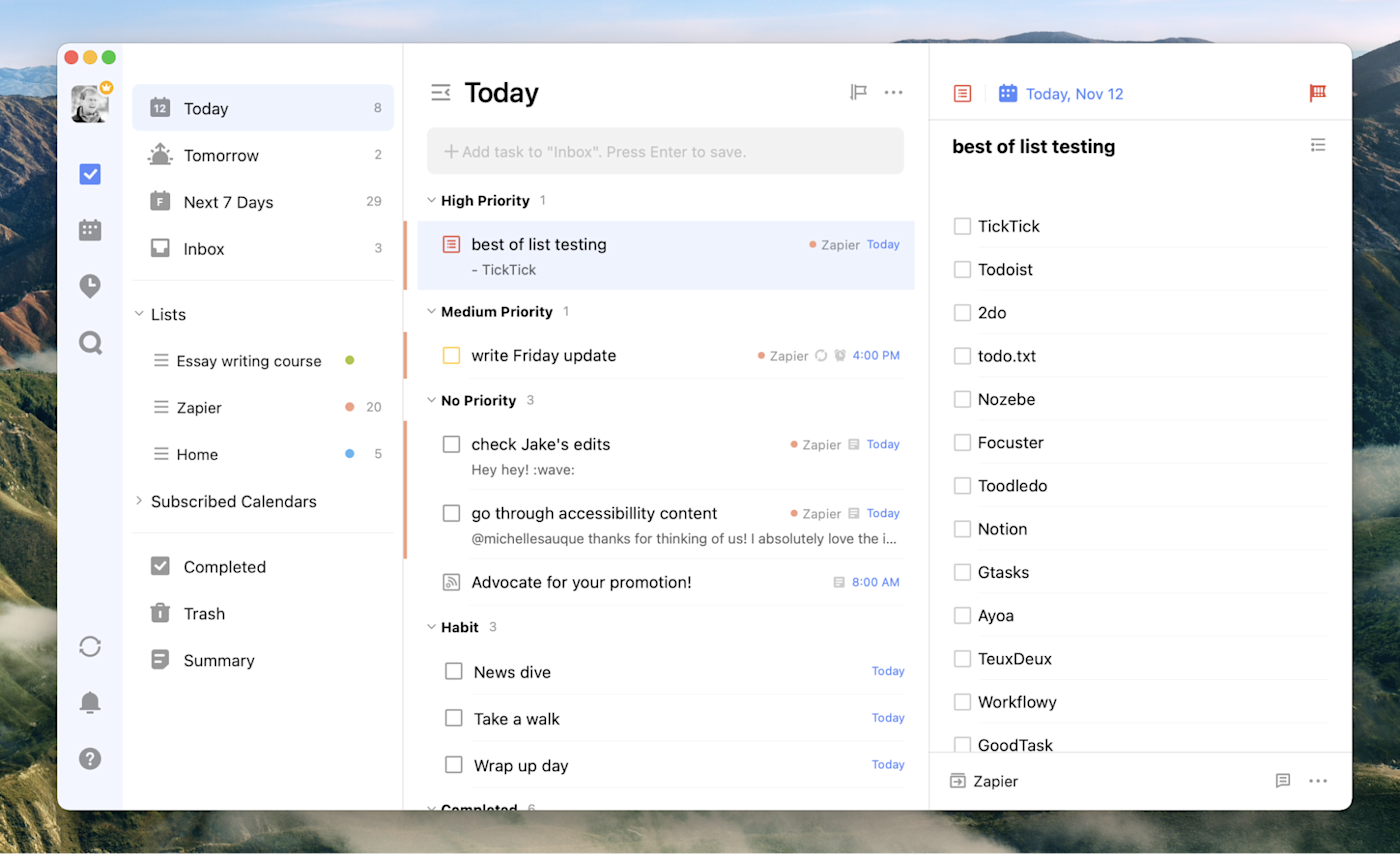
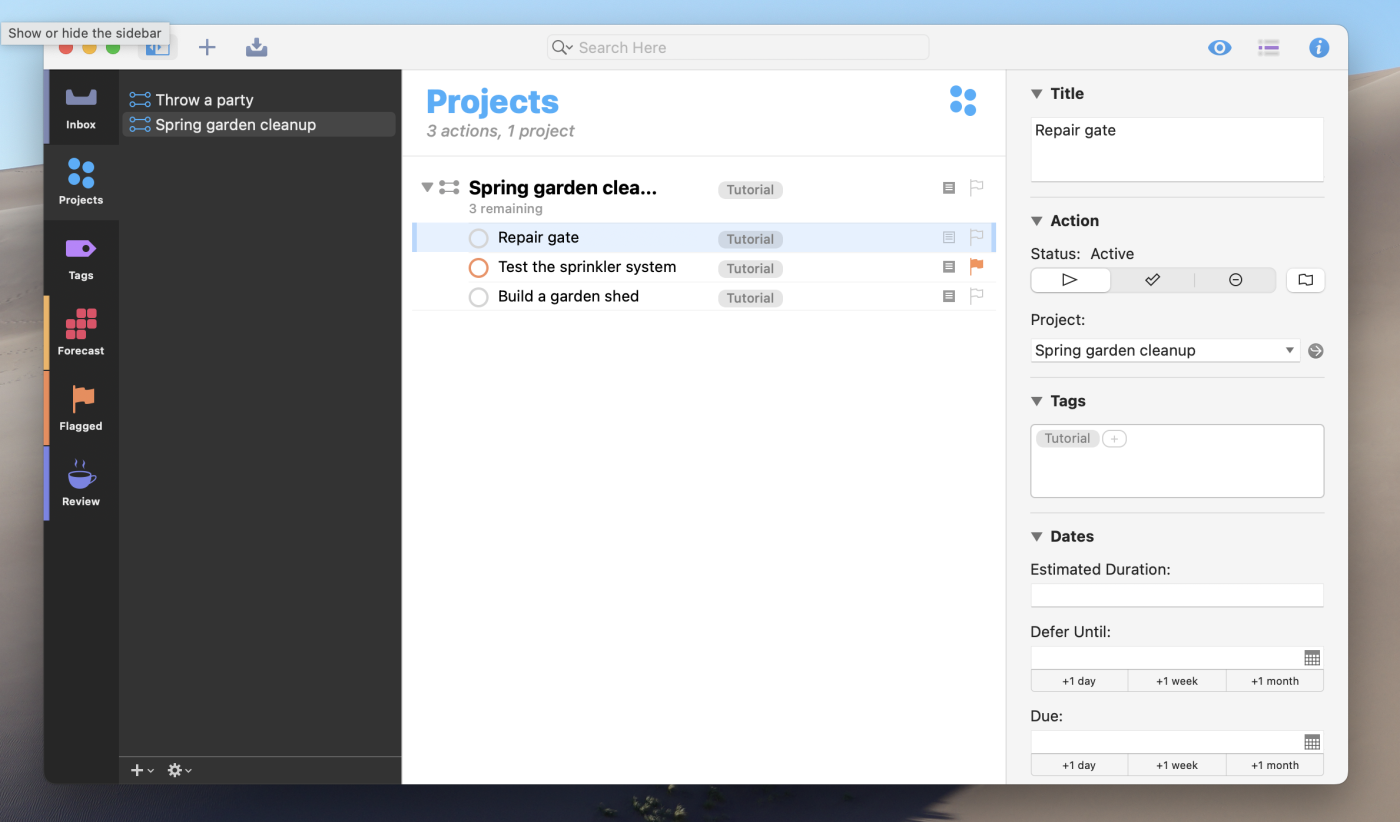
A to-do list like Todoist
We all have things we need to do—at work and in the rest of our lives. The worst place you could store those things, in my opinion, is in your mind. It’s just stressful: you’ll remember, at random moments, that there’s something you were supposed to be doing, and that memory will result in panic. Writing down everything you need to do allows you to make a plan, and (crucially) means you don’t have to panic.
Not everyone benefits from a dedicated to-do list app—some of the most productive people I know prefer sticky notes, email inboxes, or even spreadsheets. I think that’s great, so long as you have some place to record the things you need to do.
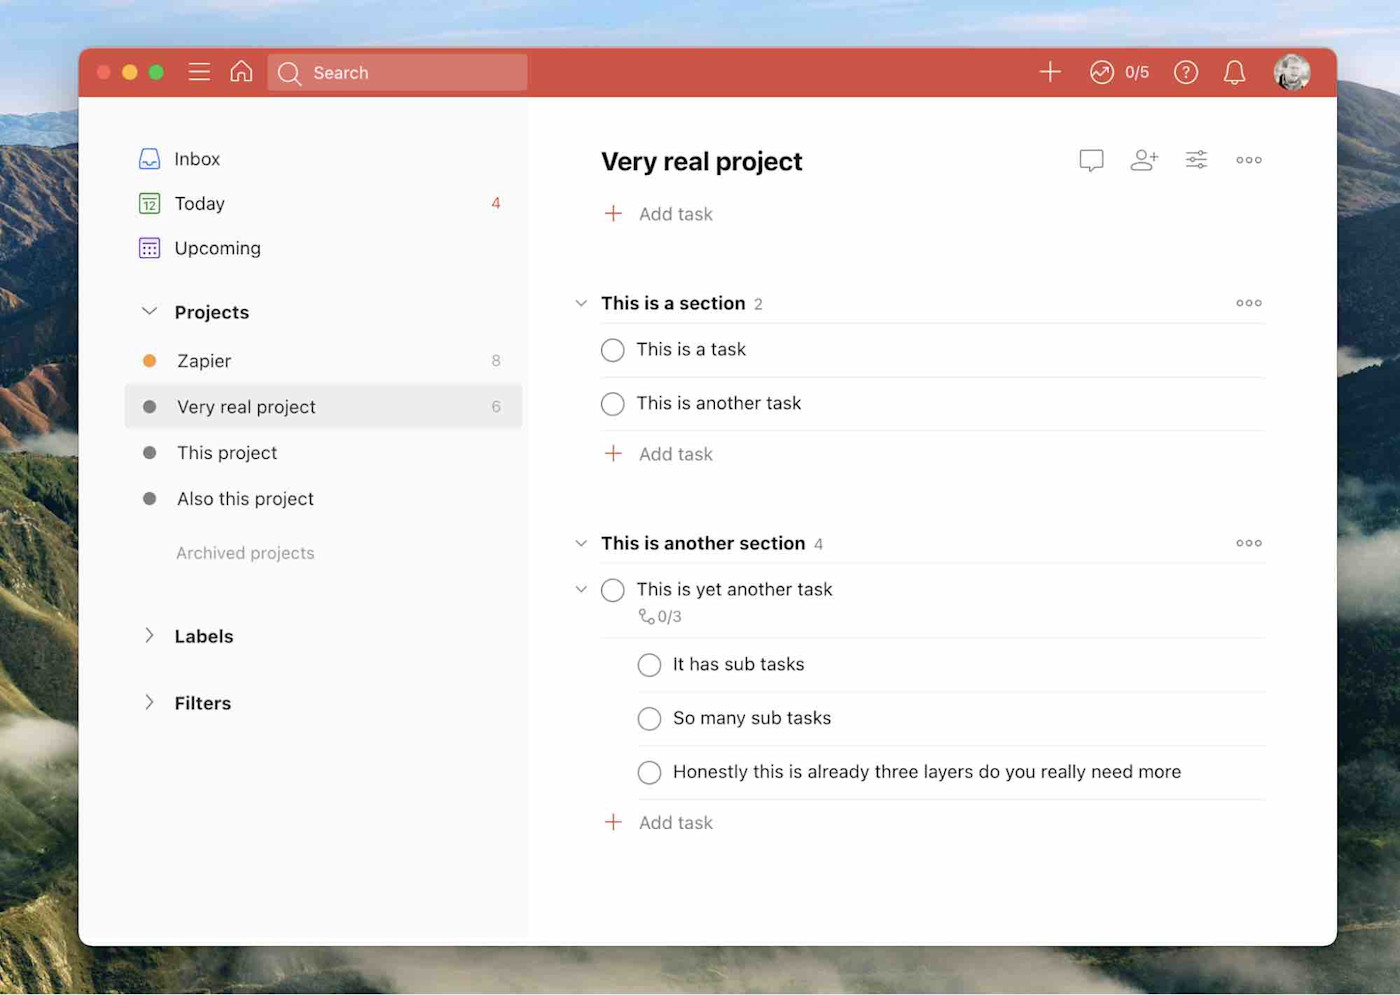
I think that Todoist, shown above, is a great to-do list app for most people. It’s easy to use but also offers a lot of features. It can also be installed on basically any device you can imagine, meaning your to-do list is always available. It allows you to assign due dates to tasks, sort tasks by project, or even view a project using a Kanban board. You don’t have to worry about those features if you don’t want to, though, which is why I think it’s a great starting point for someone who needs a to-do list.
If Todoist doesn’t work for you, though, check out our list of the best to-do list apps—it’s got a wide variety of recommendations. I, personally, use TickTick because I like how easy it is to add tasks, and I also can’t stop saying good things about Things for sheer simplicity on Apple devices. Find a tool you like—and that you remember to actually open. There’s nothing less useful than an app full of tasks you never look at.
Once you’ve picked your to-do list app, make the most of it with automation, so you can easily add tasks that come in by email, team chat apps, project management tools, or notes. Read more about automating your to-do list.
A calendar like Google Calendar
There are only so many hours in the day, unfortunately, which means you have to budget them. A calendar is how you do that. You could use a paper wall calendar, sure, but a calendar app lets you invite other people to an event. Also, in a world where so many meetings are virtual, calendar apps give you a useful place to store the link to your Zoom call.
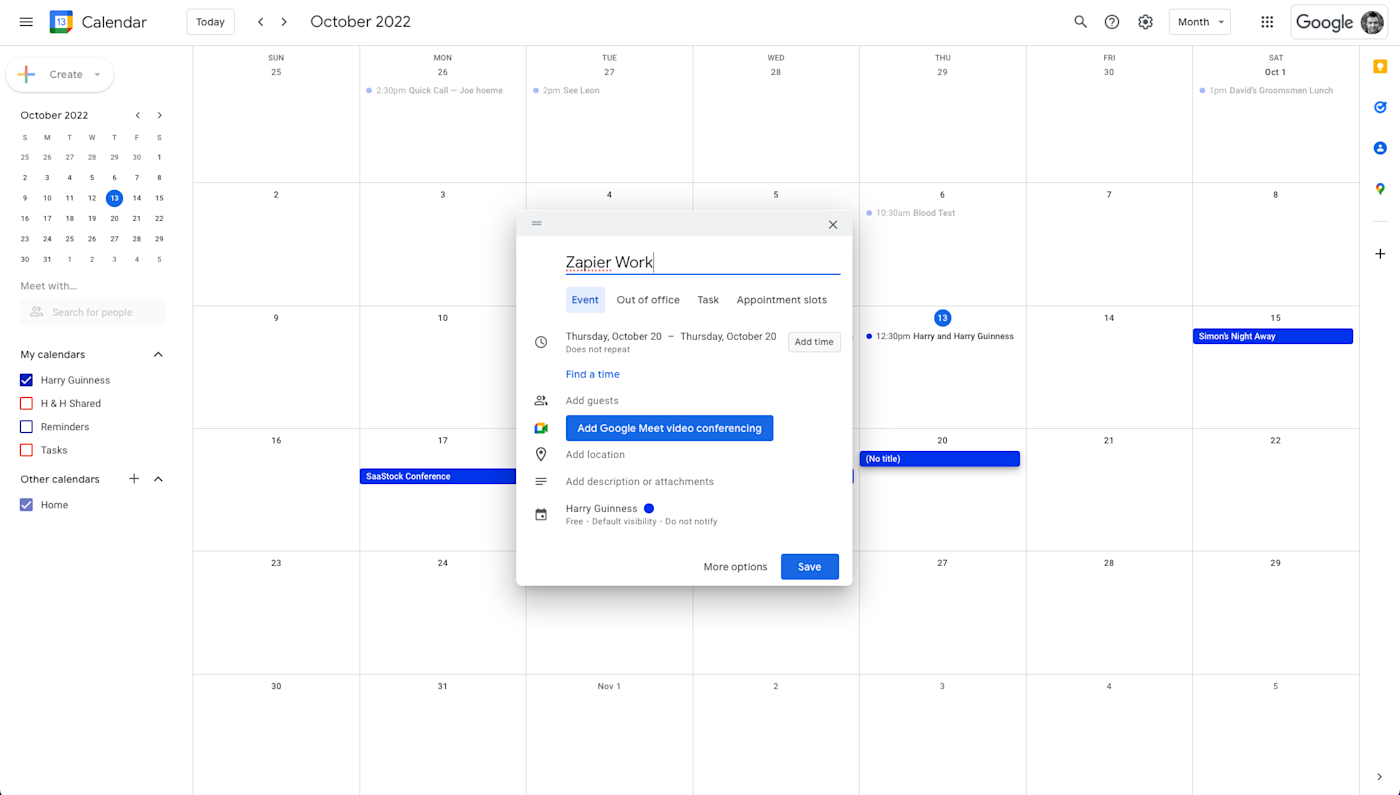
I think that Google Calendar, shown above, is the right calendar app for most people—particularly people who already use Gmail. Google Calendar is easy to load on any device, lets you see your calendar in several different views, and makes it easy to invite anyone else to any event or meeting you happen to plan. I could write multiple articles on Google Calendar features (and I have). This app does everything any other app can do, and more, all while being pretty easy to use.
If Google Calendar doesn’t work for you, though, check out our list of the best calendar apps for more options. Microsoft Outlook is a solid alternative, as is the Calendar app that comes with all Apple devices.
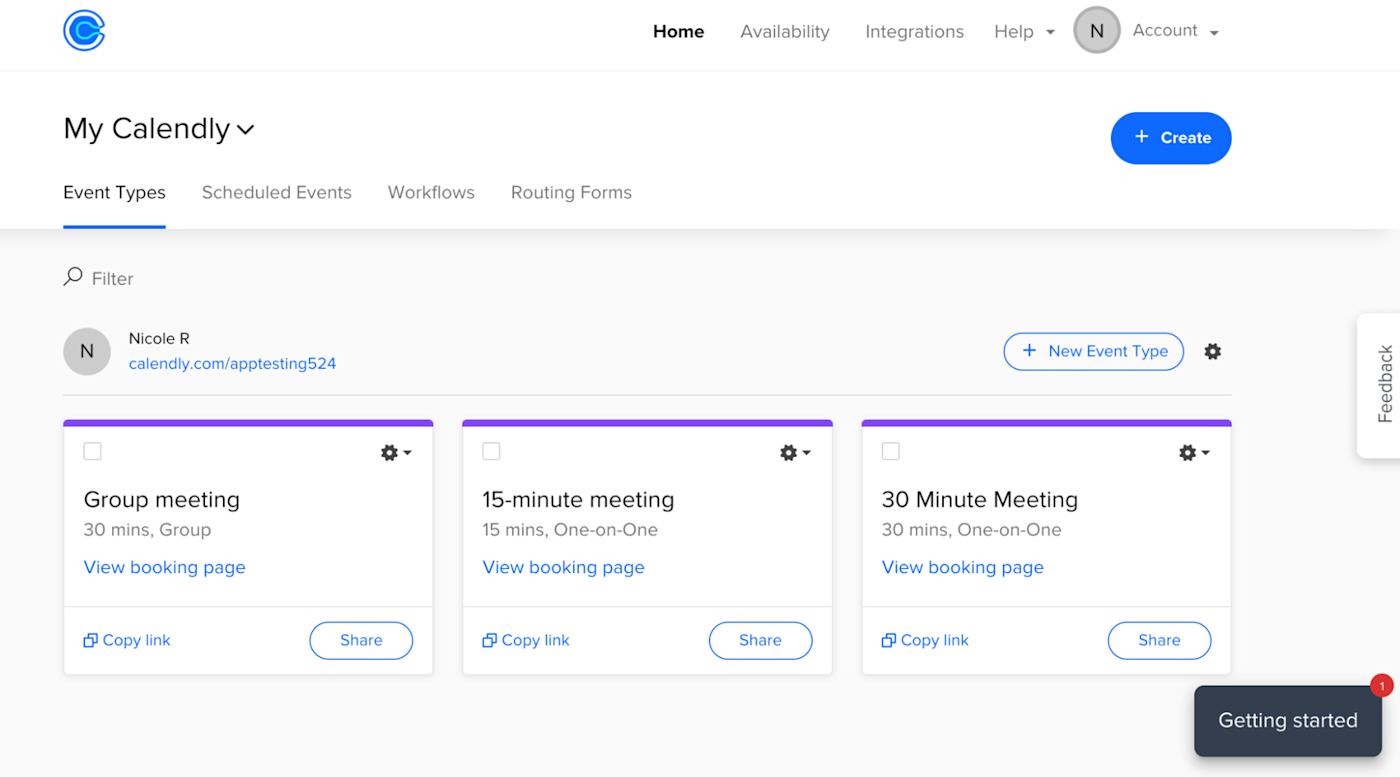
I’d also consider looking into some kind of meeting scheduling app. These apps let anyone sign up for appointments with you, which is particularly useful if you have a meeting-heavy calendar. Calendly, shown below, is a solid option, with a lot of customizability and the ability to sync with Google Calendar. You can check out our list of the best meeting schedulers for a more complete rundown of Calendly and other options.
Once you choose a calendar app, take it to the next level. With automation, you can do things like automatically turn calendar events into tasks on your to-do list or use forms to create calendar events. Here’s how you can bring context to your calendar by connecting other apps.
A note-taking app like OneNote
I’m constantly taking notes: before and during meetings; while researching an article; while brewing beer. And I think most people have some class of information they’ll need to reference later that doesn’t quite meet the threshold of a “document.” Who wants a sprawling series of folders with all of that information?
This, to me, is what note-taking apps are for: quickly writing things down so you can read them later and (hopefully) follow up. They also work well as a personal journal, or a place to store files related to a particular project.
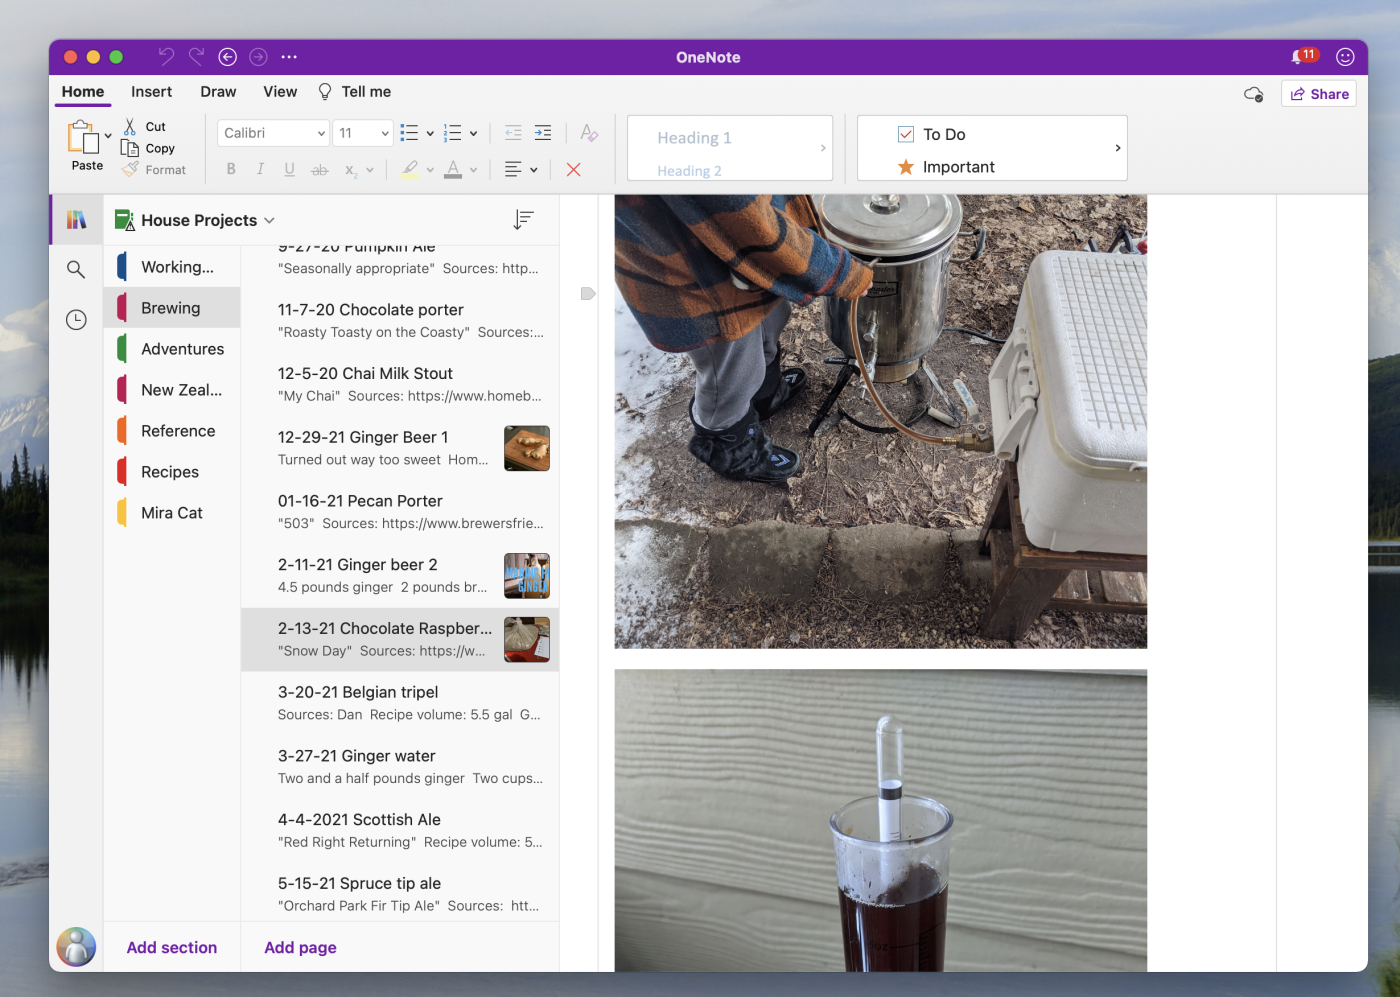
OneNote, above, is probably the note-taking app most people should try first. It’s free—so long as you don’t run out of OneDrive storage—and it gives you all kinds of ways to organize notes, from notebooks to sections to sub-headers. It also has powerful search, which includes the scanned contents of any images or PDFs you might drop in a note.
But OneNote isn’t the only option. You should check out our list of the best note-taking apps for more choices. If you loved Evernote back in the day, you should check out Joplin, which is a completely free and open source replacement for that app. And I personally love Obsidian, which turns your notes into an entire database, complete with internal links and an extensive plugin collection. There are a lot of good choices out there—find something that lets you write things down and dig them up later.
See our favorite ways to use automation to improve how you put your notes to work, track action items from meetings, and put an end to regular copy-paste actions.
A distraction blocker like Freedom
I’ve never tried to work in the middle of an amusement park, but I imagine it would be distracting. The internet is worse. Everything you could possibly imagine is available, all delivered by brilliant engineers who are doing everything they can to keep you looking at more and more and more of it. It’s understandable if you have trouble getting stuff done in that context, which is why apps that block distractions are so helpful.
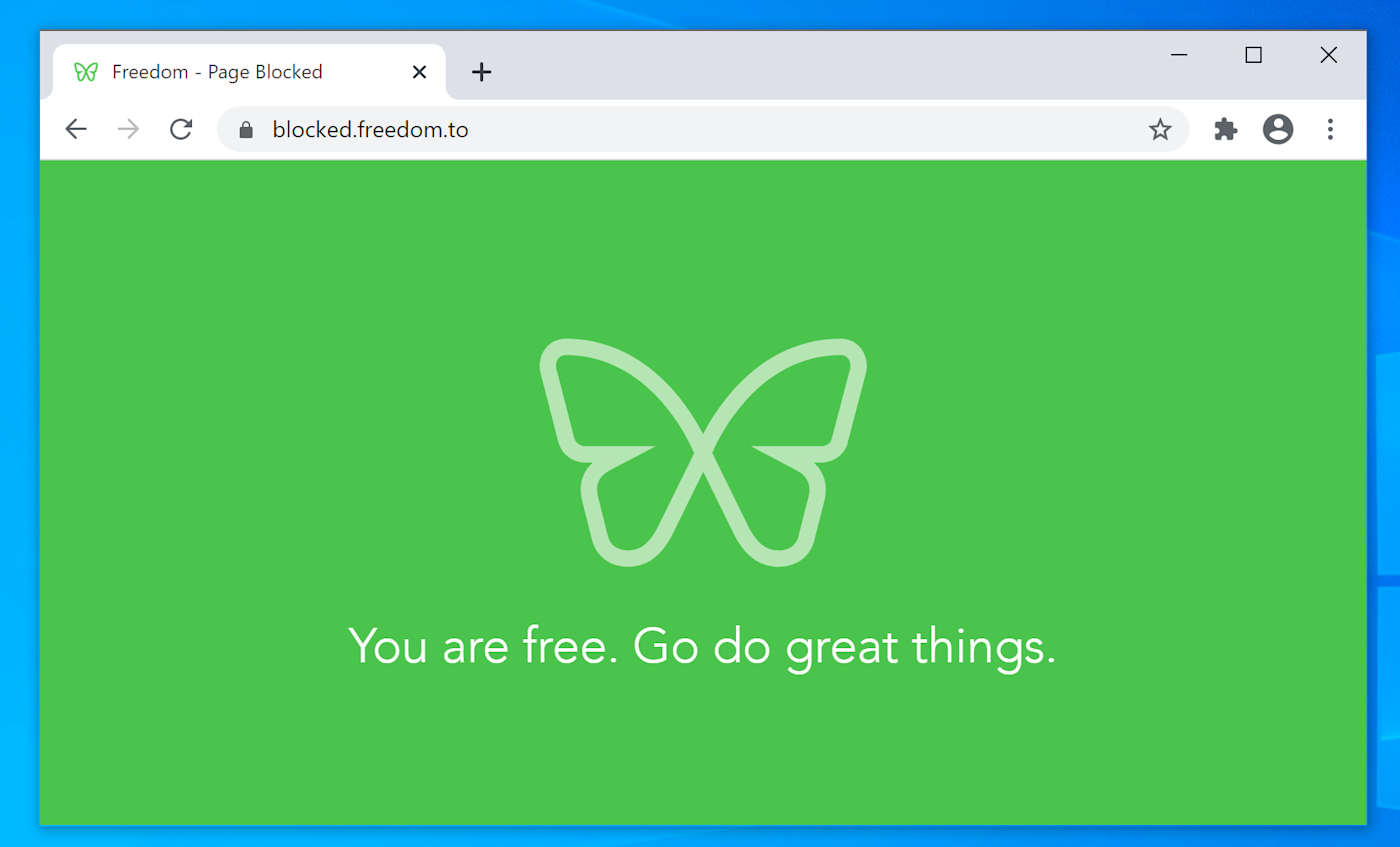
Freedom is a great tool for the job. It runs on every platform and can block distractions—both websites and apps—on all of your devices. That means you can’t, for example, block Twitter on your computer only to pick up your phone and look at it there. With Freedom, you can set up multiple block lists, then start timers for any of them.
I personally love Serene, which combines distraction blocking with a sort of to-do list. You say what you want to do and how long it will take, then you start a distraction-free session to work on it. There’s also Cold Turkey Blocker, which can optionally prevent you from changing the time settings on your computer as a way of working around the block you set up. You’ve got more choices, though, particularly if you’re a Mac user. Check out our list of the best distraction blockers to learn more.
Remember: the internet is distracting on purpose. There’s no shame in using a tool to build discipline.
A habit tracker like Streaks or HabitNow
My dentist tells me I should brush my teeth twice a day, and I believe him, but I tended to only brush at night. I used a habit tracker to change that.
These applications might sound similar to a to-do list, but they’re very different. You can’t add individual tasks to a habit tracker—only recurring ones. The idea is to set an intention to do something regularly, then keep track of how often you regularly do it. Eventually, you have a streak going, which psychologically motivates you to keep it up until the habit becomes second nature. Don’t laugh—it works.
We recommend checking out Streaks, shown above, for iPhone and HabitNow, below, for Android. These apps both live on your phone, which is the place you’re most likely to look. They both let you create a list of habits you’d like to build, then remind you about that intention. They also both show you your progress in various ways.

They’re not the only options, however; check out our list of the best habit tracker apps for more ideas. Also keep in mind that some to-do lists have habit-tracking capabilities built right in. I, personally, use TickTick‘s built-in habit tracker—I love it. And some people use a paper calendar for tracking a simple habit—just add an X every day you stick to your habit.
An app to save things for later like Pocket
I’d love to read articles or watch YouTube videos all day. We all would. Sometimes, though, you have to do something else—even though your friend just sent you a really, really interesting article. That’s where read-it-later apps come in. They let you quickly save something you intend to read, so that you can come back to it when you have time.
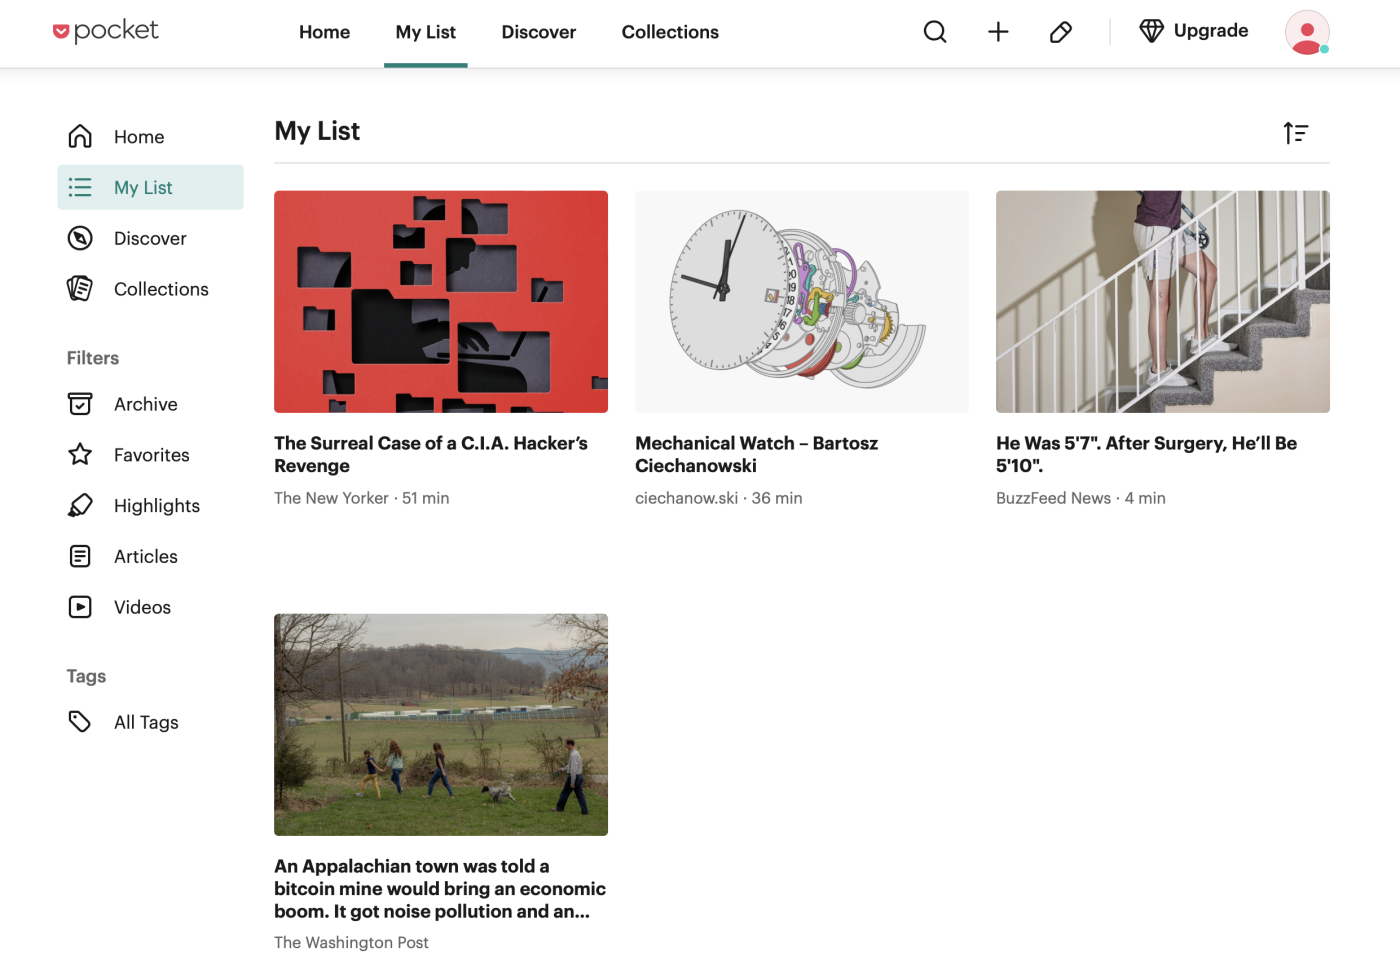
I think that Pocket, above, is the app of choice in this class. It’s free to use, offers extensions for every major browser, and also has great mobile versions that sync your articles for offline reading. There’s even built-in support for highlighting, then reviewing your highlights later.
Instapaper is a close second, and it even lets you send articles to your Kindle. These aren’t your only choices, though—check out our list of the best read-it-later apps for some more options. It’s also worth noting that some people use bookmarking apps or even note-taking apps for the same purpose, and that’s great—they both make it easy to save things for future reference.
Automate the process of saving articles by connecting your read-it-later app to Zapier. Here are some ideas to get you started.
A screen recording tool like Loom
Whether it’s for a quick presentation or troubleshooting a problem, sometimes recording what’s on your screen and sharing it just makes life easier. Screen recording tools are perfect for this, allowing you to quickly record your screen, your voice, and even your face if you have a webcam.
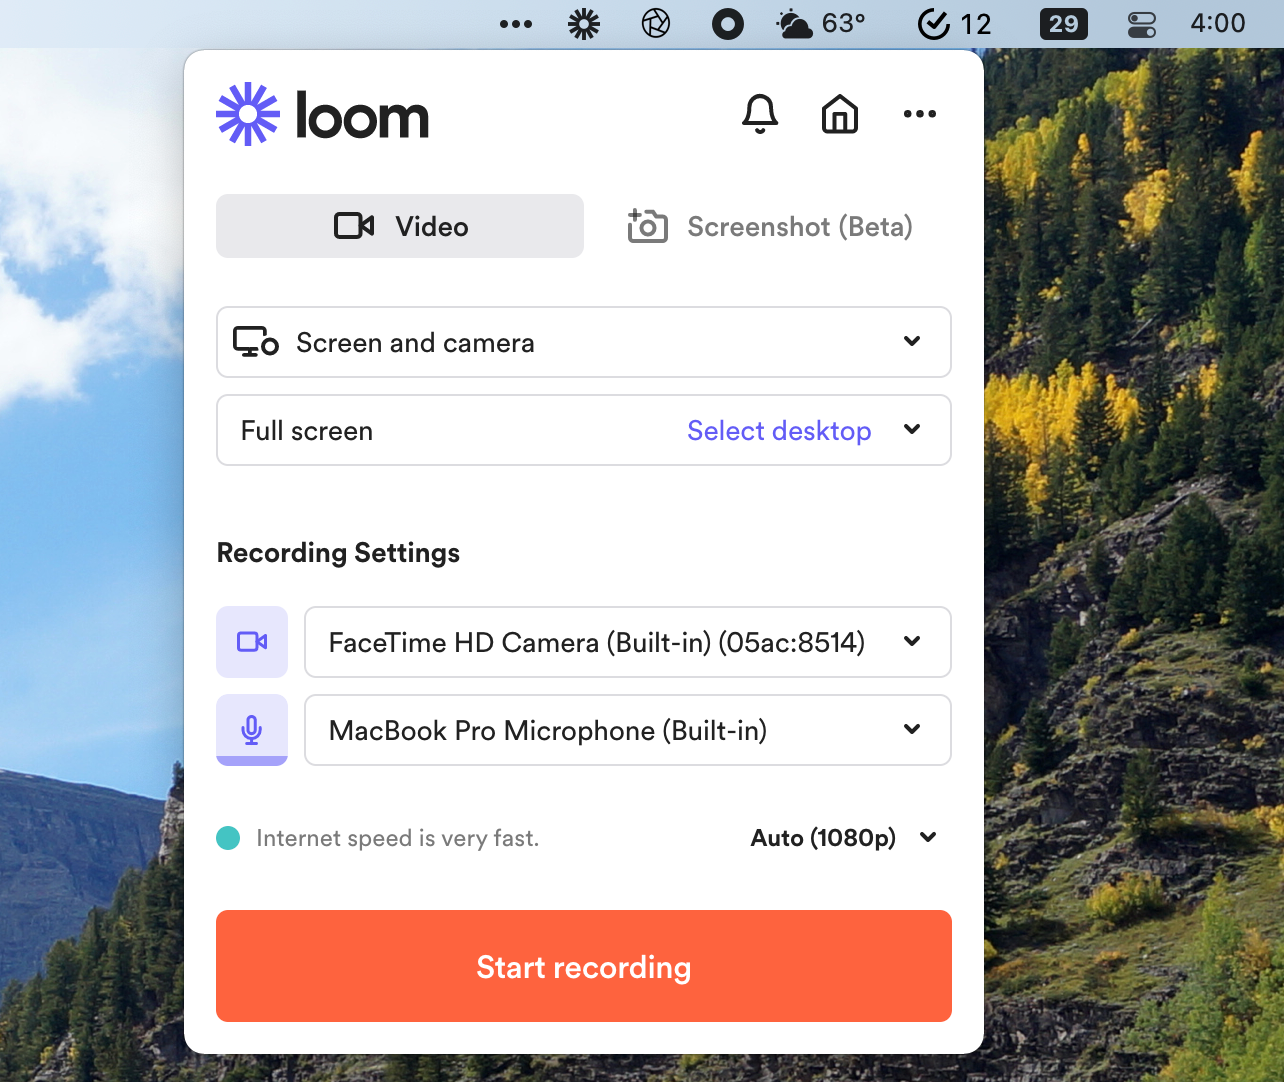
Loom is a great first tool to check out in this category. It’s easy to set up, works on all major platforms, and makes it really simple to share recordings. You can even add your face, via a webcam, to the recording.
I personally use Zappy, which was originally an internal tool used by Zapier. It’s honestly the best screenshot tool I’ve ever used, and it’s free—if you use a Mac, it’s worth a try. Check out our list of the best screen recording tools for more options, and keep in mind you can actually record your screen without any software, if you don’t mind managing the file yourself.
Want to share your screen in real-time? You need a screen sharing tool (Zoom works pretty well, surprisingly).
Other productivity tools worth checking out
This article could go on forever. There’s no end to great software out there, and I love writing about it. I think the above categories should save you all kinds of time—and take up plenty of your time to set up—but here are a few other suggestions if you’re feeling particularly motivated.
- Password managers, like LastPass or 1Password, help you generate random passwords for all of your different services without the need for memorization. This is great for security, but it also makes logging in to stuff faster. Here’s a list of the best password managers.
- Mobile scanning apps, like Microsoft Lens, let you scan documents using your phone while also digitizing any text using optical character recognition (OCR). Check out our list of the best mobile scanning OCR apps for more choices.
- Text expansion tools, like PhraseExpress, mean you’ll never need to look up and copy-paste the same message to multiple people ever again. Read more about text expansion software, or learn how it can make you better at dating.
- Dictation software, like Dragon by Nuance, lets you type by talking, which can save you all sorts of time. Here’s our list of the best dictation software.
- Time tracking apps, like Toggl Track, are great for keeping track of how long projects take and making sure you’re not spending too much time on the wrong things. Take a look at our list of the best time tracking apps to find the right one for you.
- Mind mapping software, like Coggle, helps you map the connections between different ideas while you’re brainstorming. Here are our picks for the best mind mapping software.
- AI software, like OpenAI, could make all kinds of tasks easier in the future. It’s early, granted, but I already find it useful when I’m in the brainstorming phase of a project—I can ask the bot to generate ideas.
Once you have apps set up in some of these categories, you can take the whole productivity thing even further. Automation software like ours at Zapier connects all the other apps you use, with workflows you can build yourself—no code required. Like the tools above, Zapier won’t solve every problem you have, but it’s a great way to connect tools that otherwise don’t integrate well—which means you can use the best tools for you, as opposed to the tools that happen to play nice together. And it’s not limited to productivity—eventually, you’ll find yourself automating even your most business-critical workflows.
Plus, if you sign up for Zapier, we’ll be able to write more useful articles like this one. Here are five things you should automate today to get started.
This post was originally published in September 2018 by Matthew Guay. The most recent update was in December 2022.
Source :
https://zapier.com/blog/best-productivity-apps/

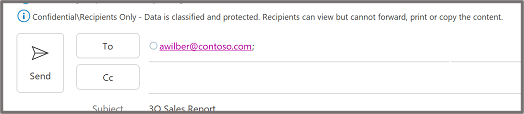
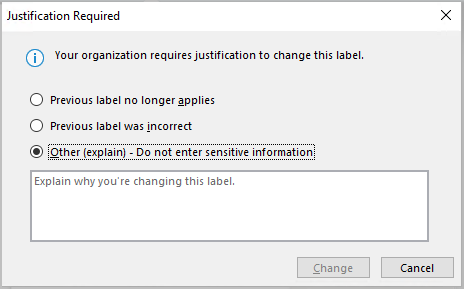
 Important: Sensitivity is not available if your Office account isn’t a work account, and if your administrator hasn’t configured any sensitivity labels and enabled the feature for you.
 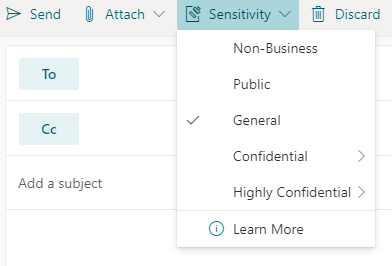 Note: If your organization has configured a website to learn more about their sensitivity labels, you will also see a Learn More option.
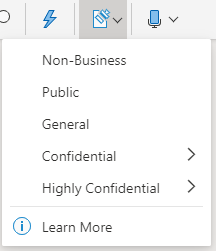 Note: If your organization has configured a website to learn more about their sensitivity labels, you will also see a Learn More option.