Estimating the real cost of a technology solution for a business can be challenging. There are obvious costs as well as many intangible costs that should be taken into account.
For on-premises solutions, people tend to include licensing and support maintenance contract costs, plus server hardware and virtualization licensing costs. For Software as a Service (SaaS) cloud solutions, it seems like it should be easier since there’s no hardware component, just the monthly cost per licensed user but this simplification can be misleading.
In this article we’re going to look at the complete picture of the cost of Microsoft 365 (formerly Office 365), how choices you as an administrator make can directly influence costs, and how you can help your business maximize the investment in OneDrive, SharePoint, Exchange Online and other services.
The Differences Between Office 365 & Microsoft 365
As covered in our article about the death of Office 2019 there are naming changes afoot in the Office ecosystem. The personal Office 365 subscriptions have changed and are now called Microsoft 365 Family (up to six people) and Personal along with the Office 365 Business SKUs, that top out at 300 users, has also been renamed. The new SKUs are Microsoft 365 Business Basic, Apps, Standard, and Premium.
There’s no reason to believe that this name change won’t eventually extend to the Enterprise SKUs but until it does, from a licensing cost perspective it’s important to separate the two. Office 365 E1, E3 and E5 gives you the well-known “Office” applications, either web-based or on your device, along with SharePoint Online, Exchange Online and OneDrive for Business in the cloud backend.
Microsoft 365 F3, E3 and E5, on the other hand, includes everything from Microsoft 365 plus Azure Active Directory Premium features (identity security), Enterprise Mobility & Security (EMS) / Intune for Mobile Device Management (MDM) and Mobile Application Management (MAM) along with Windows 10 Enterprise.

Comparing M365 plans
So, a decision that needs to be looked at early when you’re looking to optimize your cloud spend is whether your business is under 300 users and likely to stay that way for the next few years. If that’s the case you should definitely look at the M365 Business SKUs as they may fulfil your business needs, especially as Microsoft recently added several security features from AAD Premium P1 to M365 Business.
If you’re close to 300, expecting to grow or already larger, you’re going to have to pick from the Enterprise offerings. The next question is then, what’s the business need – do you just need to replace your on-premises Exchange and SharePoint servers with the equivalent cloud-based offerings? Or is your business looking to manage corporate-issued mobile devices (smartphones and tablets) with MDM or protect data on employee-owned devices? The latter is known as Bring Your Own Device (BYOD), sometimes called Bring Your Own Disaster. If you have those needs (and no other MDM in place today), the inclusion of Intune in M365 might be the clincher. If on the other hand, you need to protect your on-premises Active Directory (AD) against attacks using Azure Advanced Threat Protection (AATP) or inspect, understand and manage your users’ cloud usage through Microsoft Cloud App Security (MCAS) you’ll also need M365 E5, rather than just O365.
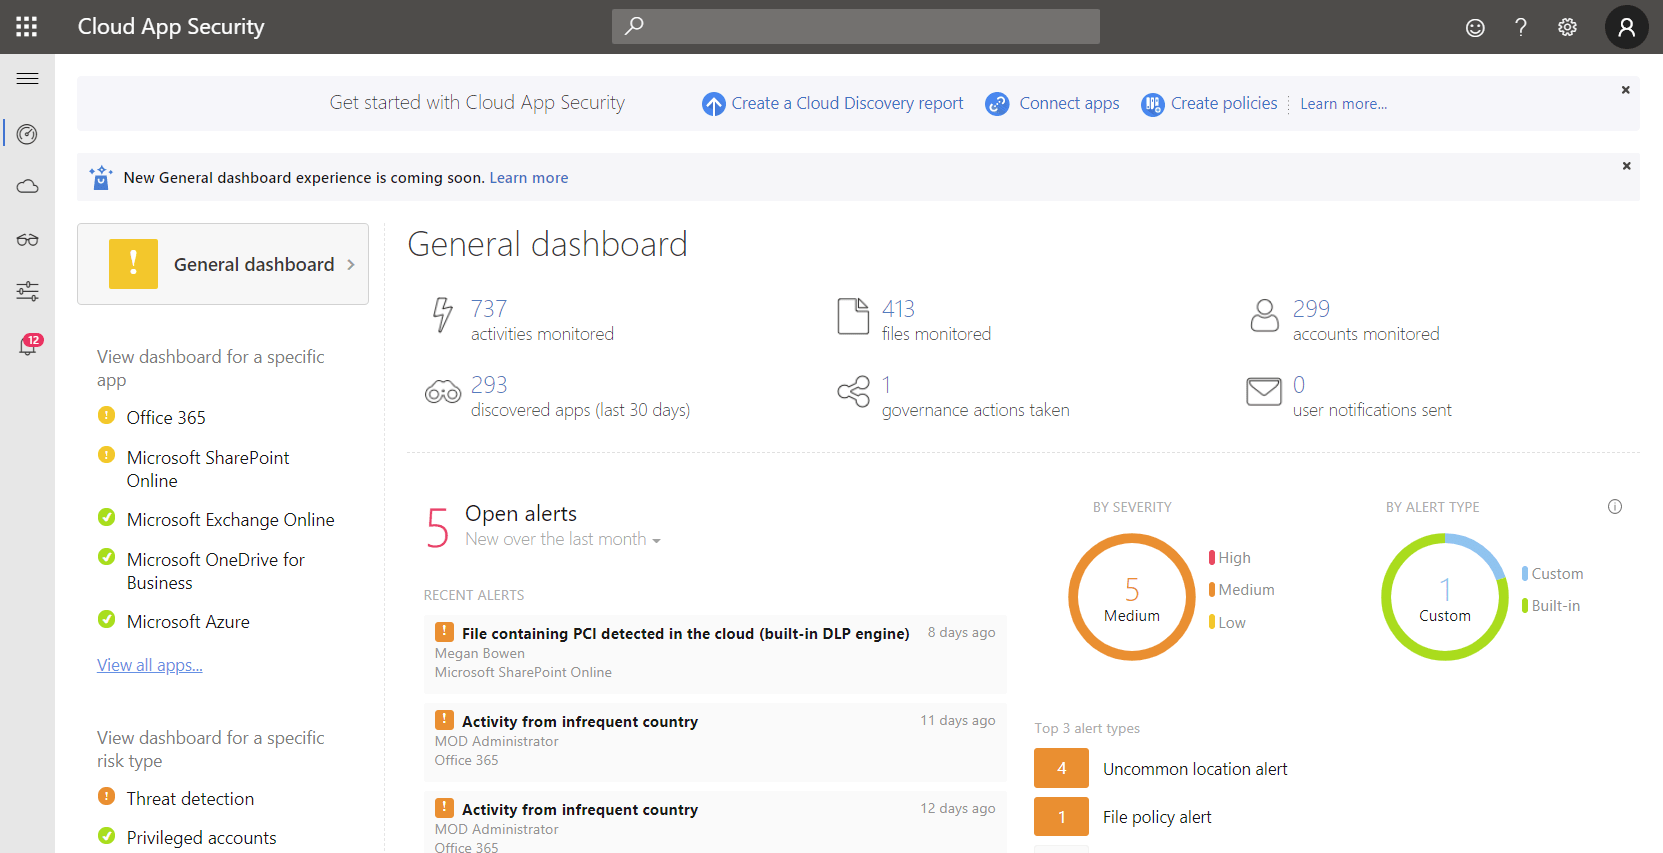
Cloud app security dashboard
The difference is substantial, outfitting 1000 users with O365 E3 will cost you $ 240,000 per year, whereas moving up to M365 E3 will cost you $ 384,000. And springing for the whole enchilada with every security feature available in M365 E5 will cost you $ 684,000, nearly 3X the cost of O365 E3. Thus, you need to know what your business needs and tailor the subscriptions accordingly (see below for picking individual services to match business requirements).
Note that if you’re in the education sector you have different options (O365 A1, A3, and A5 along with M365 A1, A3, and A5) that are roughly equivalent to the corresponding Enterprise offerings but less costly. And charities/not-for-profits have options as well for both O365 and M365. M365 Business Premium is free for up to 10 users for charities and $ 5 per month for additional users.
A la carte Instead of Bundles
There are two ways to optimize your subscription spend in O365 / M365. Firstly, you can mix licenses to suit the different roles of workers in your business. For instance, the sales staff in your retail chain stores are assigned O365 E1 licenses ($8 / month) because they only need web access to email and documents, the administrative staff in head office use O365 E3 ($20 / month) and the executive suite and other high-value personnel use the full security features in E5 ($35 / month). Substitute M365 F3, E3, and E5 in that example if you need the additional features in M365.
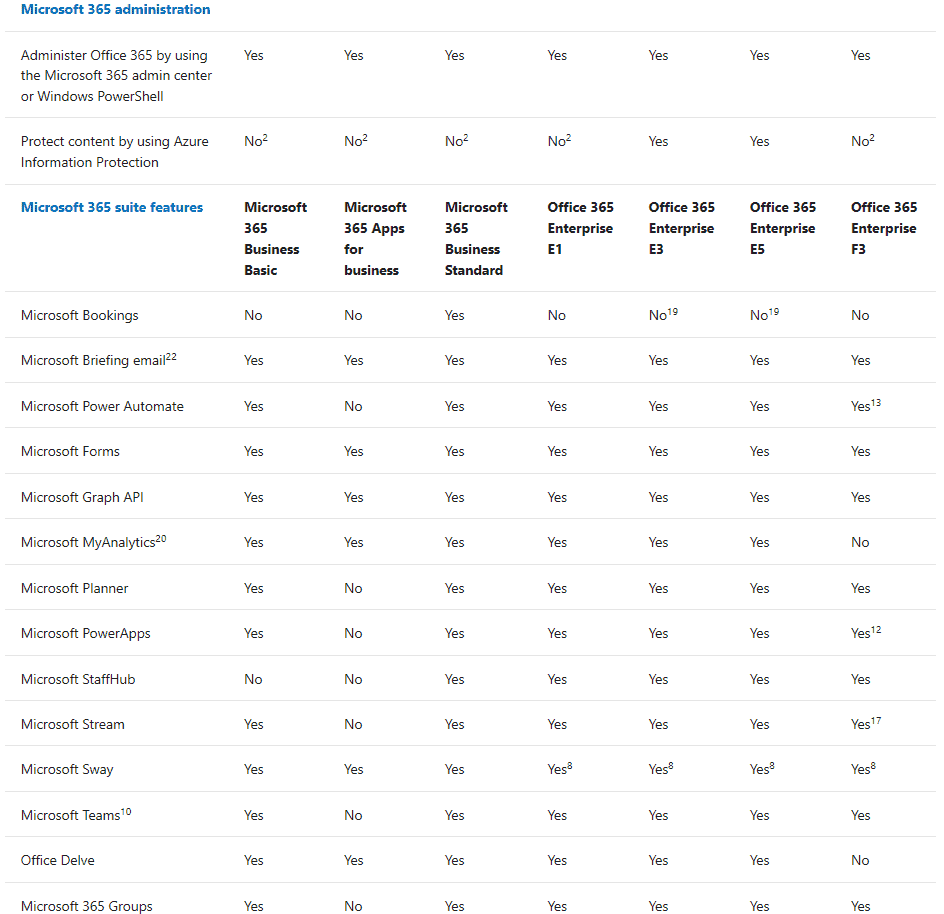
Secondly, you don’t have to use the bundles that are encapsulated in the E3, E5, etc. SKUs, and you can instead pick exactly the standalone services you need to meet your business needs. Maybe some users only need Exchange Online whereas other users only need Project Online. The breakdown of exactly what features are available across all the different plans and standalone services is beyond the scope of this article but the O365 and M365 service descriptions are the best places to start investigating.
Excerpt from the O365 Service Description
And if you’re a larger business (500 users+) you’re not going to pay list prices and instead these licenses will probably be part of a larger, multi-year, enterprise agreement with substantial discounts.
If You Hate Change
If you want to stay on-premises Exchange Server 2019 is available (only runs on Windows Server 2019), as is SharePoint Server 2019 and you can even buy the “boxed” version of Office 2019 with Word, Excel, etc. with no links to the cloud whatsoever. This is an option that moves away from the monthly subscription cost of M365 (there’s no way to “buy” M365 outright) and back to the traditional way of buying software packages every 2-5 years. Be aware that these on-premises products do NOT offer the same rich features that O365 / M365 provides, whether it’s the super-tight integration between Exchange Online and SharePoint Online, cloud-only services like Microsoft Teams that build on top of the overall O365 fabric or AI-powered design suggestions in the O365 versions of Word or PowerPoint. There’s no doubt that Microsoft’s focus is on cloud services, these are updated with new features on a daily basis, instead of every few years. If your business is looking to digitally transform, towards tech intensity (two recent buzzwords in IT with a kernel of truth in them) using on-premises servers and boxed software licensing is NOT going to get you there. But if you want to keep going like you always have, it’s an option.
And if you’re looking at this from a personal point of view, a free Microsoft account through Outlook.com does give you access to Office Online: Word, Excel, and PowerPoint in a browser. There’s even a free version of Microsoft Teams available.
Transforming your Business
There’s a joke going around at the moment about the Covid-19 pandemic bringing digital transformation to many businesses in weeks that would have taken years to achieve without it. There’s no doubt that adopting the power of cloud services has the power to truly change how you run your business for the better. A good example is moving internal communication from email to Teams, including voice and video calls and perhaps even replacing a phone system with cloud-based phone plans.
But these business improvements depend on the actual adoption of these new tools. And that requires a mindset shift for everyone. Start with your IT department, if they still see M365 as just cloud-hosted versions of their old on-premises servers they’re missing the much bigger picture of the integrated platform that O365 has become. Examples include services such as Data Loss Prevention (DLP), unified labeling and automatic encryption/protection of documents and data, and unified audit logging that spans ALL the workloads. So, make sure you get them on board with seeing O365 as a technology tool to transform the business, not just a place to store emails and documents in OneDrive. And adding M365 unlocks massive security benefits, enabling zero-trust (incredibly important as everyone is working from home), identity-based perimeters, and cloud usage controls. But if your IT or security folks aren’t on board with truly adopting these tools, they’re not going to make you any more secure. Here’s free IT administrator training for them.
Finally, you’re going to have to bring all the end-users on board with a good Adoption and Change Management (ACM) program, helping everyone understand these new services and what they can do to make their working lives better. This includes training but make sure you look to short, interactive, video-based modules that can be applied just when the user needs coaching on a particular tool, not long classroom-based sessions.
And all of that, for all the different departments, isn’t a once-off when you migrate to O365, it’s an ongoing process because the other superpower of the cloud is that it changes and improves ALL the time. This means you’ll need to assign someone to track the changes that are coming/in preview and ensure that the ones that really matter to your business are understood and adopted. The first place to look is the Microsoft 365 Message Center in the portal where you can also sign up for regular emails with summaries of what’s coming. Another good source is the Office 365 Weekly Blog.
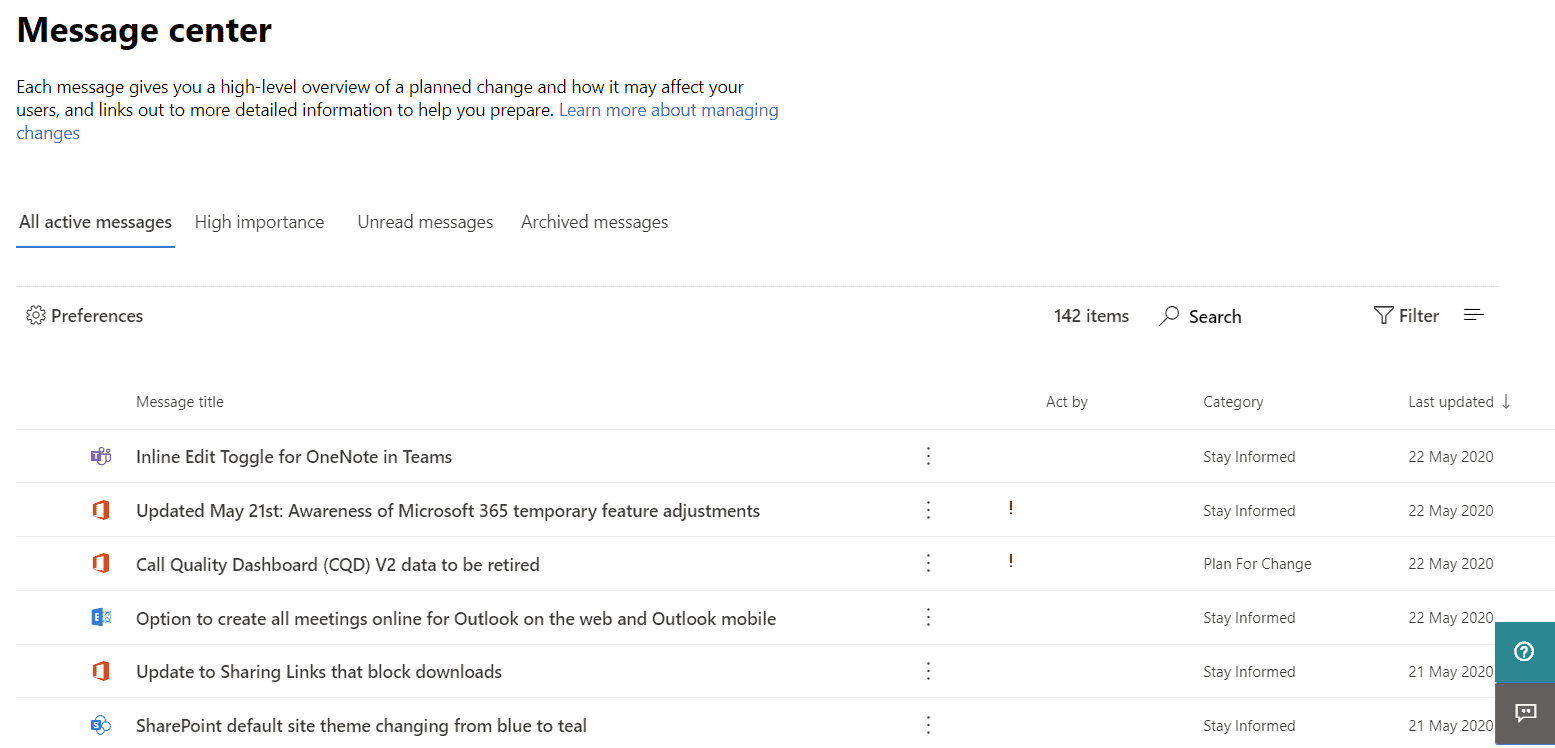
M365 portal Message Center
To help you track your usage and adoption of the different services in O365 there is a usage analytics integration with PowerBI. Use this information to firstly see where adoption can be improved and take steps to help users with those services and secondly to identify services and tools that your business isn’t using and perhaps don’t need, giving you options for changing license levels to optimize your subscription spend.
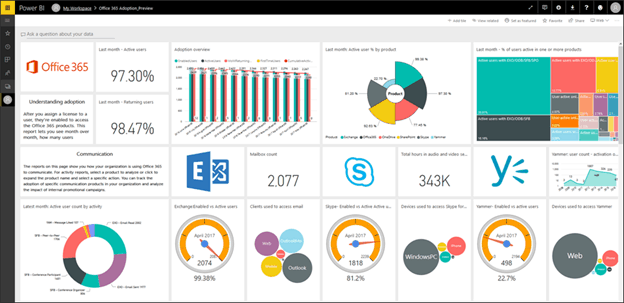
PowerBI O365 Usage Analytics (courtesy of Microsoft)
Closing Notes
There’s another factor to consider as you’re moving from on-premises servers to Microsoft 365 and that’s the changing tasks of your IT staff. Instead of swapping broken hard drives in servers these people now need to be able to manage cloud services and automation with PowerShell and most importantly, see how these cloud services can be adopted to improve business outcomes.
A further potential cost to take into account is backup. Microsoft keeps four copies of your data, in at least two datacentres so they’re not going to lose it but if you need the ability to “go back in time” and see what a mailbox or SharePoint library looked like nine months ago, for instance, you’ll need a third-party backup service, further adding to your monthly cost.
And that’s part of the overall cost of using O365 or M365, training staff, adopting new features, different tasks for administrators and managing change requires people and resources, in other words, money. And that’s got to be factored into the overall cost using Microsoft 365, it’s not just the monthly license cost.
The final question is of course – is it worth it? Speaking as an IT consultant with clients (including a K-12 school with 100 students) who recently moved EVERYONE to work and study from home, supported by O365, Teams, and other cloud services, the answer is a resounding yes! There’s no way we could have managed that transition with only on-premises infrastructure to fall back on.
Source :
https://www.altaro.com/microsoft-365/real-cost-m365/
 Microsoft Visual C++-2015 Redistributable
 Redistributable Installed
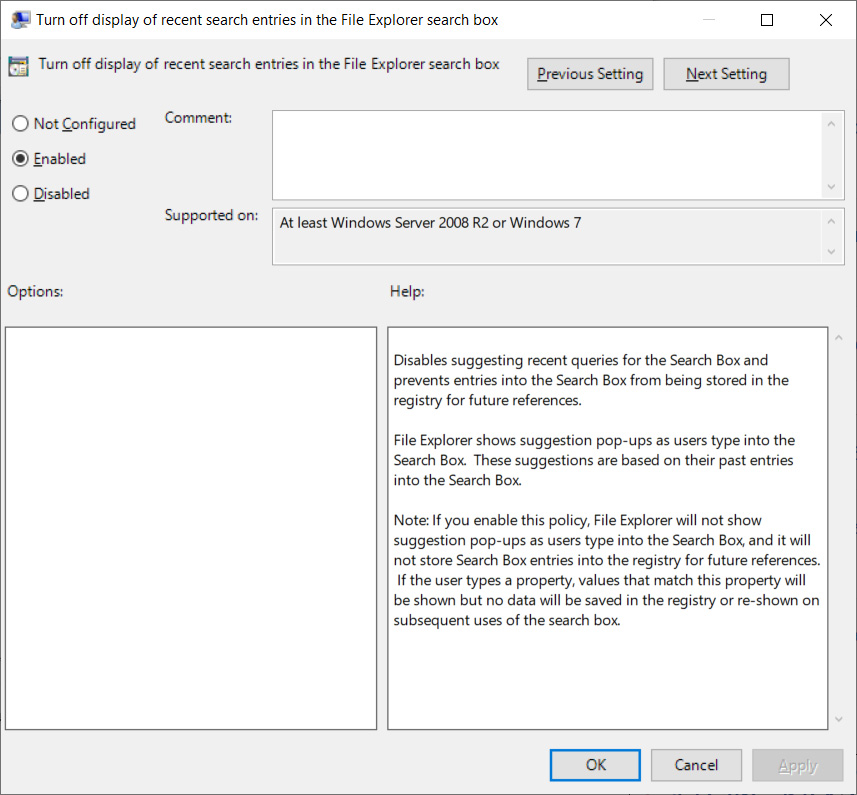
 Enable Start full screen
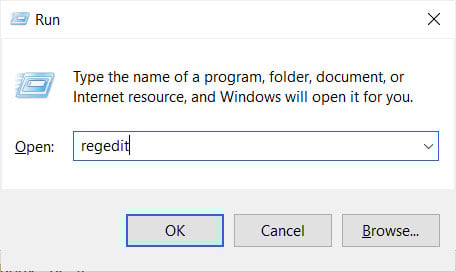 Starting Registry Editor
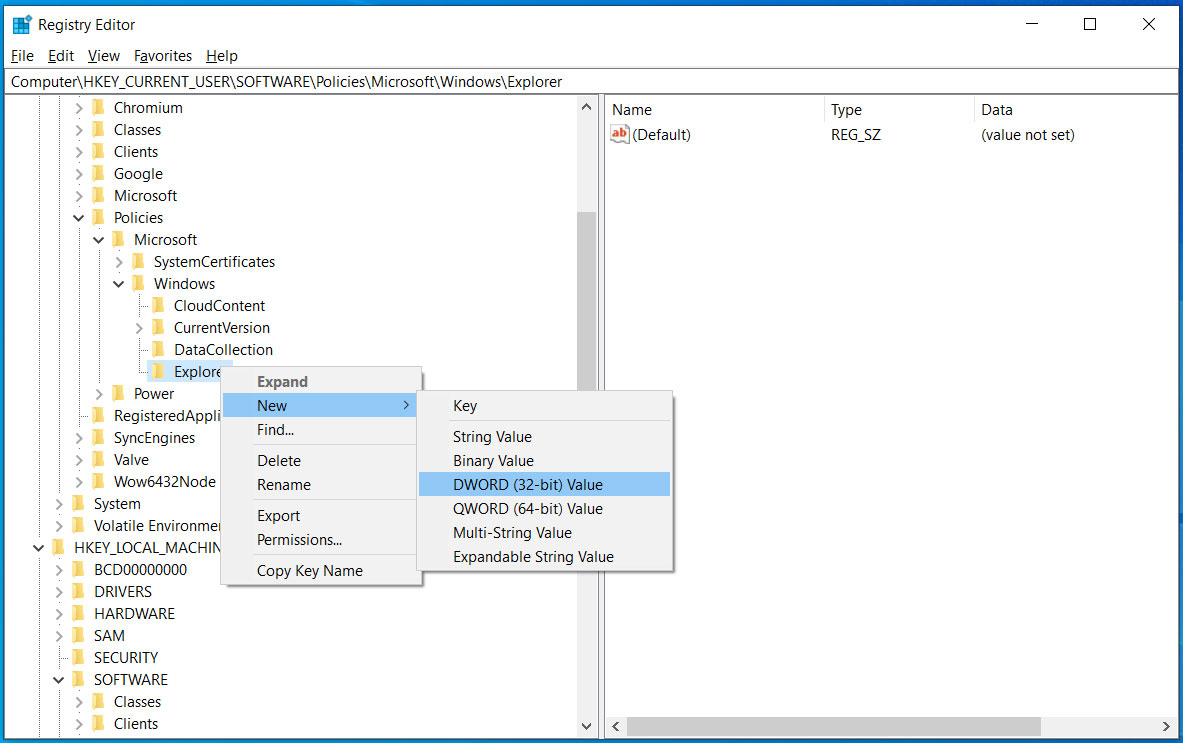 New DWORD value