Overview
After reading this article users should gain the knowledge to be able to configure and maintain the IPS/IDS functionality on their UniFi networks. NOTES & REQUIREMENTS:Applicable to the following:
- UniFi Network version 5.9+
- UniFi Security Gateway platform firmware 4.4.18+
- UniFi Dream Machine platform
Table of Contents
- Introduction
- Network Diagram
- Intrusion Detection and Prevention
- GeoIP Filtering
- DNS Filters
- Deep Packet Inspection
- Network Scanners
- Testing & Verification
- Privacy Statement
- Related Articles
Introduction
An intrusion prevention system (IPS) is an engine that identifies potentially malicious traffic based on signatures. The signatures contain known traffic patterns or instruction sequences used by malware. This type of signature-based engine can only detect anomalies based on known malicious traffic patterns.
Network Diagram
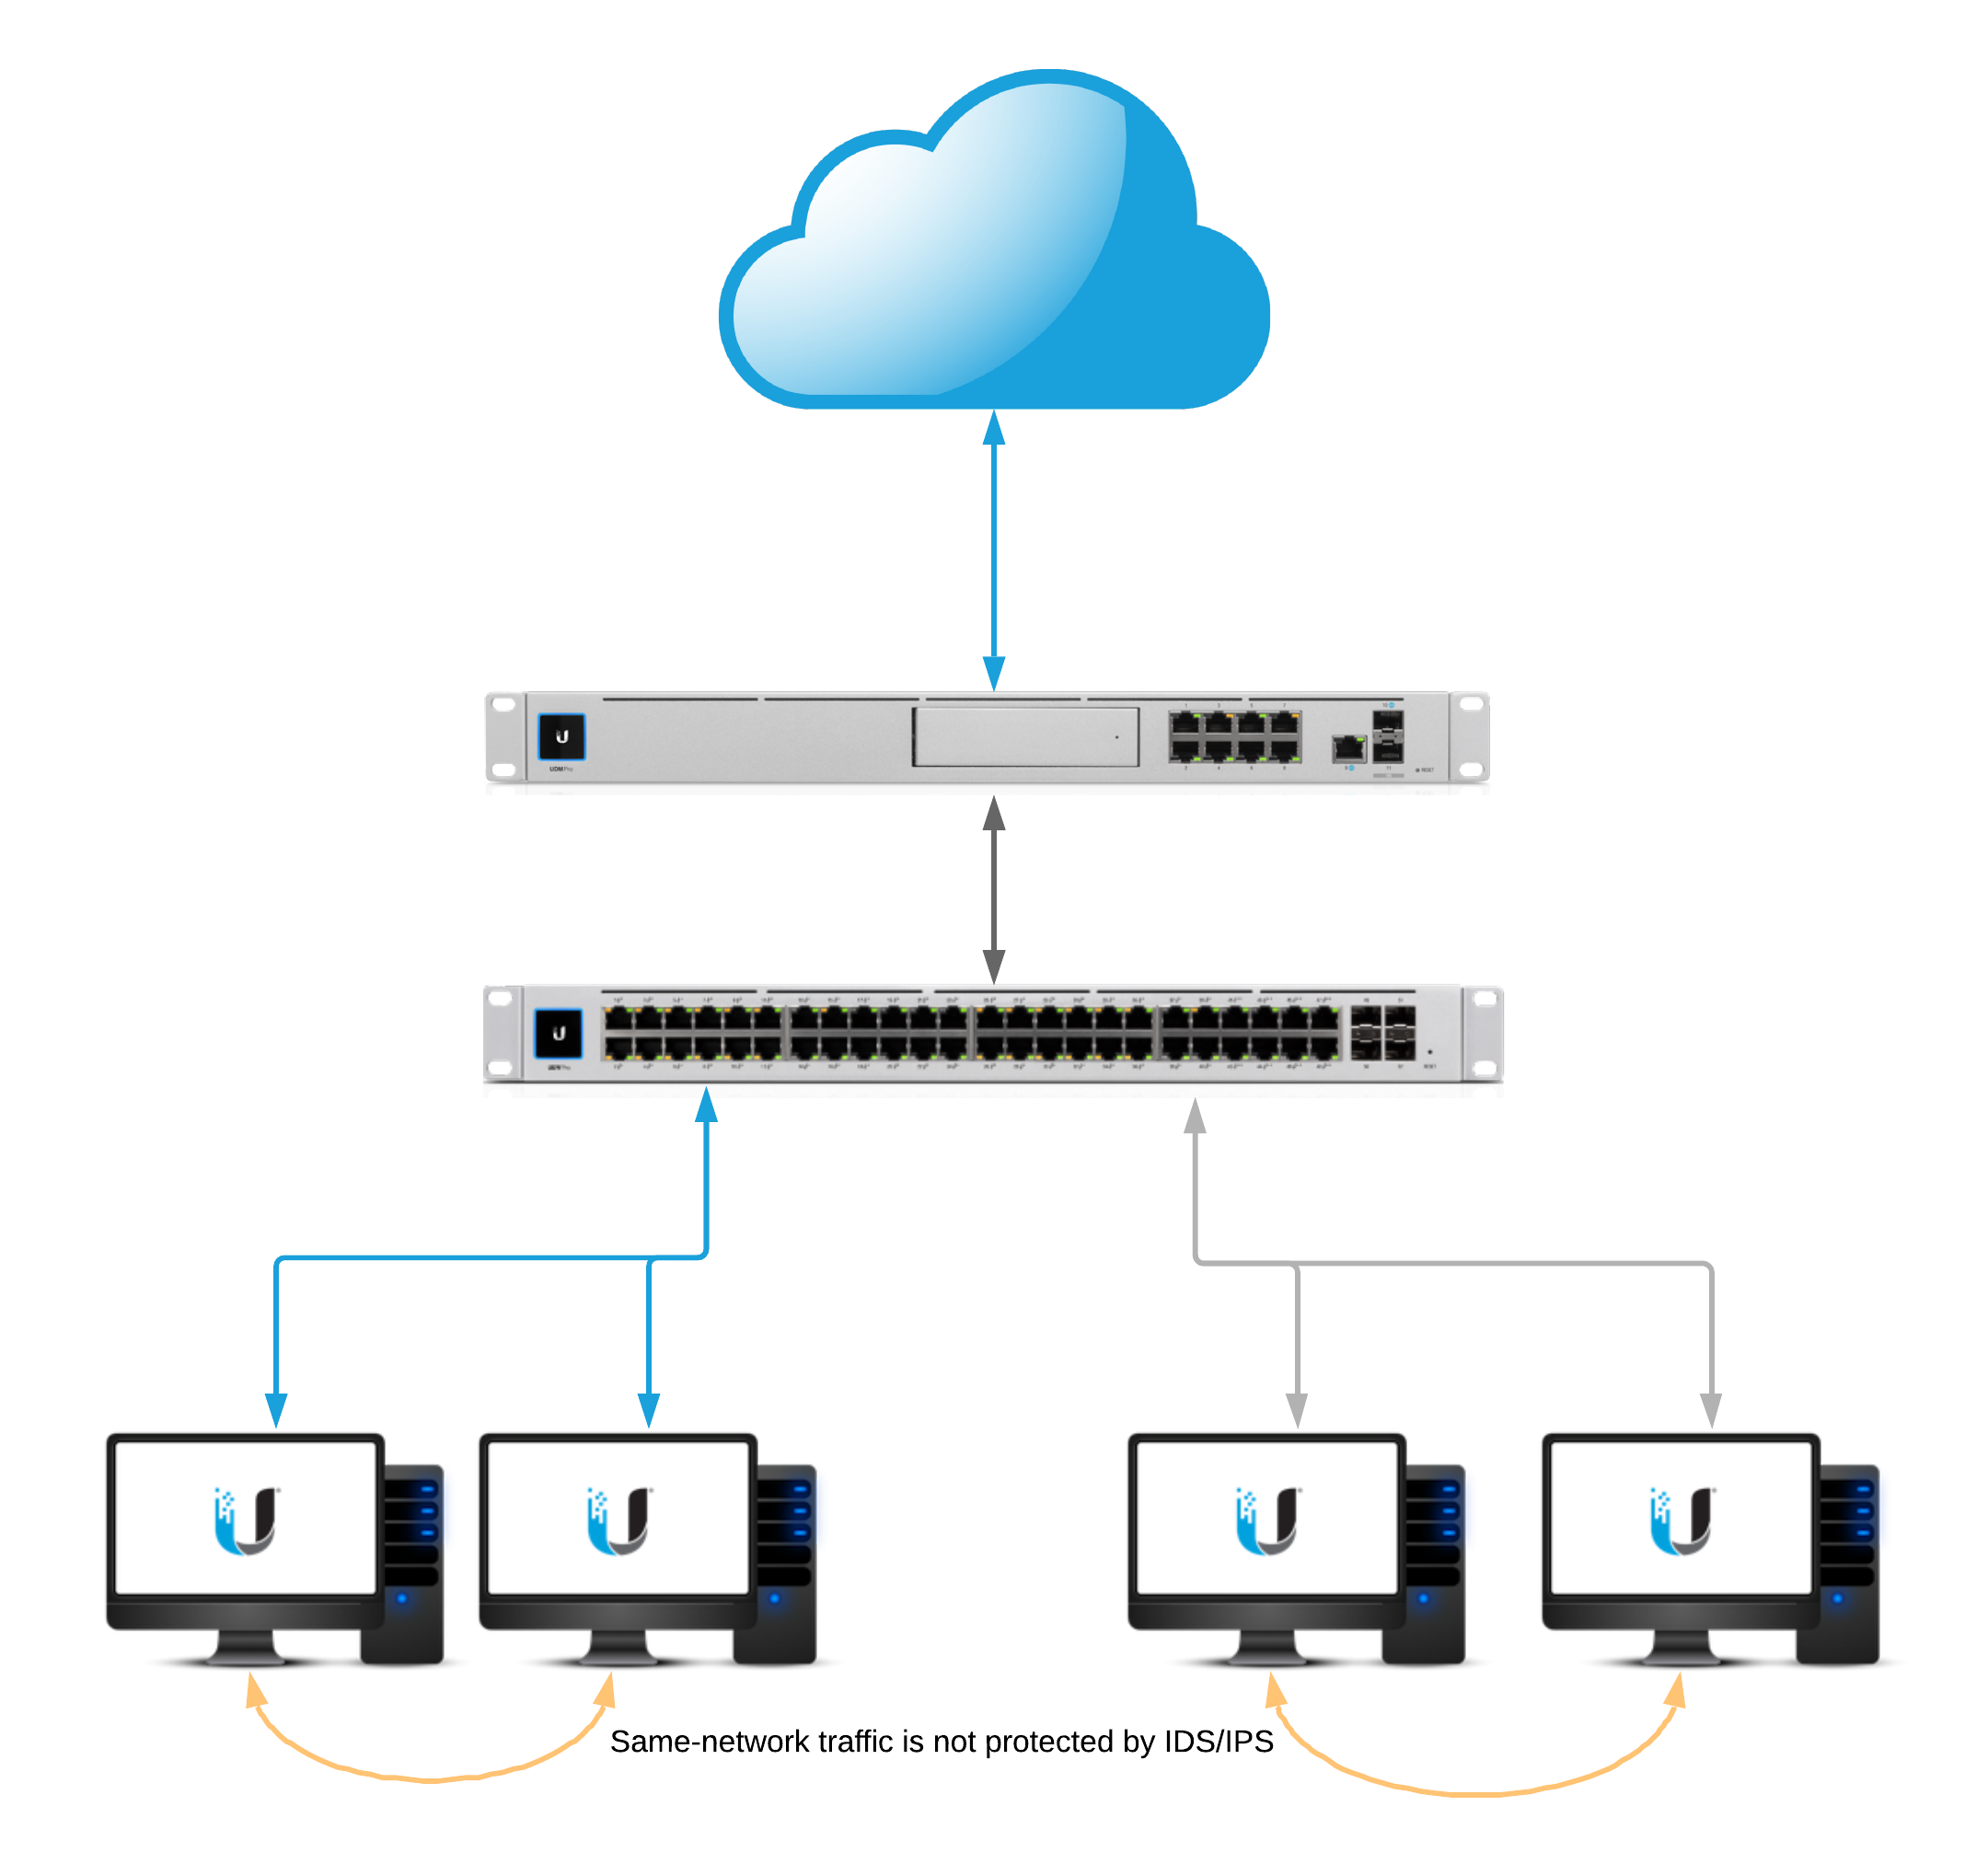
Intrusion Detection and Prevention
To enable intrusion detection or intrusion prevention, navigate to the Settings > Security section of the UniFi Network application. ATTENTION:
- Enabling IDS or IPS will affect the maximum throughput on inter-VLAN and egress traffic.
- USG: 85 Mbps*
- USG-Pro: 250 Mbps*
- USG-XG: 1 Gbps*
- Enabling Smart Queues or DPI on top of IPS/IDS will also incur a further throughput penalty to maximum throughput.
- UniFi Dream Machine throughput: 850 Mbps*
- UniFi Dream Machine Pro: 3.5Gbps*
*Values are rough estimates and can vary depending on configuration.
Threat Management Modes
- Intrusion Detection System: When set will automatically detect, and alert, but will not block potentially malicious traffic.
- Intrusion Prevention System: When set will automatically detect, alert, and block potentially malicious traffic.
Firewall Restrictions
These restrictions can be found under New Settings > Internet Security > Advanced.
- Restrict Access to ToR: When enabled will block access to The Onion Router.
- Restrict Access to Malicious IP Addresses: When enabled will block access to IP addresses or blocks of addresses that have been recognized as passing malicious traffic.
System Sensitivity Levels
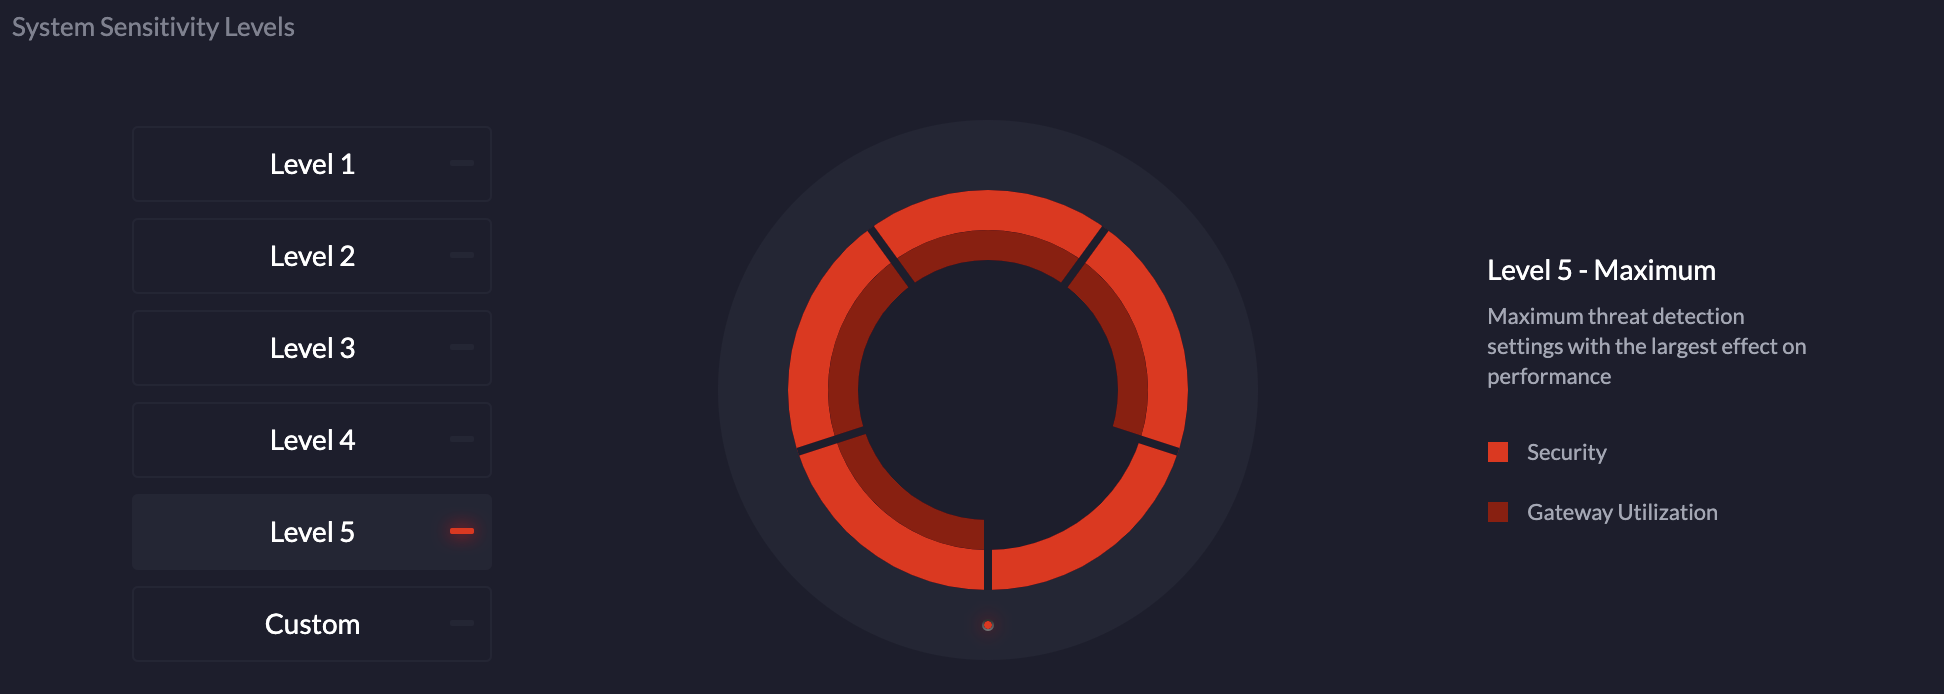
The “system sensitivity levels” are pre-defined levels of security categories that will be loaded into the threat management daemon. Each level increase requires more memory and CPU usage. Additionally the “custom” level is utilized when manually selection categories.
Categories
ATTENTION:
- Due to the amount of available memory on the USG3 and UDM a limited selection of categories can be enabled.
- Click below to see a full list of categories.
Categories and Their Definitions
Click Here to Expand the IPS/IDS Categories Section
NOTE:The following configuration can be found in the Advanced tab of Internet Security.
Whitelisting
The Threat Management Allow List function of the IPS engine allows a UniFi Administrator to create a list of trusted IP’s. The traffic, depending on the direction selected, will not get blocked to or from the identified IPs.
Create a new allow list within Settings > Security > Internet Threat Management > Advanced.
Signature Suppression
The signature suppression function of the IPS engine allows a UniFi Administrator to mute the alerting on certain signatures. This will also disable blocking on traffic matching the designated suppression rule.
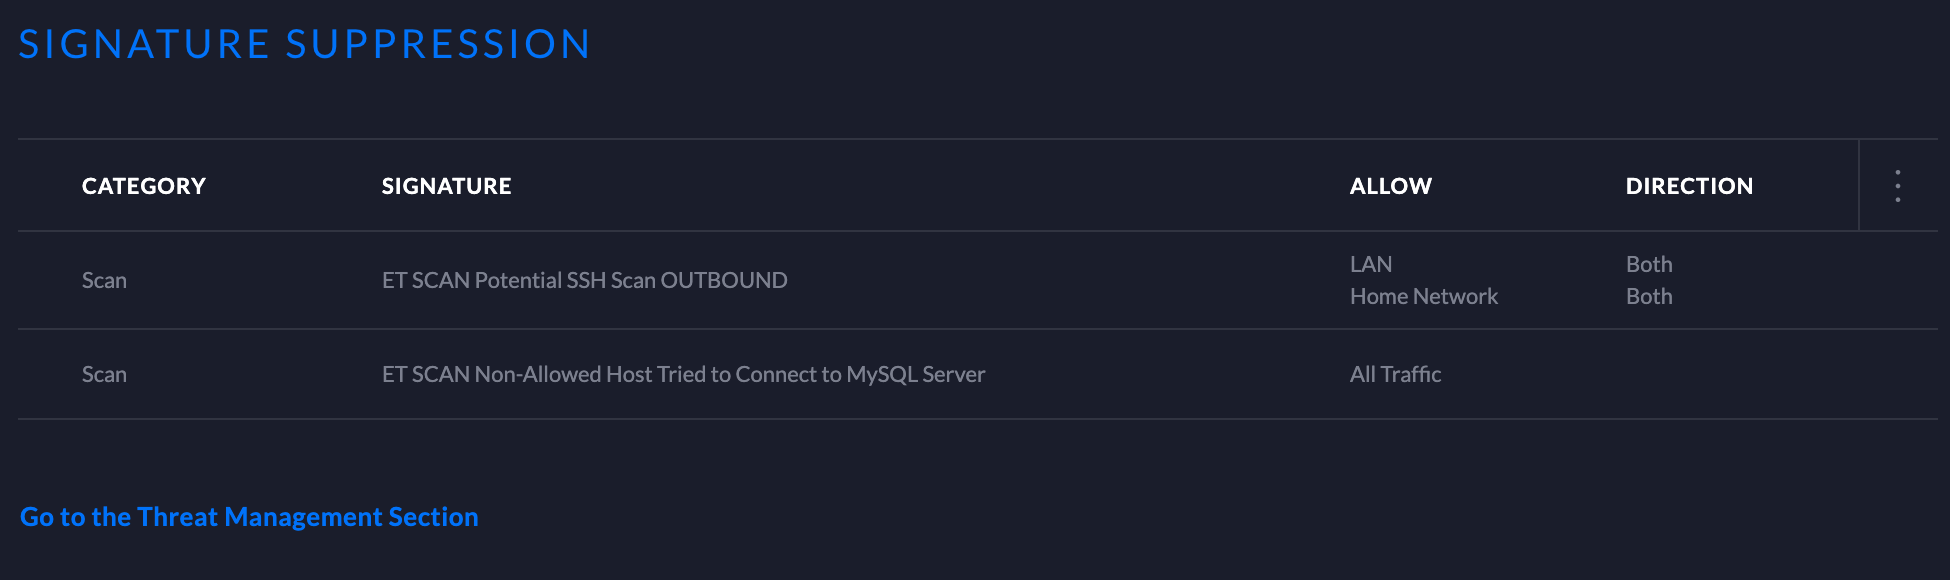
- Adding a signature suppression rule for all traffic will suppress the signature regardless of host IP.
- Adding a signature suppression rule with packet tracking based on traffic direction and by single IP, defined UniFi Network, or subnet of choice.
GeoIP Filtering
NOTE:For GeoIP Filtering to work on the USG, hardware offloading must be enabled. When Threat Management is enabled (under Settings > Internet Security > Threat Management), hardware offloading is disabled. Only one of these two features can be enabled at a time on the USG.
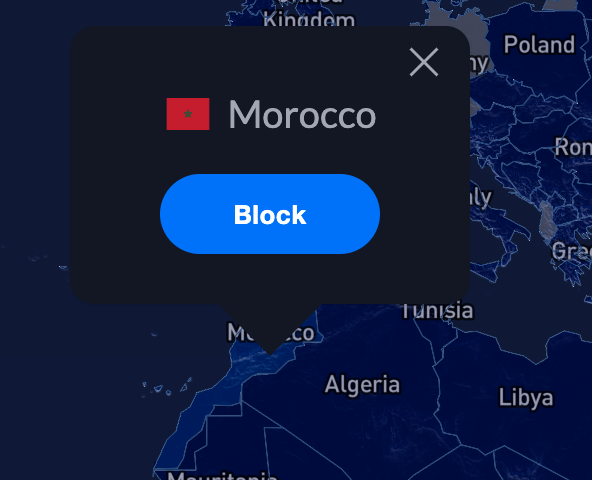
Blocking
Blocking individual countries can be configured on the Threat Management Dashboard section. Blocking is as easy as navigating to the map, clicking on a country, and confirming by clicking “Block”.
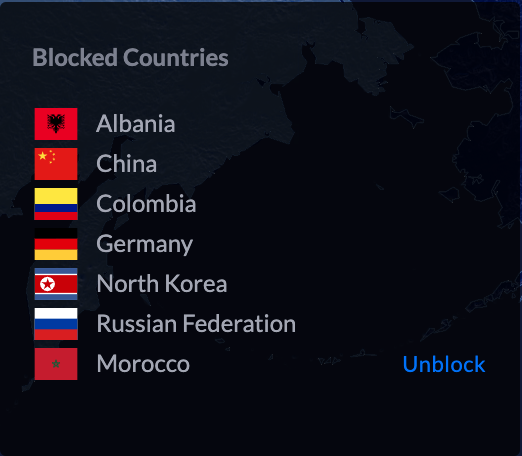
Unblocking
Unblocking a country can be by performed on the Threat Management Dashboard by navigating to the left side of the map on the Overview tab. A list of blocked countries will be populated. Simply hover over the county that is to be unblocked and an “unblock” option will appear. Select “unblock” and the country will be taken off of the list.
Traffic Direction
UniFi Network allows configuring the GeoIP filtering traffic direction. Follow the steps below:
1. Navigate to the top of the Threat Management Dashboard and select the direction. 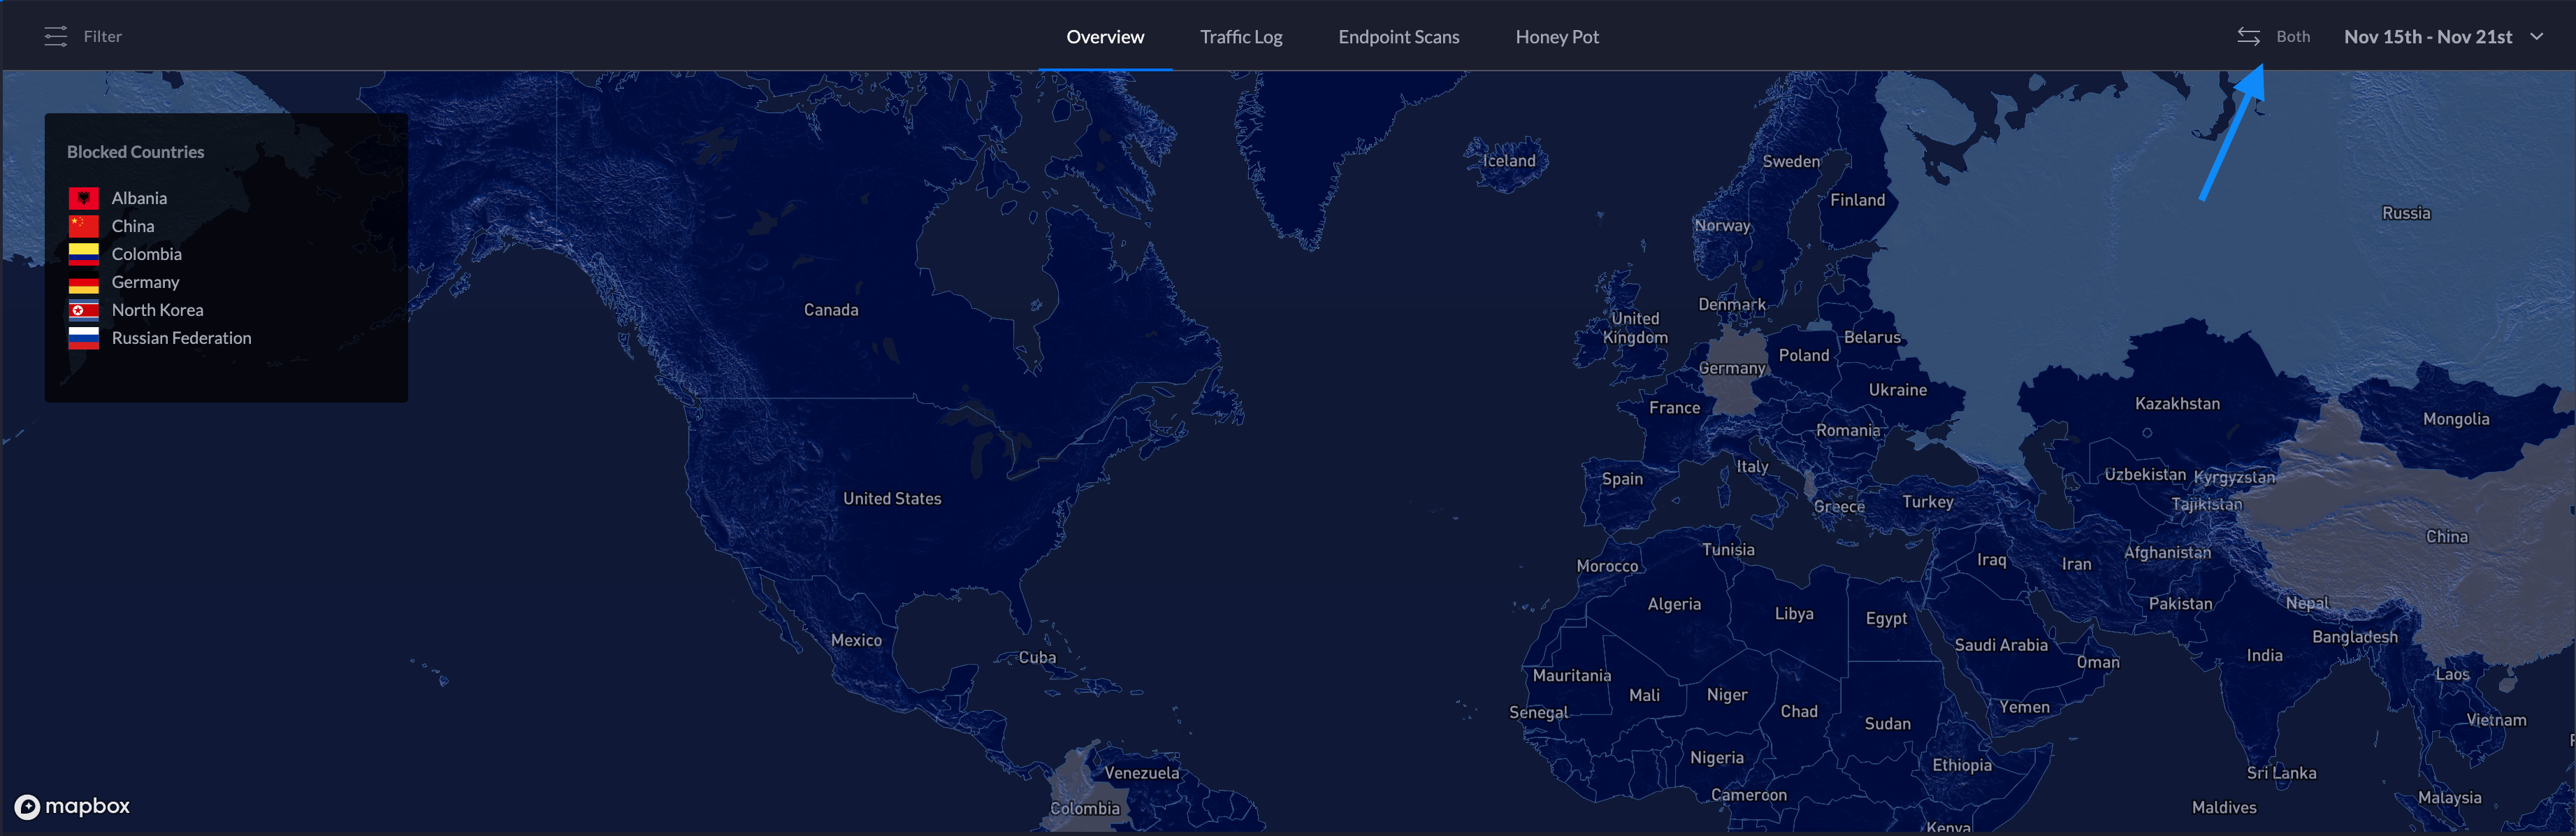
2. Select the traffic direction.

3. Click Done.
DNS Filters
ATTENTION:
- DNS Filtering is only available on the UniFi Dream Machine.
- Clients that use VPN, DNS-over-HTTPS, or DNS-over-TLS will have non-standard DNS requests that will not be seen by the UniFi Dream Machine.
The DNS Filter feature allows administrators to select levels of filtering per-network. This ensures that any DNS requests that go out from clients on configured LANs adhere to the filtering levels.
1. To configure DNS Filters, navigate to New Settings > Internet Security > DNS Filters.
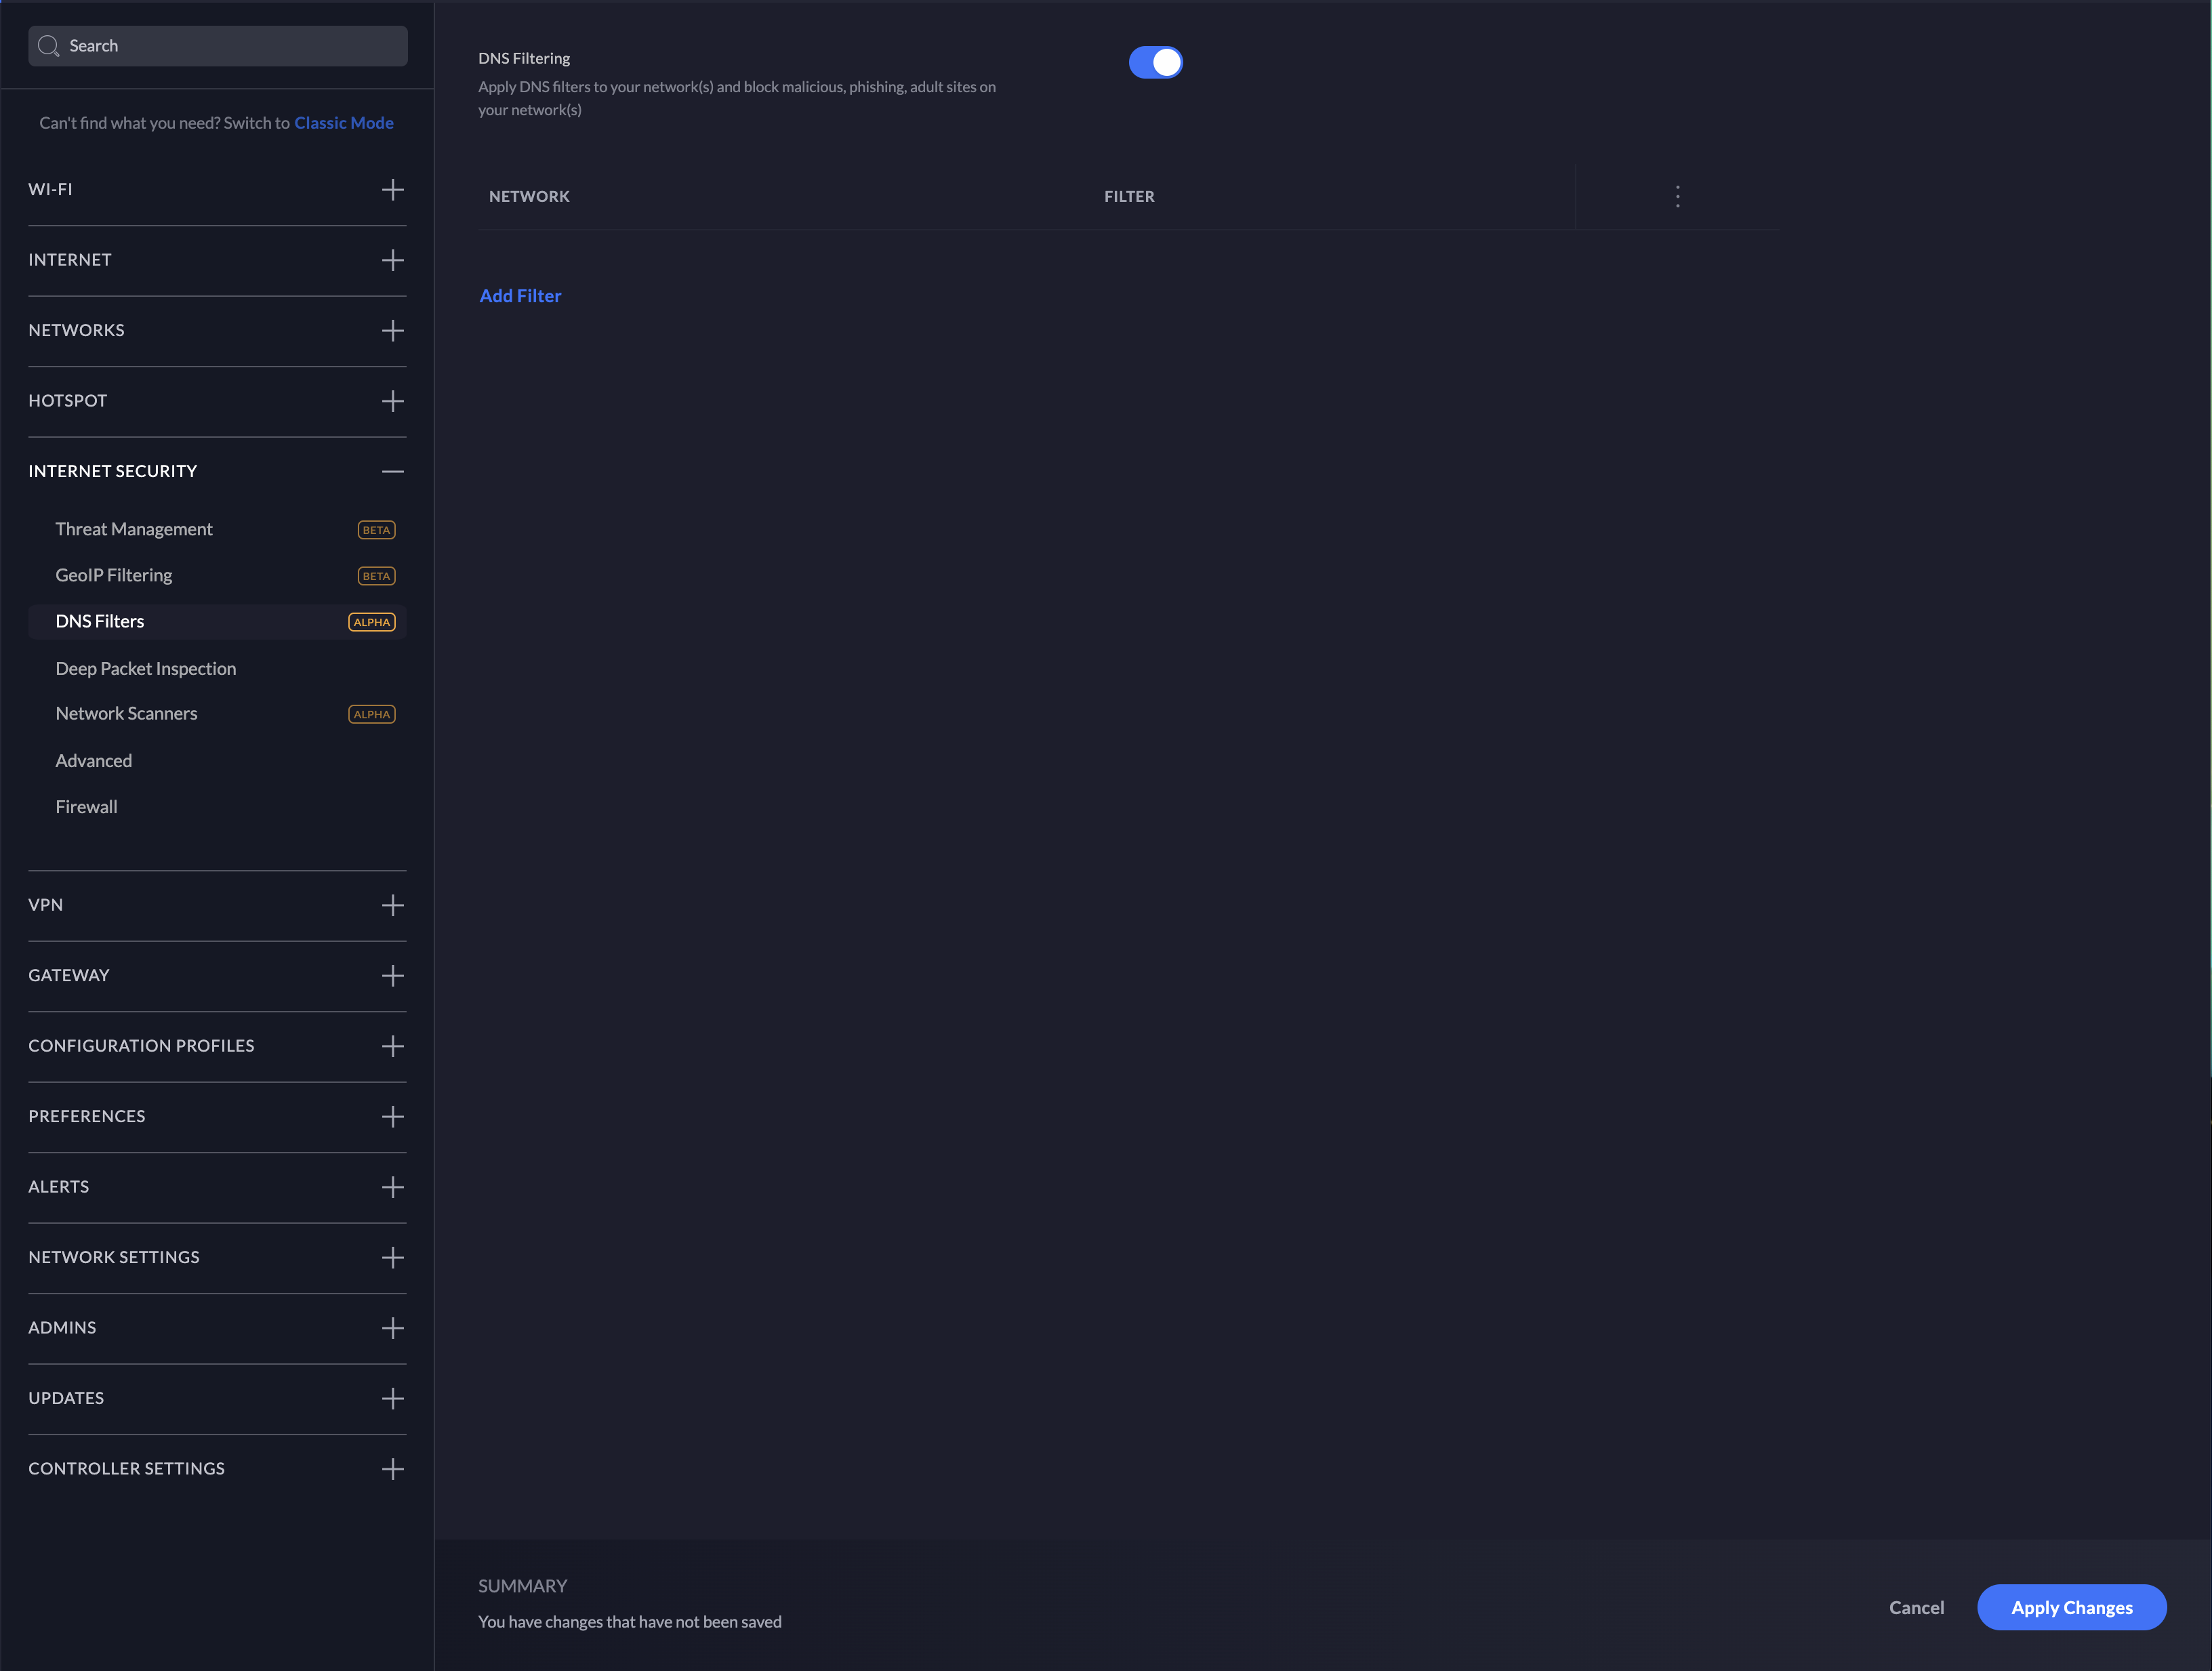
2. Enable DNS Filtering by clicking the slider button.
3. Select Add Filter.
4. Choose the desired level of filtering for the LAN.
5. Select which network this filter should apply to and confirm the selection.
6. DNS filtering will be enabled at this point.
Filter Levels
Security
Blocks access to phishing, spam, malware, and malicious domains. The database of malicious domains is updated hourly. Note that it does not block adult content.
Adult
Blocks access to all adult, pornographic and explicit sites. It does not block proxy or VPNs, nor mixed-content sites. Sites like Reddit are allowed. Google and Bing are set to the “Safe Mode”. Malicious and Phishing domains are blocked.
Family
Blocks access to all adult, pornographic and explicit sites. It also blocks proxy and VPN domains that are used to bypass the filters. Mixed content sites (like Reddit) are also blocked. Google, Bing, and Youtube are set to the Safe Mode. Malicious and Phishing domains are blocked.
Deep Packet Inspection
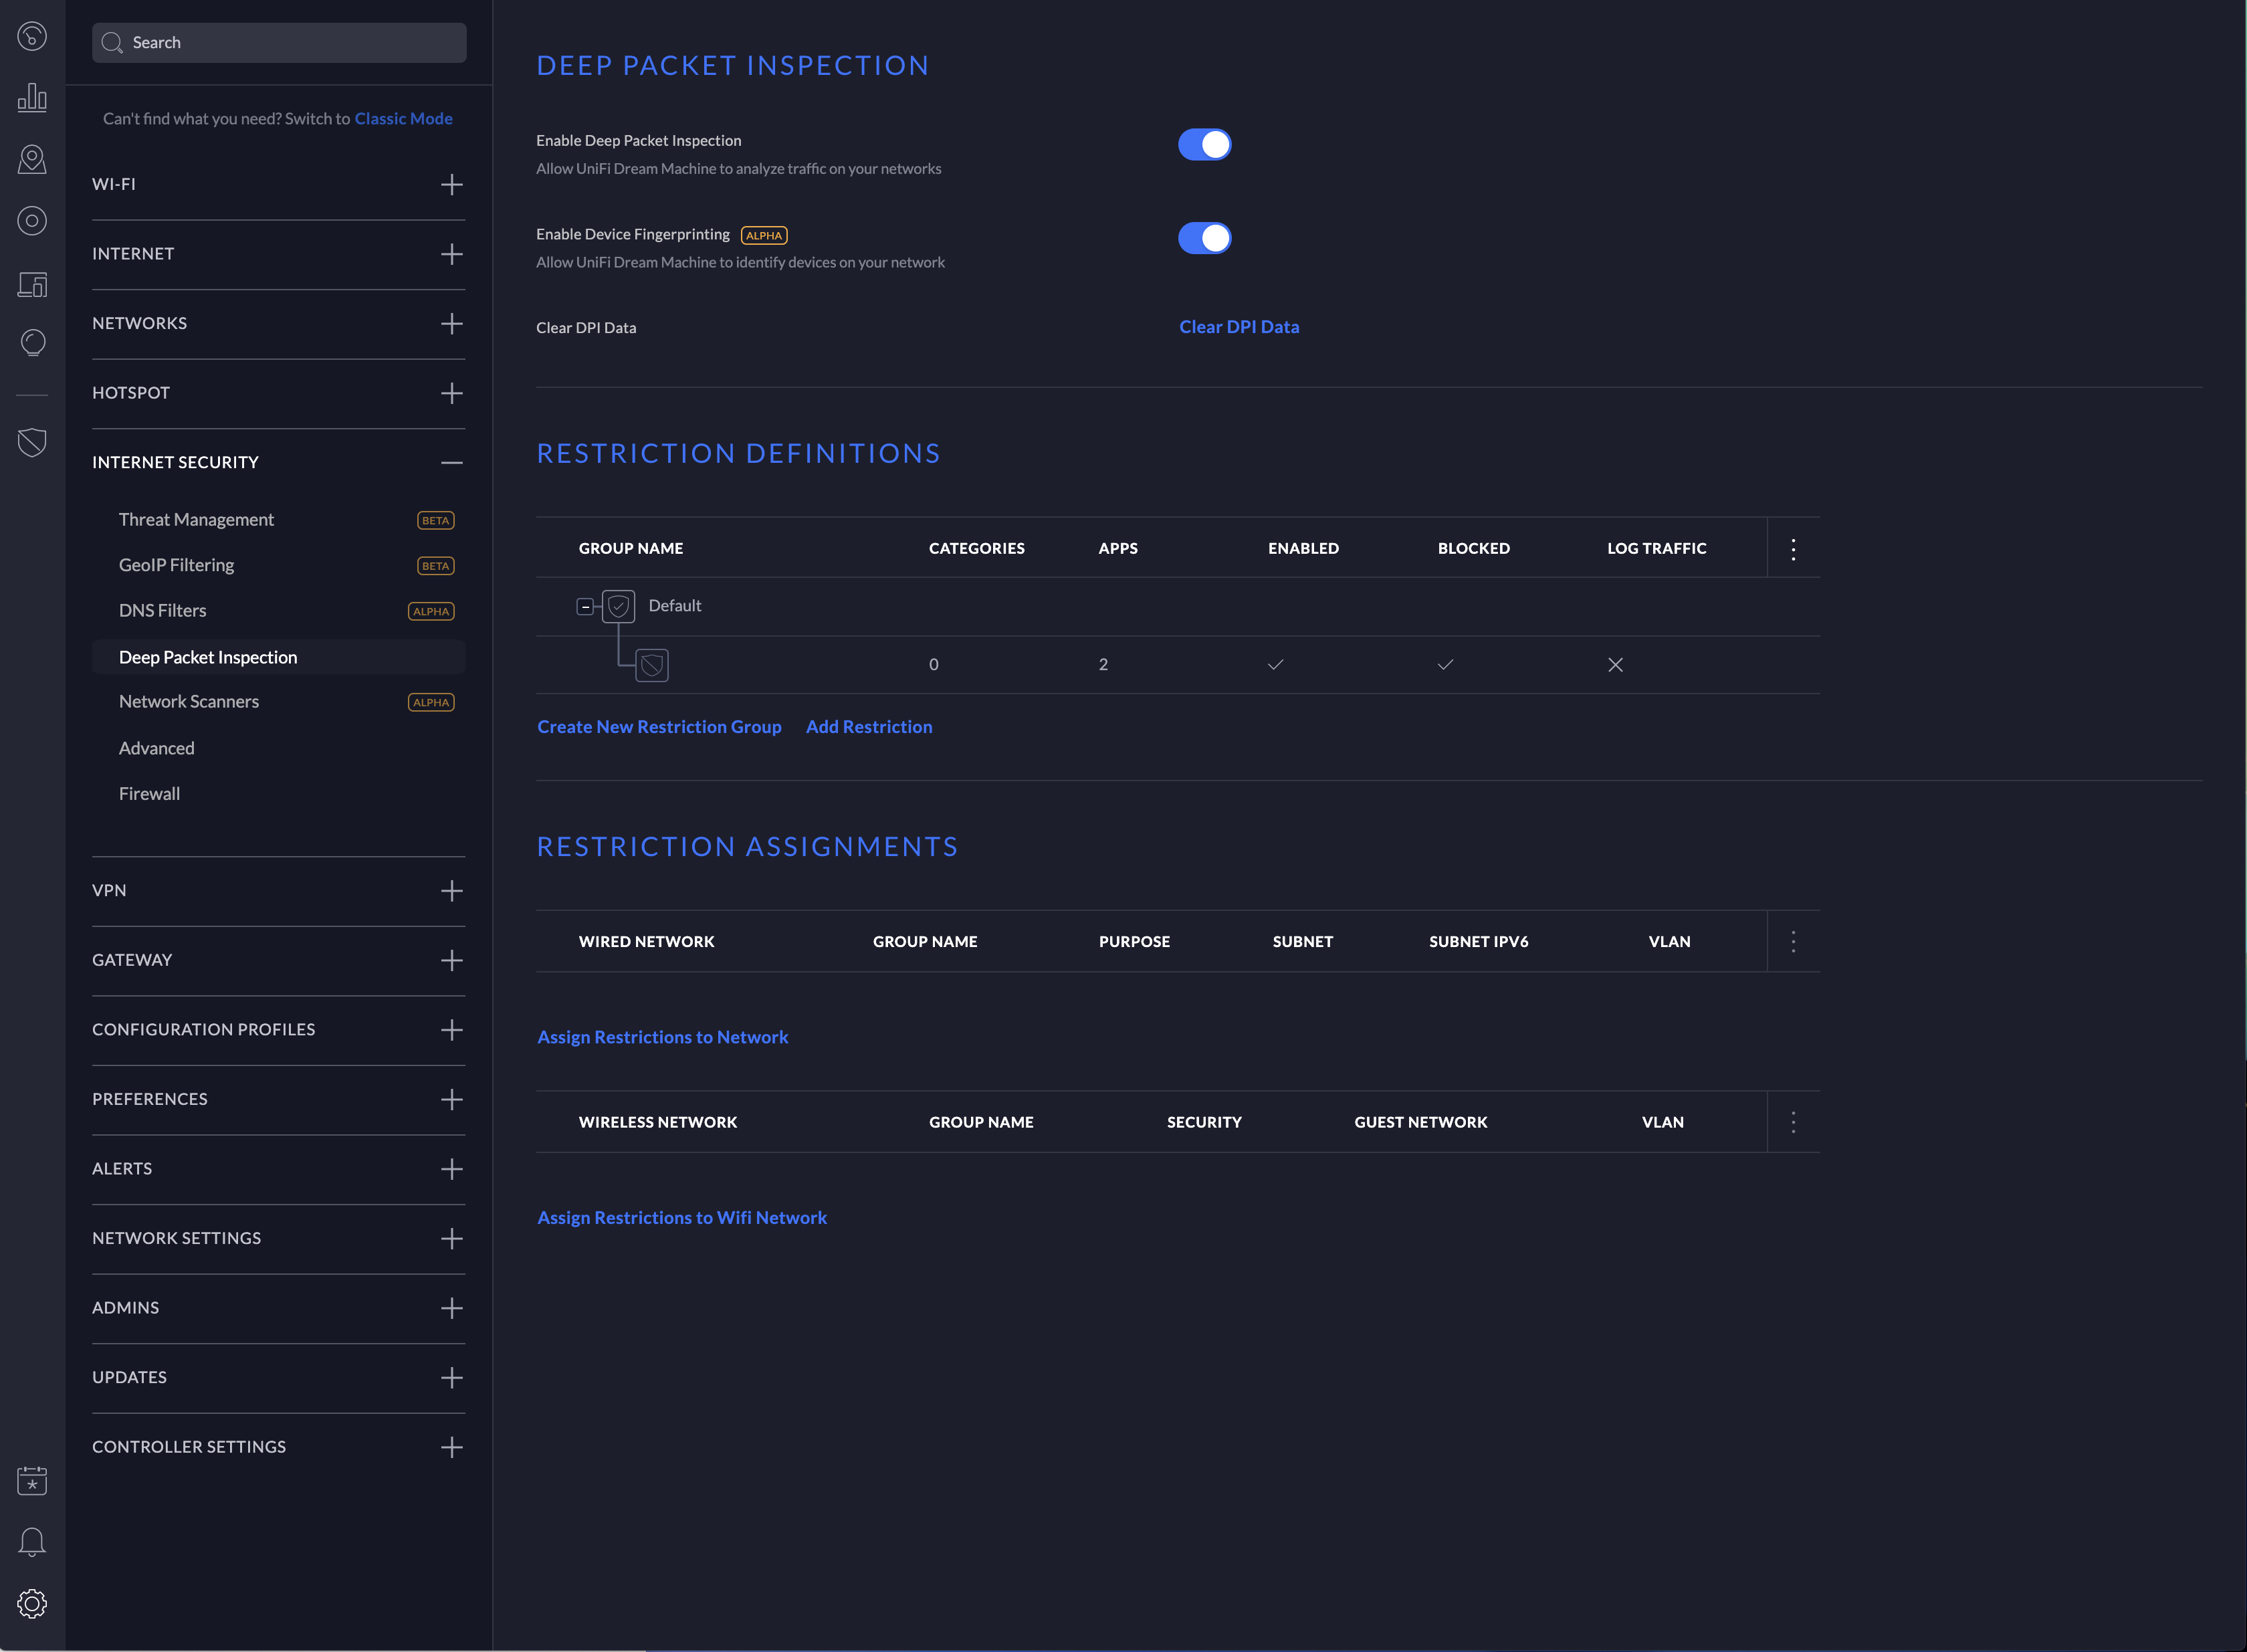
To configure Deep Packet Inspection (DPI) navigate to New Settings > Internet Security > Deep Packet Inspection.
NOTE: Device fingerprinting is not available on the UniFi Security Gateway.
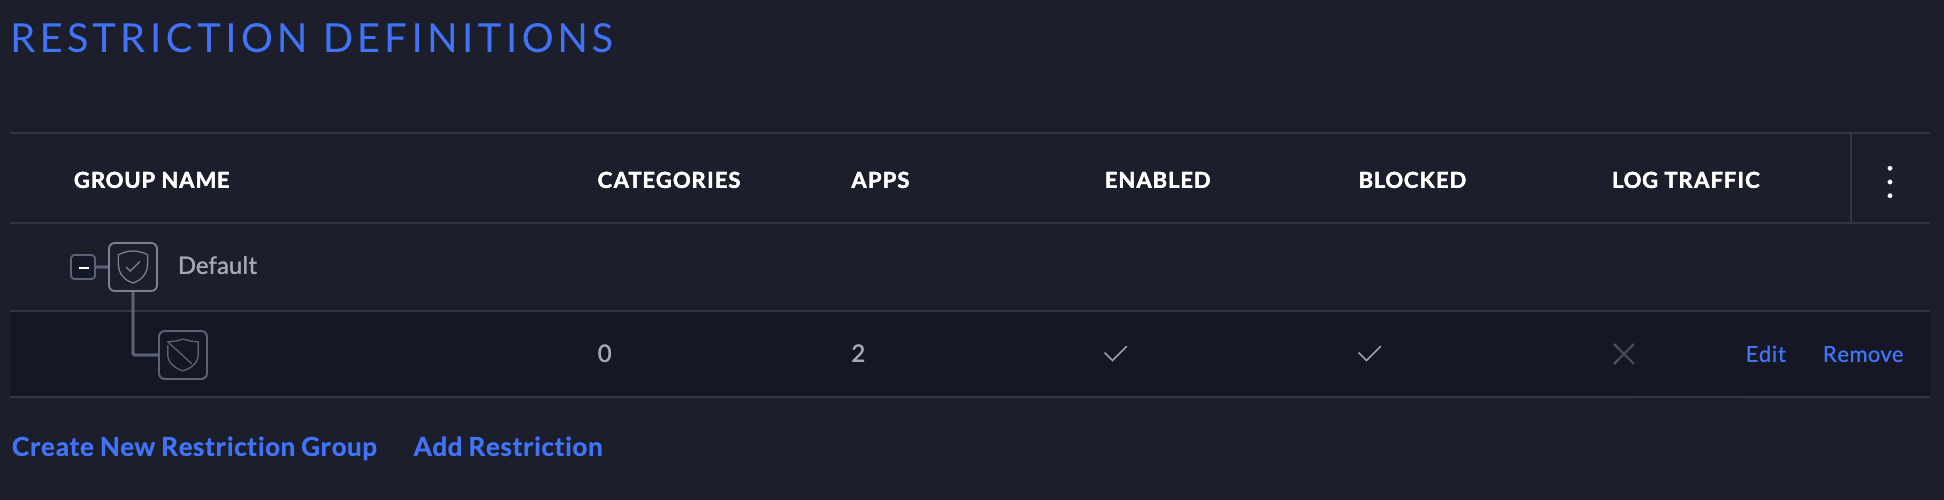
DPI Restrictions
ATTENTION:DPI restrictions are limited to whole-category selections on the UniFi Security Gateway. This restriction is not applicable to the UniFi Dream Machine platform.
1. Click Add Restriction under “Restriction definitions”.
2. In the configuration side-panel select a restriction group to add the rules to.
3. Select a category to block.
4. Select an application from the category or select “All applications” to block the entire category.
5. Ensure that “Enable This Restriction” is selected.
6. Add the restriction group to a network in the “Restriction assignments” section. NOTE:A restriction definition can be applied to many networks. A restriction definition for each network is not required.
To manage the restriction definition, hover over the definition and selection either edit or remove.
Configuring Network Scanners
ATTENTION:Network Scanners are only available on the UniFi Dream Machine.
Internal Honeypot
The “internal honeypot” feature is a passive detection system that listens for LAN clients attempting to gain access to unauthorized services or hosts. Clients that are potentially infected with worm or exfiltration type vulnerabilities are known to scan networks, infect other hosts, and potentially snoop for information on easy-to-access servers. The honeypot will report when hosts attempt to access the honeypot. Reports can be found on the Threat Management Dashboard.
To configure the internal honeypot follow the steps below:
1. Navigate to Settings > Security > Internet Threat Management > Network Scanners.
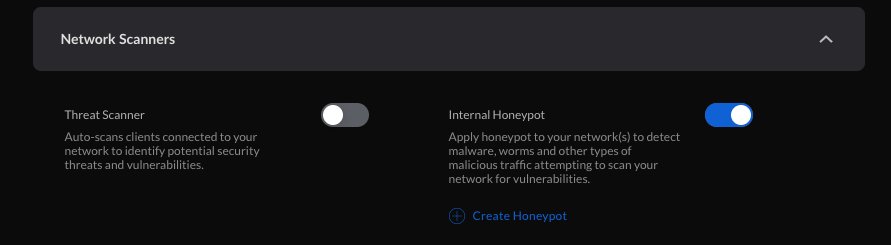
2. Enable the honeypot service by clicking the slider button.
3. Select “Create Honeypot”.
4. In the popup modal select the network and Honeypot IP.
5. Select “Create”.
Honeypot Services
The honeypot service listens on the following ports:
- FTP – TCP Port 21
- SSH – TCP Port 22
- Telnet – TCP Port 23
- SMTP – TCP Port 25
- DNS – UDP Port 53
- HTTP – TCP Port 80
- POP3 – TCP Port 110
- SMB – TCP Port 445
- MSSQL – TCP Port 1433
Testing & Verification
Intrusion Detection/Prevention
Linux or macOS
Input:
curl -A "BlackSun" www.example.com
Expected alert result:
Threat Management Alert 1: A Network Trojan was Detected. Signature ET USER_AGENTS Suspicious User Agent (BlackSun). From: 192.168.1.172:55693, to:172.217.4.196:80, protocol: TCP
Windows
The DNS category must be enabled
Input:
nslookup blacklistthisdomain.com 8.8.8.8
Expected alert result:
Threat Management Alert 1: A Network Trojan was Detected. Signature ET DNS Reply Sinkhole - 106.187.96.49 blacklistthisdomain.com. From: 192.168.1.1:53, to: 192.168.1.182:61440, protocol: UDP
Internal Honeypot
A few examples of manually testing the internal honeypot service are below. The following commands may or may not prompt for login credentials. The alerts will appear in the Honeypot section of the Threat Management Dashboard a few minutes after attempting the testing.
Telnet:
telnet <honeypot_ip>
SSH:
ssh <honeypot_ip>
NOTE:Replace <honeypot_ip> with the honeypot IP configured in the UniFi Network application.
Privacy Statement
What information does the IPS/IDS engine send to the cloud?
1. When a UniFi Administrator enables IPS or IDS on the UniFi Network application a token is generated for the gateway. The information listed below is sent over a TLS 1.2 encrypted connection whenever there is an IPS/IDS signature match.
timestamp
interface
source IP
source port
destination IP
destination port
protocol
signature id
2. Every 120-seconds there is a keep-alive to the ips1.unifi-ai.com hostname. This connection is to ensure reliable delivery of the violation message. The keep-alive is a connection to our cloud using port 443 so it is not just an ICMP ping or DNS resolution but a complete 3-way handshake and SSL Key exchange.
What information is kept on our servers regarding IPS/IDS?
The data listed above is only temporarily stored in the IPS Cloud until the UniFi Network application downloads the information. After the information is downloaded by the application, the data is deleted from our cloud except for the attacker IP. The attacker IP information helps Ubiquiti maintain an up-to-date and effective attacker list which will improve Ubiquiti’s services to Ubiquiti customers around the world.
How is the information from alerts used by Ubiquiti?
Ubiquiti will use the alert information to improve its products and services, including generating lists of IP Reputation, Malicious IP addresses, Threat Intelligence and creating blacklists and new signatures for Ubiquiti devices. A sanitized version of IP addresses (Ex: 200.200.x.x) can also be displayed on Ubiquiti Public Threat Map to help the public community to see malicious traffic around the world.
Source :
https://help.ui.com/hc/en-us/articles/360006893234-UniFi-USG-UDM-Configuring-Internet-Security-Settings