SUMMARY
Updated on 12/29/2021 @ 2:00PM GMT with updated information about Trend Micro Log4Shell Vulnerability Assessment Tool and new CVE-2021-44832.
Jump directly to information on affected/not-affected Trend Micro Products
On December 9, 2021, a new critical 0-day vulnerability impacting multiple versions of the popular Apache Log4j 2 logging library was publicly disclosed that, if exploited, could result in Remote Code Execution (RCE) by logging a certain string on affected installations.
This specific vulnerability has been assigned CVE-2021-44228 and is also being commonly referred to as “Log4Shell” in various blogs and reports. Versions of the library said to be affected are versions 2.0-beta 9 to 2.14.1.https://repo1.maven.org/maven2/org/apache/logging/log4j/log4j-core/2.15.0/.
On December 14, 2021, information about a related vulnerability CVE-2021-45046 was released that recommended that users upgrade to at least version 2.16.0+ of Log4j 2.
Based on our analysis, the rules and protections listed below for CVE-2021-44228 are also effective against CVE-2021-45046.
On December 18, 2021, information about a potential “3rd wave” and version 2.17.0 has been released and assigned CVE-2021-45105. Information about protection is below and ZDI has a technical blog about it here: https://www.zerodayinitiative.com/blog/2021/12/17/cve-2021-45105-denial-of-service-via-uncontrolled-recursion-in-log4j-strsubstitutor .
On December 28th, yet another RCE (CVE-2021-44832) was discovered and disclosed. Although not as critical as the initial vulnerabilities (CVSS 6.6), it is still recommended that administrators do their due diligence to update to the latest version available (2.17.1).
Background
Log4j is an open-open source, Java-based logging utility that is widely deployed and used across a variety of enterprise applications, including many cloud services that utilize Apache web servers.
The vulnerability (assigned as CVE-2021-44228) is a Java Naming and Directory InterfaceTM (JNDI) injection vulnerability in the affected versions of Log4j listed above. It can be triggered when a system using an affected version of Log4j 2 includes untrusted data in the logged message – which if this data includes a crafted malicious payload, a JNDI lookup is made to a malicious server. Depending on the information sent back (response) a malicious Java object may be loaded, which could eventually lead to RCE. In addition, attackers who can control log messages or their parameters can execute arbitrary code loaded from LDAP servers when message lookup substitution is enabled.
The challenge with this vulnerability is widespread use of this particular logging utility in many enterprise and cloud applications. JDNI lookups support multiple protocols, but based on analysis so far, exploitability depends on the Java versions and configurations. From a practical standpoint, just because a server has implemented an affected version of Log4j 2, it does not automatically mean it is vulnerable depending on its configuration.
Trend Micro Research is continuing to analyze this vulnerability and its exploits and will update this article as more information becomes available. A comprehensive blog with more background information can be found here .DETAILS
Protection Against Exploitation
First and foremost, it is always highly recommended that users apply the vendor’s patches when they become available.
A new version of Log4j 2 has been released which reportedly resolves the issue: Version 2.17.1 is now availableand is the suggested update. Users with affected installations should consider updating this library at the earliest possible time.
Note: due to additional waves of new exploits, the previous manual mitigation steps published have proven not to be sufficient and have been removed.
Trend Micro Protection and Investigation
In addition to the vendor patch(s) that should be applied, Trend Micro has released some supplementary rules, filters and detection protection that may help provide additional protection and detection of malicious components associated with this attack servers that have not already been compromised or against further attempted attacks.
The following demo video highlights ways in which Trend Micro can help customers discover, detect and provide protection: https://www.youtube.com/watch?v=r_IggE3te6s.
Using Trend Micro Products for Investigation
Trend Micro Log4j Vulnerability ScannerTrend Micro Research has created a quick web-based scanning tool that can help users and administrators identify server applications that may be affected but the Log4Shell vulnerability.The tool can be found at: https://log4j-tester.trendmicro.com/ and a demo video can be found at: https://youtu.be/7uix6nDoLBs.
Trend Micro Log4Shell Vulnerability Assessment ToolTrend Micro also has created a free assessment tool that can quickly identify endpoints and server applications that may have Log4j using the power of Trend Micro Vision One.This quick and easy self-serve security assessment tool leverages complimentary access to the Trend Micro Vision One threat defense platform, so you can identify endpoints and server applications that may be affected by Log4Shell. The assessment instantly provides a detailed view of your attack surface and shares next steps to mitigate risks.
The free assessment tool can be found at: https://resources.trendmicro.com/Log4Shell-Vulnerability-Assessment.html .
Please note, if you are already a Trend Micro Vision One customer, you do not need to complete the form. Simply log into your console and you will be provided instructions to complete the assessment of your exposure.
Trend Micro Vision One™
Trend Micro Vision One customers benefit from XDR detection capabilities of the underlying products such as Apex One. In addition, depending on their data collection time range, Trend Micro Vision One customers may be able to sweep for IOCs retrospectively to identify if there was potential activity in this range to help in investigation.
Vision One Threat Intelligence Sweeping
Indicators for exploits associated with this vulnerability are now included in the Threat Intelligence Sweeping function of Trend Micro Vision One. Customers who have this enabled will now have the presence of the IOCs related to these threats added to their daily telemetry scans.
The first sweep, “Vulnerable version of log4j….” is slightly different than the others in that instead of specific IOCs, it is looking for specific instances of log4j libraries on systems which can help a customer narrow down or give additional insights on potentially vulnerable systems.
The results of the intelligence scans will populate in the WorkBench section of Vision One (as well as the sweep history of each unfolded threat intelligence report).
Please note that customers may also manually initiate a scan at any time by clicking the 3 dots at the right of a rule and selecting the “Start Sweeping” option.
Vision One Search Queries for Deep Security Deep Packet Inspection
Customers who have Trend Micro Cloud One – Workload Security or Deep Security may utilize the following search query to identify hosts and then additional queries can be made with a narrowed timeframe on those hosts as additional information is learned about exploits.
eventName:DEEP_PACKET_INSPECTION_EVENT AND (ruleId:1008610 OR ruleId:1011242 OR ruleId:1005177) AND ("${" AND ("lower:" OR "upper:" OR "sys:" OR "env:" OR "java:" OR "jndi:"))
Trend Micro Cloud One™ – Conformity
Trend Micro Cloud One – Conformity allows gives customers central visibility and real-time monitoring of their cloud infrastructure by enabling administrators to auto-check against nearly 1000 cloud service configuration best practices across 90+ services and avoid cloud service misconfigurations.
The following rules are available to all Trend Micro Cloud One – Conformity customers that may help provide more insight to customers looking to isolate affected machines (more information can be found here for rule configuration):
- Lambda-001 : identifies all Lambdas that are running Java which may be vulnerable.
- Approved/Golden AMIs (EC2-028) : can be used to look for vulnerable AMIs that are running Java.
- Unrestricted Security Group Egress (EC2-033) : identifies security groups that may be associated with, for example, an EC2 that may be compromised and then has the ability to communicated externally.
Preventative Rules, Filters & Detection
A demo video of how Trend Micro Cloud One can help with this vulnerability can be found at: https://youtu.be/CorEsXv3Trc.
Trend Micro Cloud One – Workload Security and Deep Security IPS Rules
- Rule 1011242 – Log4j Remote Code Execution Vulnerability (CVE-2021-44228)
This rule is recommended by default, and please note that the port lists may need to be updated for applications running on non-default ports.
- Rule 1005177 – Restrict Java Bytecode File (Jar/Class) Download
- Rule 1008610 – Block Object-Graph Navigation Language (OGNL) Expressions Initiation In Apache Struts HTTP Request
Rule 1008610 is a SMART rule that can be manually assigned to assist in protection/detection against suspicious activity that may be associated with this threat. This is not a comprehensive replacement for the vendor’s patch.
Please also note that rule 1008610 is shipped in DETECT, and must be manually changed to PREVENT if the administrator wishes to apply this. Also, please be aware that due to the nature of this rule, there may be False Positives in certain environments, so environment-specific testing is recommended.
- Rule 1011249 – Apache Log4j Denial of Service Vulnerability (protects against CVE-2021-45105)
Trend Micro Cloud One – Workload Security and Deep Security Log Inspection
- LI Rule 1011241 – Apache Log4j Remote Code Execution Vulnerability (CVE-2021-44228)
- A custom LI rule can also be created to detect patterns as discovered in the future. More information can be found here.
Trend Micro Apex One Integrated Vulnerability Protection (iVP) Rules
- Rule 1011242 – Log4j Remote Code Execution Vulnerability (CVE-2021-44228)
- Rule 1011249 – Apache Log4j Denial of Service Vulnerability (protects against CVE-2021-45105)
Trend Micro Deep Discovery Inspector (DDI) Rules
- Rule 4280: HTTP_POSSIBLE_USERAGENT_RCE_EXPLOIT_REQUEST
- Rule 4641 : CVE-2021-44228 – OGNL EXPLOIT – HTTP(REQUEST)
- Rule 4642 : POSSIBLE HTTP HEADER OGNL EXPRESSION EXPLOIT – HTTP(REQUEST)
- Rule 4643: POSSIBLE HTTP BODY OGNL EXPRESSION EXPLOIT – HTTP (REQUEST) – Variant 2
Trend Micro Cloud One – Network Security and TippingPoint Recommended Actions
- Filter 40627 : HTTP: JNDI Injection in HTTP Header or URI
This was released in Digital Vaccine #9621 and has replaced CSW C1000001 that was previously released.
Trend Micro recommends customers enable this filter in a block and notify posture for optimal coverage. Starting with Digital Vaccines released on 12/21/2021, it will be enabled by default. Since it may not be enabled in your environment, Trend Micro strongly recommends you confirm the filter is enabled in your policy.
- Filter 40652: HTTP: Apache Log4j StrSubstitutor Denial-of-Service Vulnerability (ZDI-21-1541)
- Covers CVE-2021-45105
What other controls can be used to disrupt the attack?
This attack is successful when the exploit is used to initiate a transfer of a malicious attack payload. In addition to the filter above, these techniques can help disrupt that chain:
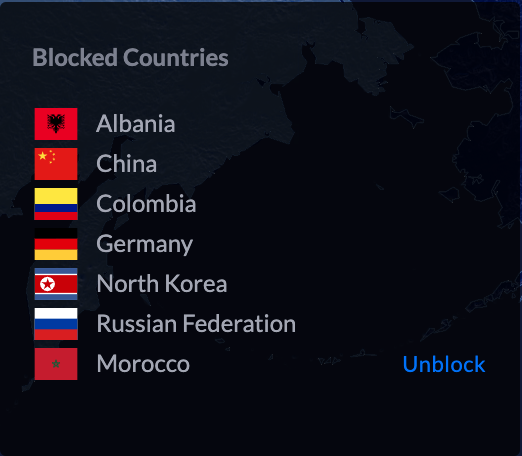
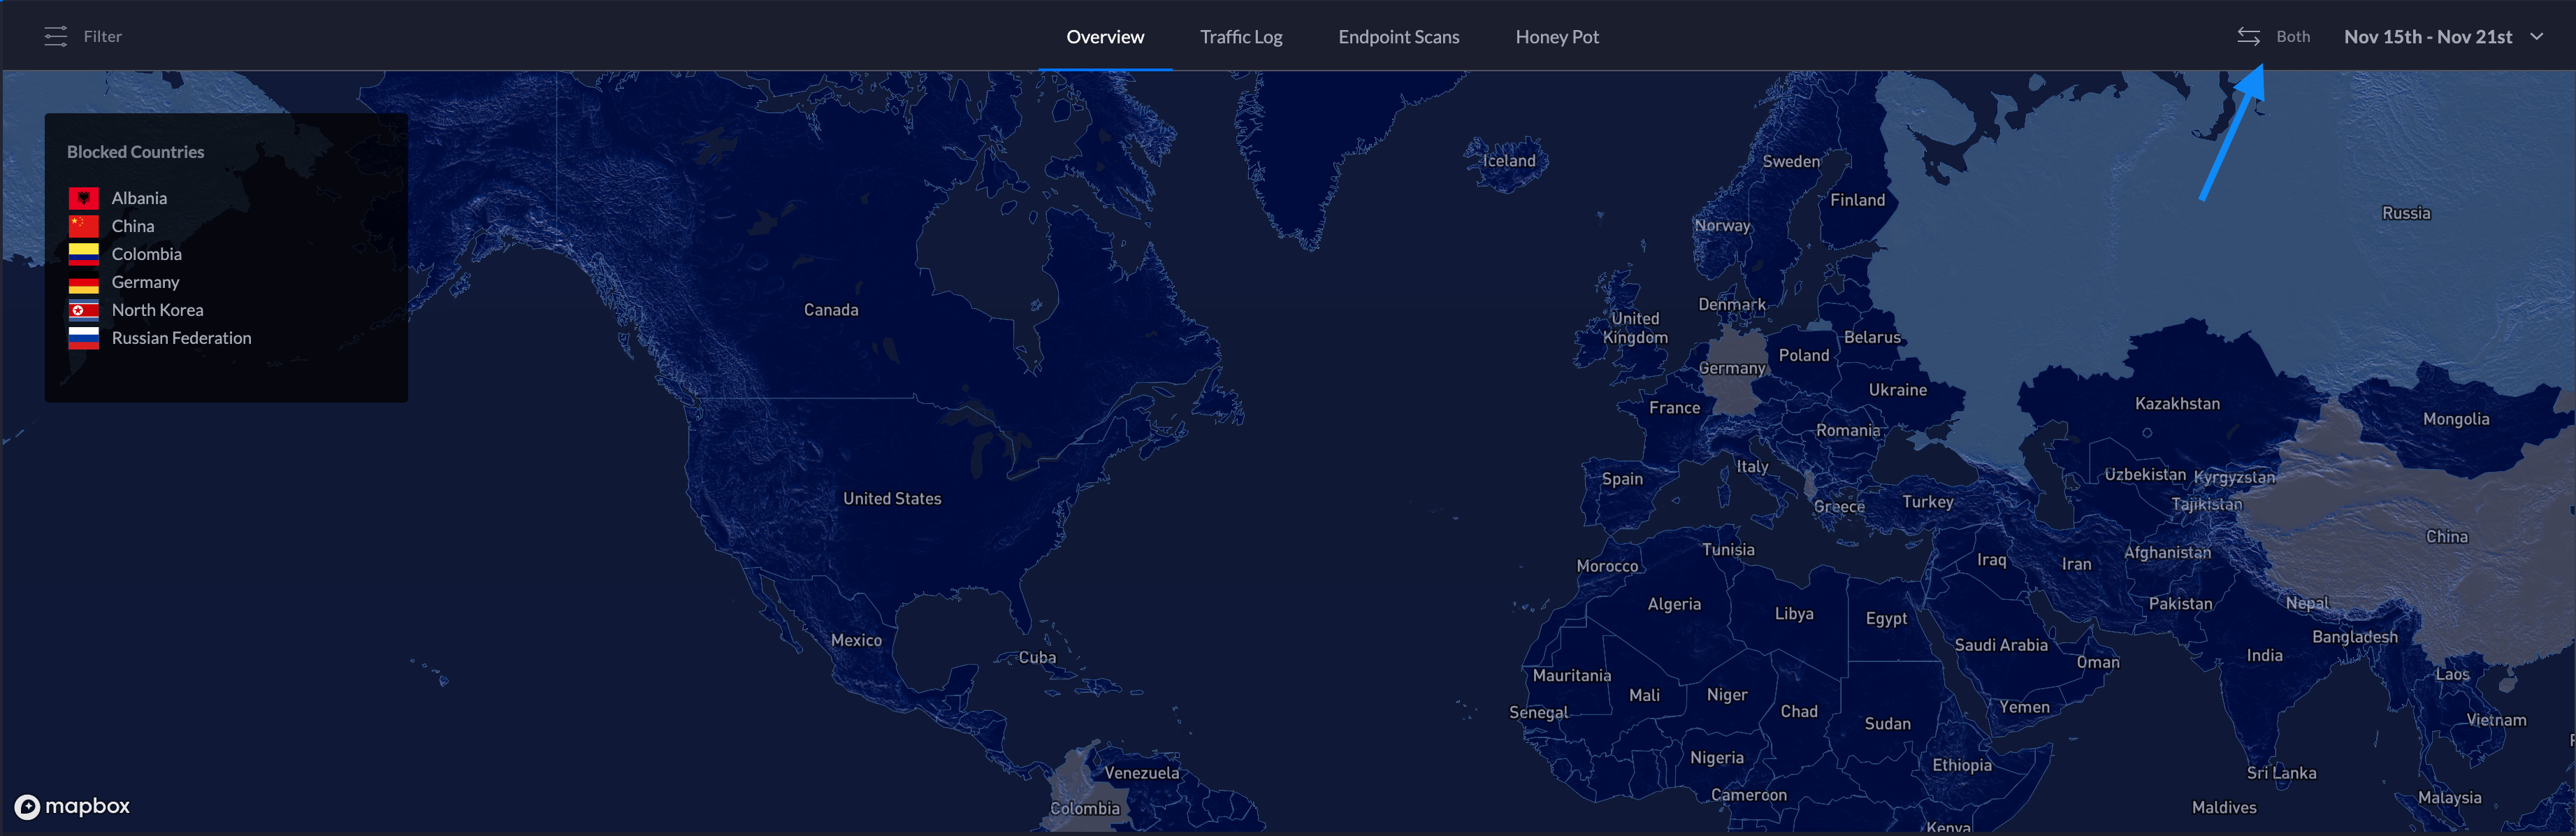
- Geolocation filtering can be used to reduce possible attack vectors. Geolocation filtering can block inbound and outbound connections to any specified country, which may limit the ability for attackers to exploit the environment. In cases where a business only operates in certain regions of the globe, proactively blocking other countries may be advisable.
- For TippingPoint IPS, TPS, and vTPS products
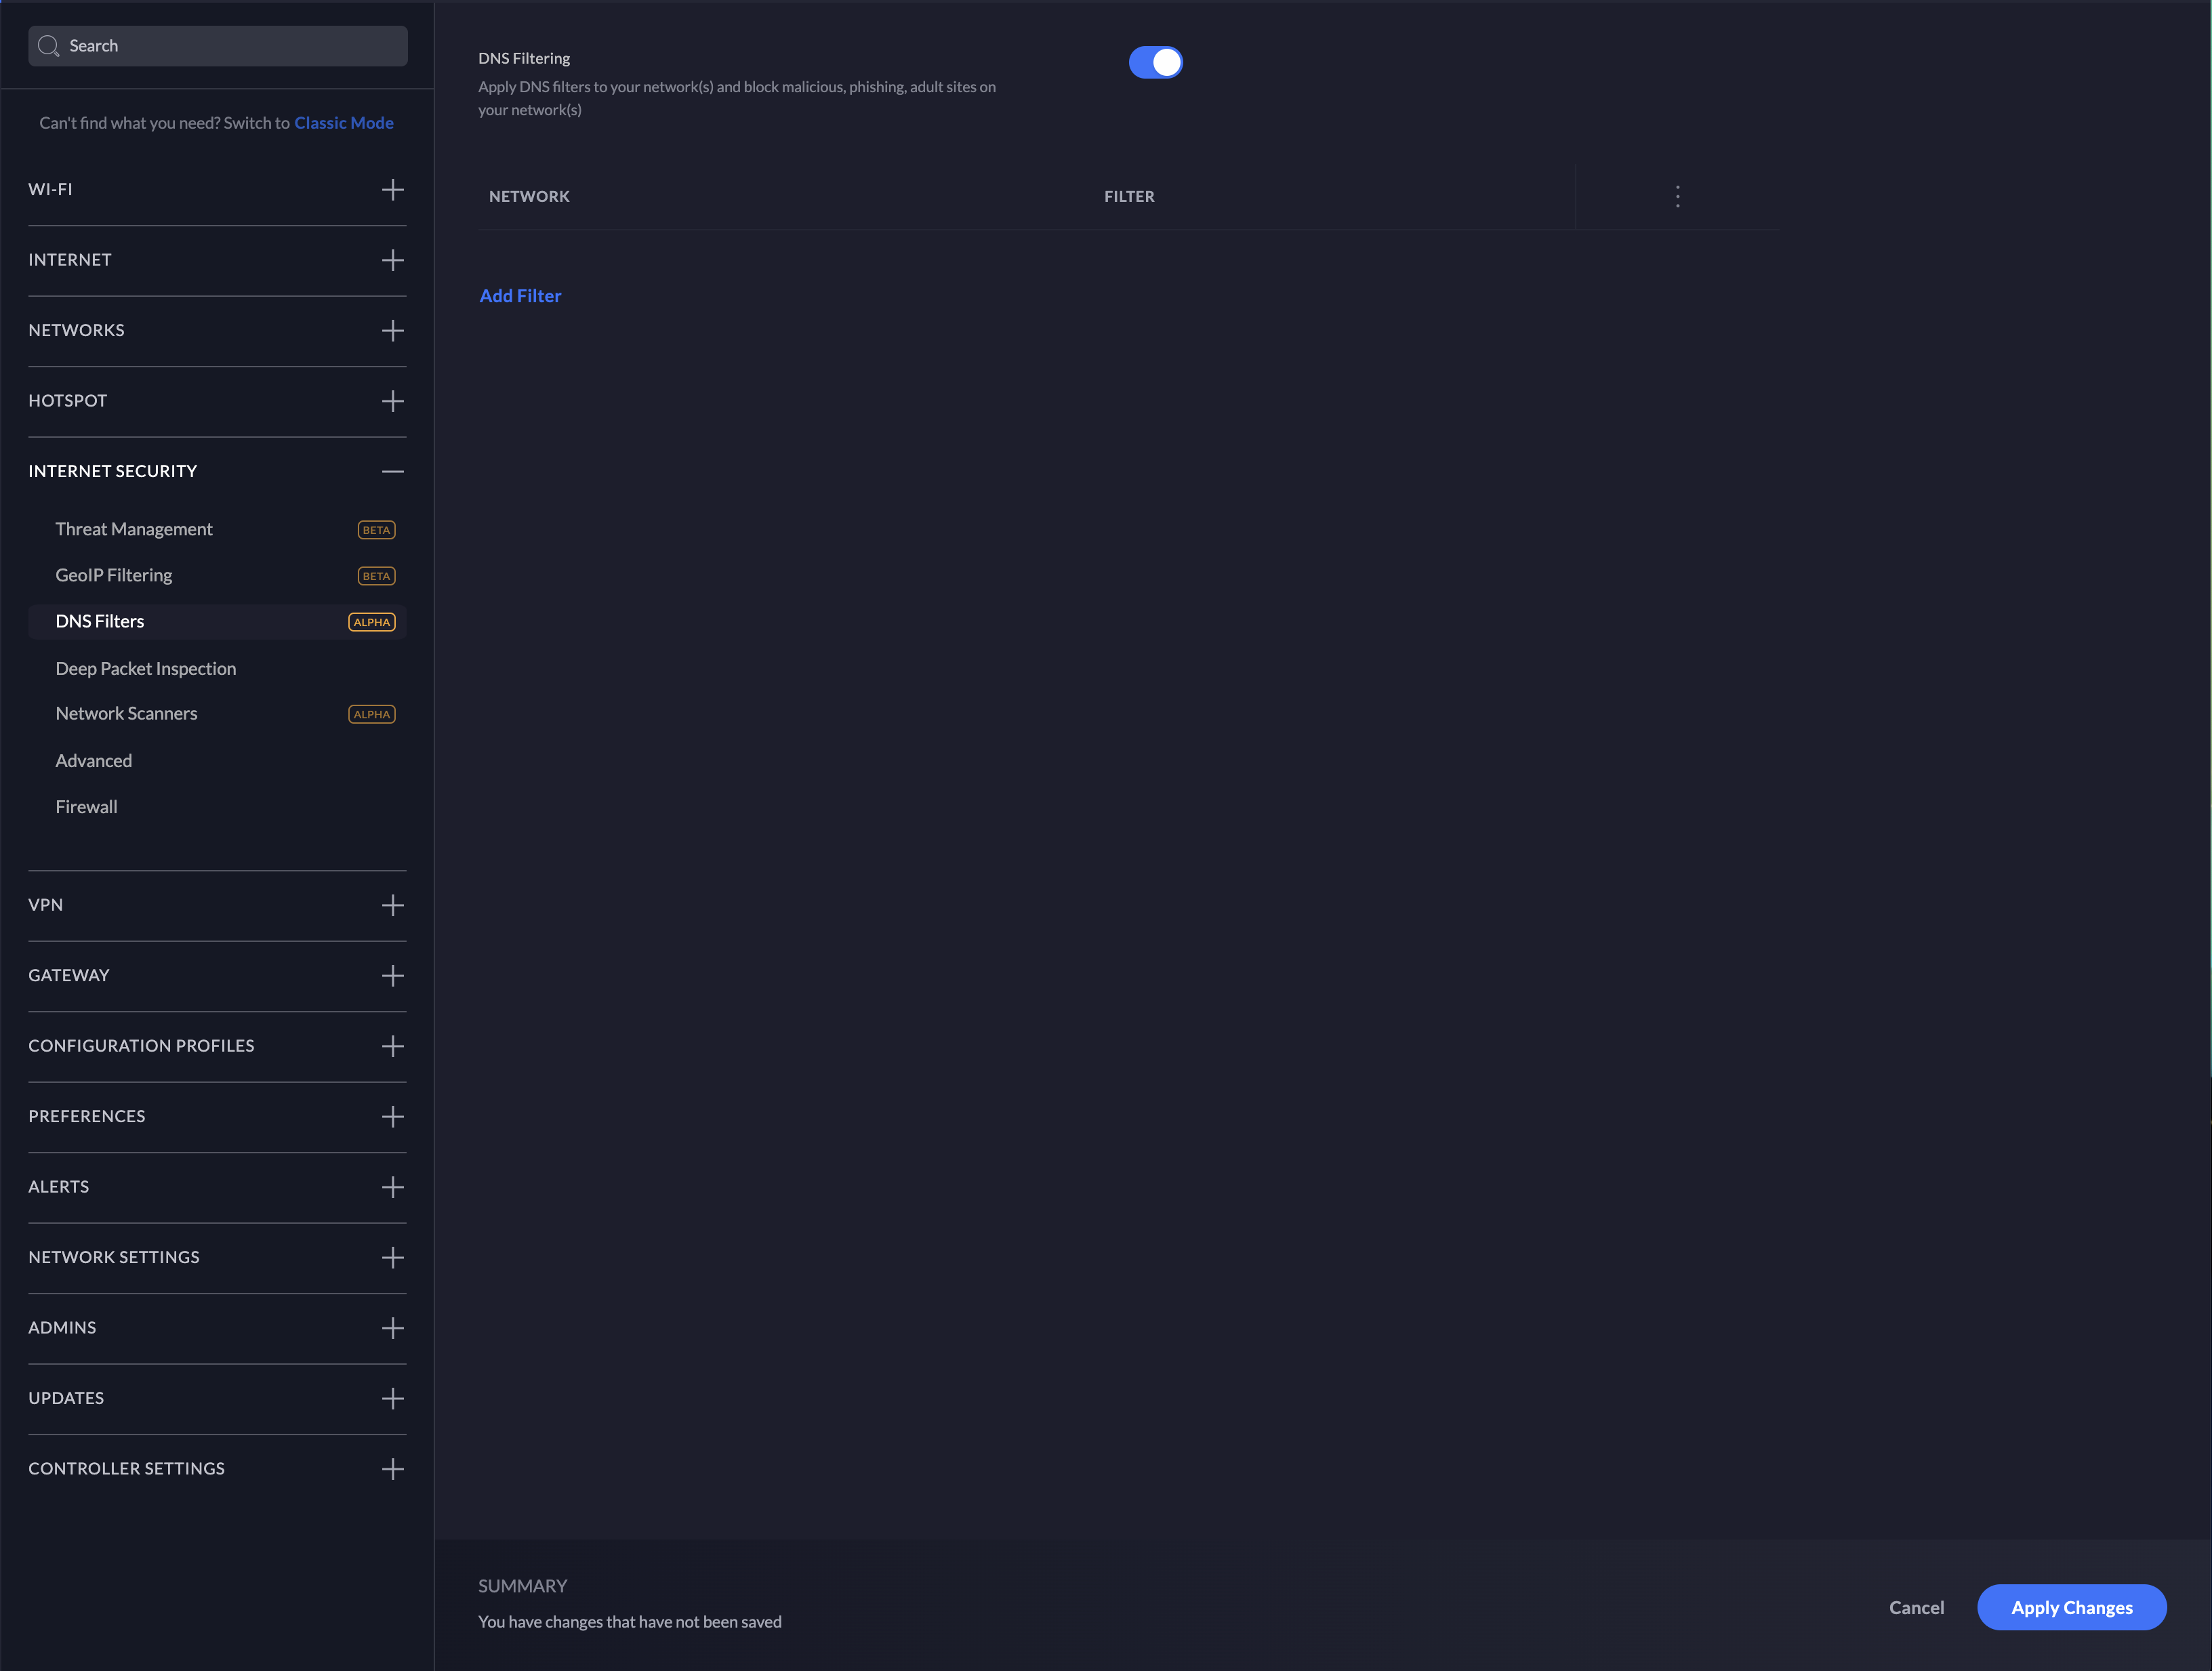
Trend Micro also recommends enabling DNS and URL reputation as a proactive means of securing an environment from this vulnerability. Leveraging Trend Micro’s rapidly evolving threat intelligence, TippingPoint appliances can help disrupt the chain of attack destined to known malicious hosts.
Additionally, Reputation filtering can be leveraged to block Anonymous proxies that are commonly used in exploit attempts. Any inbound or outbound connections to/from an anonymous proxy or anonymizer service can be blocked by configuring a reputation filter with “Reputation DV Exploit Type” set to “Tor Exit” to a Block action. - For Cloud One – Network Security
Anonymous proxies are also an independent, configurable “region” that can be selected as part of Geolocation filtering. This will block any inbound or outbound connection to/from an anonymous proxy or anonymizer service, which can be commonly used as part of exploit attempts.
Domain filtering can also be used to limit the attack vectors and disrupt the attack chain used to exploit this vulnerability. In this case, any outbound connection over TCP is dropped unless the domain being accessed is on a permit list. If the attacker’s domain, e.g. http://attacker.com, is not on the permit list, then it would be blocked by default, regardless of IPS filter policy.
Trend Micro Malware Detection Patterns (VSAPI, Predictive Learning, Behavioral Monitoring and WRS) for Endpoint, Servers, Mail & Gateway (e.g. Apex One, Worry-Free Business Security Services, Worry-Free Business Security Standard/Advanced, Deep Security w/Anti-malware, etc.)
- Web Reputation (WRS): Trend Micro has added over 1700 URLs (and growing) to its WRS database to block that are linked to malicious reporting and communication vectors associated with observed exploits against this vulnerability.
- Ransomware Detection – there have been observations about a major ransomware campaign (Khonsari) being utilized in attacks and Trend Micro detects components related to this as Ransom.MSIL.KHONSARI.YXBLN.
- VSAPI (Pattern) Detections: the following detections have been released in the latest OPR for malicious code associated with exploits –
- Trojan.Linux.MIRAI.SEMR
- HS_MIRAI.SMF
- HS_MIRAI.SME
- Trojan.SH.CVE20207961.SM
- Backdoor.Linux.MIRAI.SEMR
- Trojan.SH.MIRAI.MKF
- Coinminer.Linux.KINSING.D
- Trojan.FRS.VSNTLB21
- Trojan.SH.MALXMR.UWELI
- Backdoor.SH.KIRABASH.YXBLL
- Backdoor.Linux.MIRAI.SMMR1
- Coinminer.SH.MALXMR.UWEKG
- Coinminer.Linux.MALXMR.SMDSL64
- Backdoor.Linux.GAFGYT.SMMR3
- Coinminer.Win64.MALXMR.TIAOODGY
- Rootkit.Linux.PROCHID.B
- ELF_SETAG.SM
- Backdoor.Linux.TSUNAMI.AMZ
- Coinminer.PS1.MALXMR.PFAIQ
- Trojan.SH.TSUNAMI.A
- Trojan.PS1.METERPRETER.E
- Coinminer.Linux.MALXRMR.PUWENN
Trend Micro Cloud One – Application Security
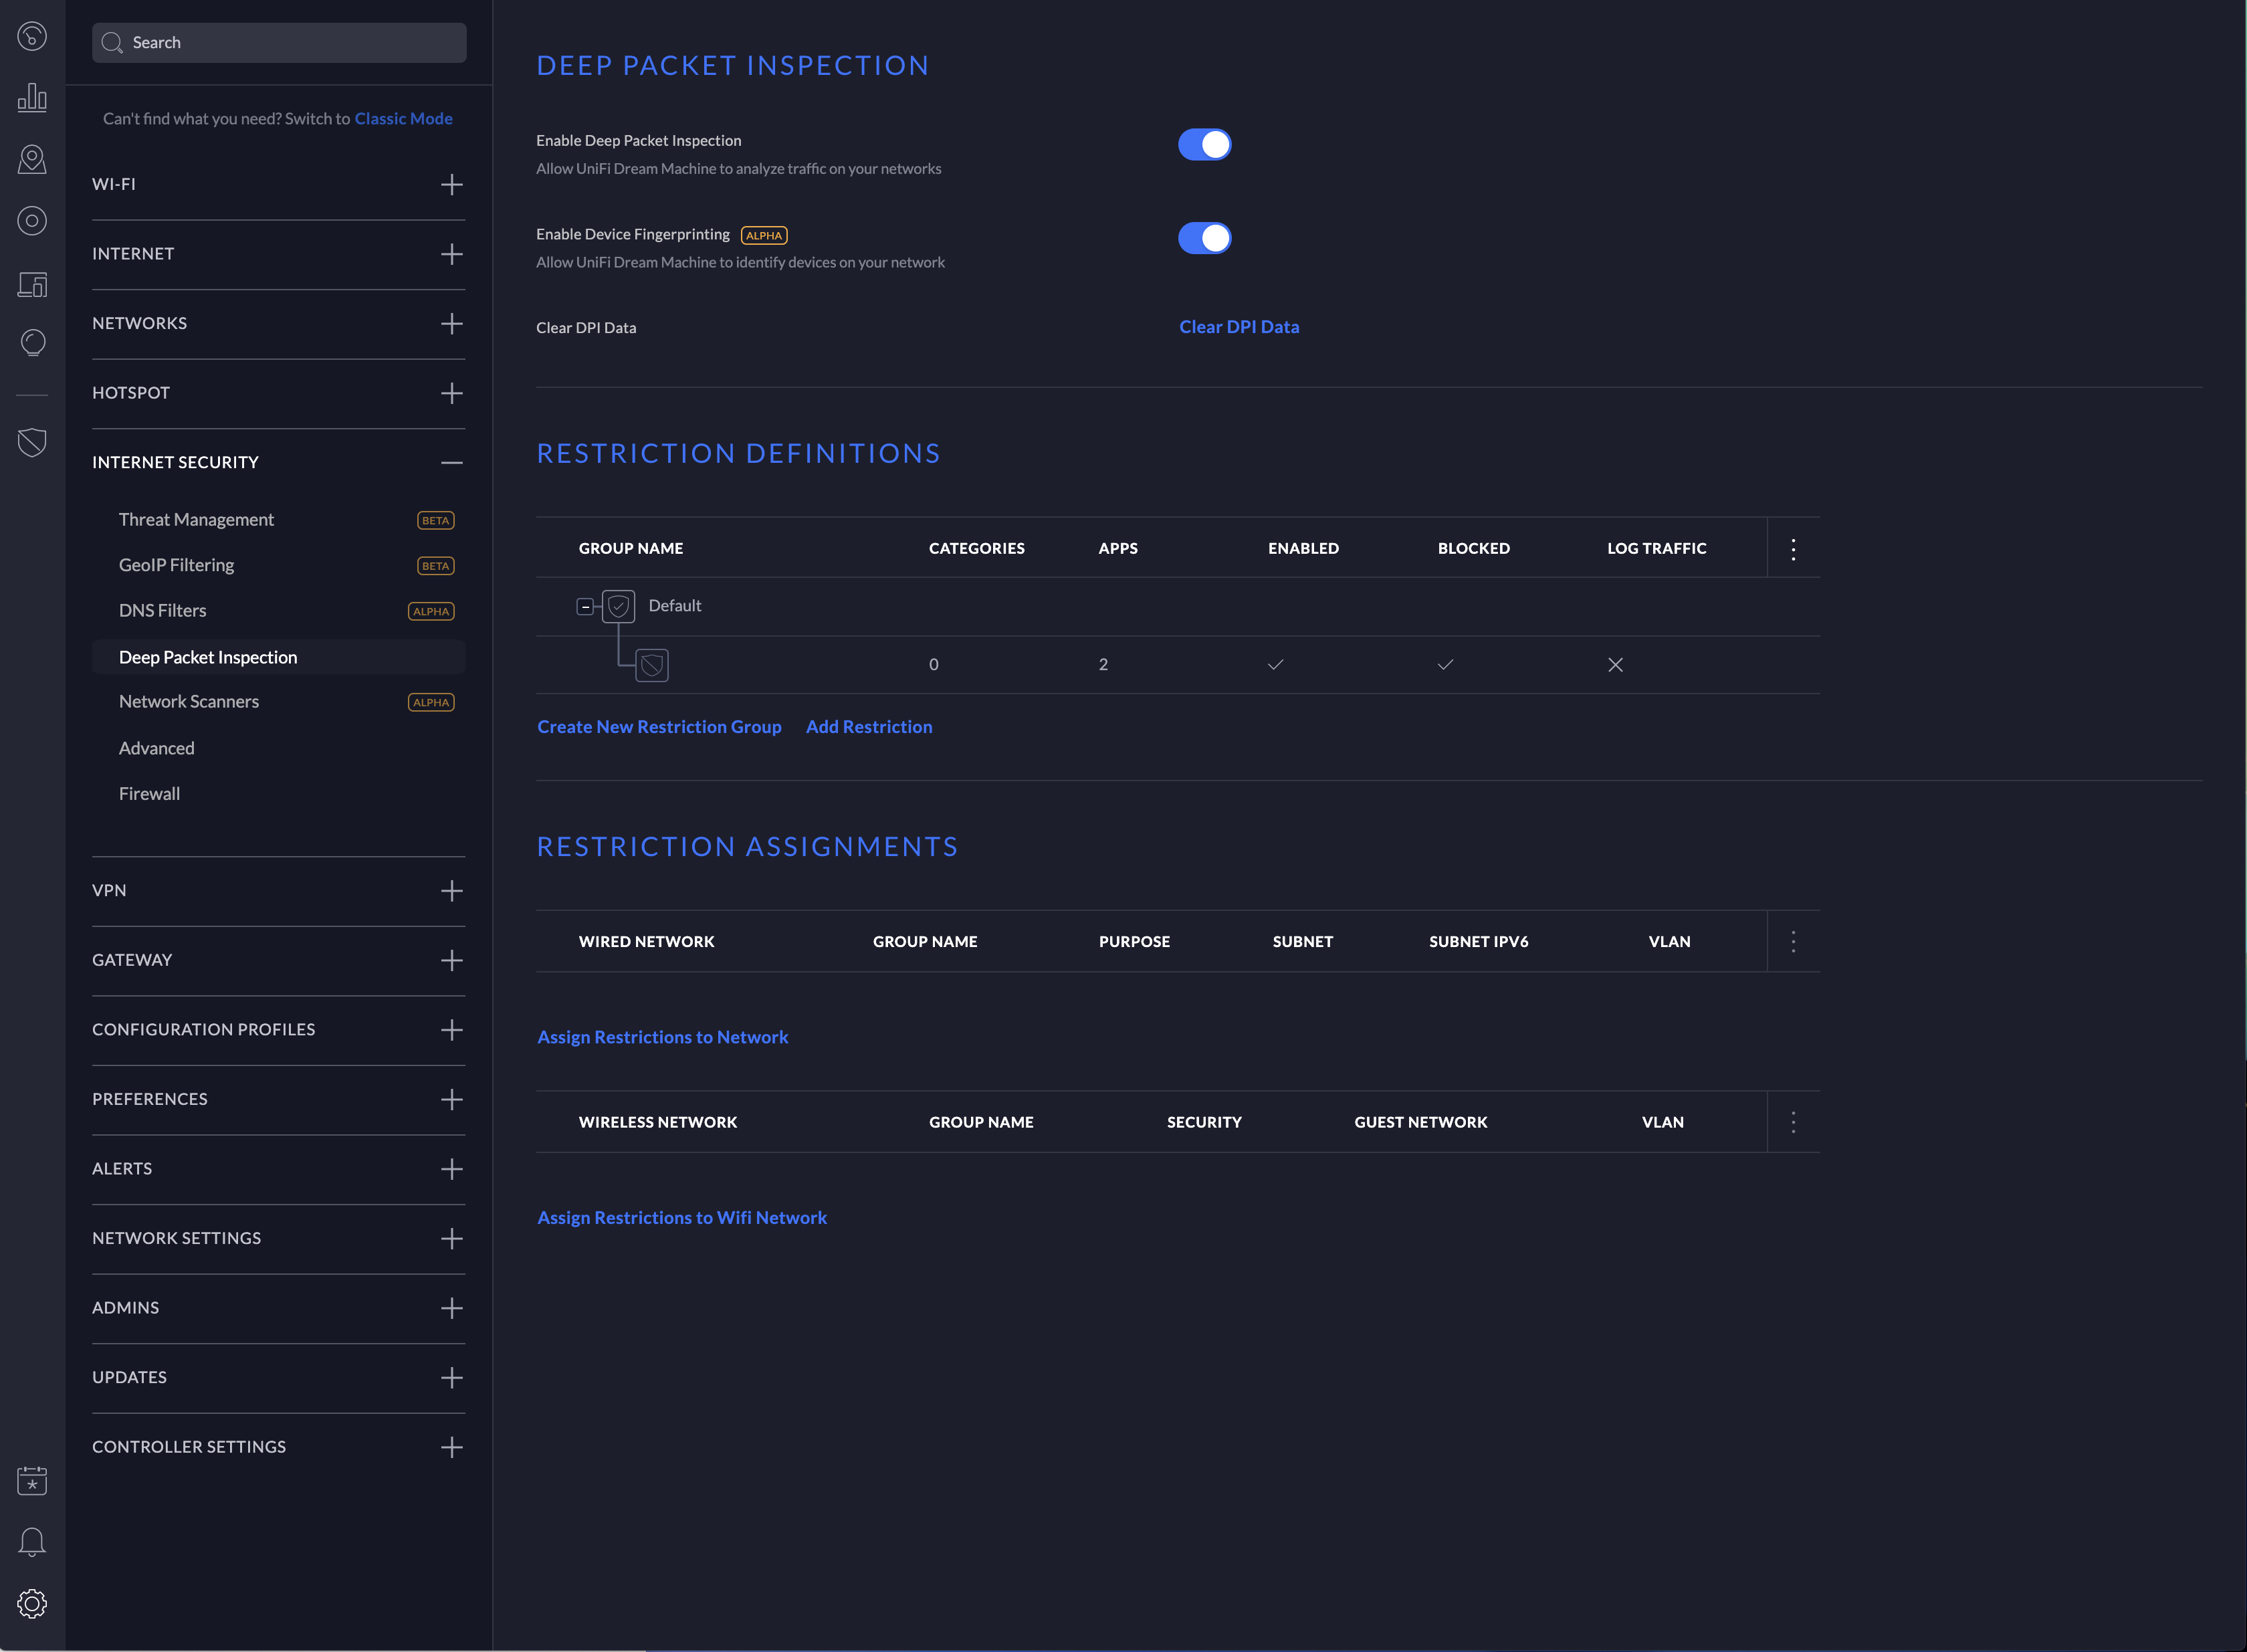
Trend Micro Cloud One – Application Security can monitor a running application and stop unexpected shell commands from executing. The product’s RCE configuration can be adjusted to help protect against certain exploits associated with this vulnerability using the following steps:
- Log into Trend Micro Cloud One and navigate to Application Security.
- Select “Group;s Policy” in the left-hand menu and find your application’s Group.
- Enable “Remote Command Execution” if not already enabled.
- Click the hamburger icon for “Configure Policy” and then click the ” < INSERT RULE > ” icon.
- Input (?s).* in the “Enter a pattern to match” field and hit “Submit” and “Save Changes.”
- Double-check that “Mitigate” is selected in your “Remote Command Execution” line item.
Trend Micro Cloud One – Open Source Security by Snyk
Trend Micro Cloud One – Open Source Security by Snyk can identify vulnerable versions of the log4j library across all organization source code repositories with very little integration effort. Once installed, it can also monitor progress on updating to non-vulnerable versions.
TXOne Preventative Rules for Edge Series Products
Several rules for the TXOne Edge Series of products can be found here: https://www.txone-networks.com/blog/content/critical-log4shell-vulnerability .
Trend Micro is continuing to actively research the potential exploits and behavior around this vulnerability and is actively looking for malicious code that may be associated with any exploit attempts against the vulnerability and will be adding additional detection and/or protection as they become available.
–
Impact on Trend Micro Products
Trend Micro is currently doing a product/service-wide assessment to see if any products or services may be affected by this vulnerability. Products will be added to the lists below as they are validated.
Products Confirmed Not Affected (Including SaaS Solutions that have been patched):
| 5G Mobile Network Security | Not Affected |
| ActiveUpdate | Not Affected |
| Apex Central (including as a Service) | Not Affected |
| Apex One (all versions including SaaS, Mac, and Edge Relay)) | Not Affected |
| Cloud App Security | Resolved / Not Affected |
| Cloud Edge | Not Affected |
| Cloud One – Application Security | Not Affected |
| Cloud One – Common Services | Not Affected |
| Cloud One – Conformity | Not Affected |
| Cloud One – Container Security | Not Affected |
| Cloud One – File Storage Security | Not Affected |
| Cloud One – Network Security | Not Affected |
| Cloud One – Workload Security | Not Affected |
| Cloud Sandbox | Not Affected |
| Deep Discovery Analyzer | Not Affected |
| Deep Discovery Email Inspector | Not Affected |
| Deep Discovery Inspector | Not Affected |
| Deep Discovery Web Inspector | Not Affected |
| Deep Security | Not Affected |
| Endpoint Encryption | Not Affected |
| Fraudbuster | Not Affected |
| Home Network Security | Not Affected |
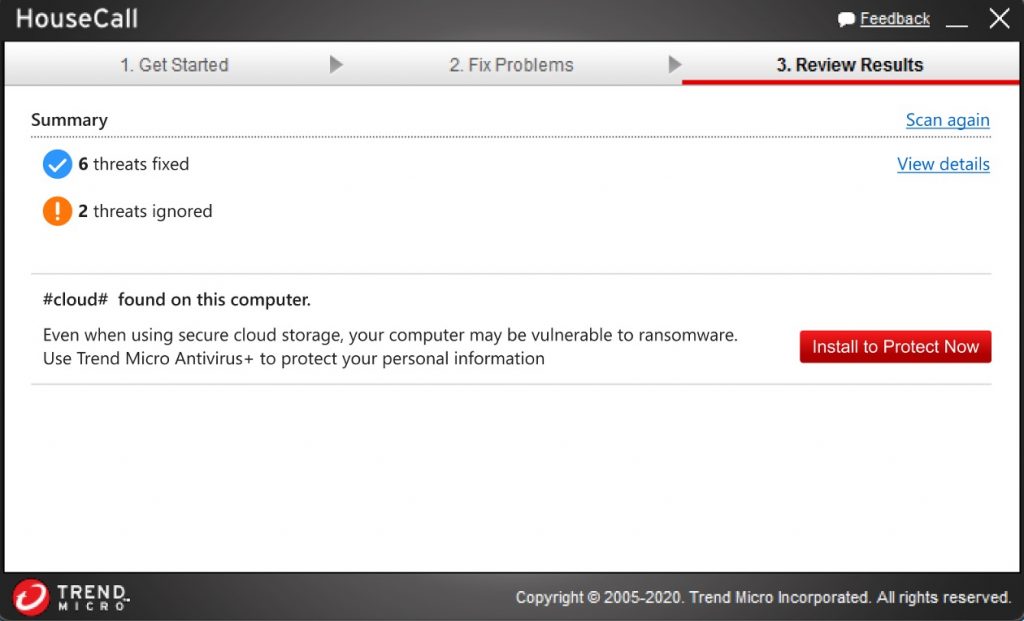
| Housecall | Not Affected |
| Instant Messaging Security | Not Affected |
| Internet Security for Mac (Consumer) | Not Affected |
| Interscan Messaging Security | Not Affected |
| Interscan Messaging Security Virtual Appliance (IMSVA) | Not Affected |
| Interscan Web Security Suite | Not Affected |
| Interscan Web Security Virtual Appliance (IWSVA) | Not Affected |
| Mobile Secuirty for Enterprise | Not Affected |
| Mobile Security for Android | Not Affected |
| Mobile Security for iOS | Not Affected |
| MyAccount (Consumer Sign-on) | Not Affected |
| Network Viruswall | Not Affected |
| OfficeScan | Not Affected |
| Password Manager | Not Affected |
| Phish Insight | Not Affected |
| Policy Manager | Not Affected |
| Portable Security | Not Affected |
| PortalProtect | Not Affected |
| Public Wifi Protection / VPN Proxy One Pro | Not Affected |
| Rescue Disk | Not Affected |
| Rootkit Buster | Not Affected |
| Safe Lock (TXOne Edition) | Not Affected |
| Safe Lock 2.0 | Not Affected |
| Sandbox as a Service | Resolved / Not Affected |
| ScanMail for Exchange | Not Affected |
| ScanMail for IBM Domino | Not Affected |
| Security for NAS | Not Affected |
| ServerProtect (all versions) | Not Affected |
| Smart Home Network | Not Affected |
| Smart Protection Complete | Not Affected |
| Smart Protection for Endpoints | Not Affected |
| Smart Protection Server (SPS) | Not Affected |
| TippingPoint Accessories | Not Affected |
| TippingPoint IPS (N-, NX- and S-series) | Not Affected |
| TippingPoint Network Protection (AWS & Azure) | Not Affected |
| TippingPoint SMS | Not Affected |
| TippingPoint Threat Management Center (TMC) | Resolved / Not Affected |
| TippingPoint ThreatDV | Not Affected |
| TippingPoint TPS | Not Affected |
| TippingPoint TX-Series | Not Affected |
| TippingPoint Virtual SMS | Not Affected |
| TippingPoint Virtual TPS | Not Affected |
| TMUSB | Not Affected |
| Trend Micro Email Security & HES | Resolved / Not Affected |
| Trend Micro Endpoint Sensor | Not Affected |
| Trend Micro ID Security | Not Affected |
| Trend Micro Remote Manager | Not Affected |
| Trend Micro Security (Consumer) | Not Affected |
| Trend Micro Virtual Patch for Endpoint | Not Affected |
| Trend Micro Web Security | Resolved / Not Affected |
| TXOne (Edge Series) | Not Affected |
| TXOne (Stellar Series) | Not Affected |
| Vision One | Resolved / Not Affected |
| Worry-Free Business Security (on-prem) | Not Affected |
| Worry-Free Business Security Services | Not Affected |
Affected Products:
| Deep Discovery Director | Affected | Please click here for more info |
References
- Trend Micro Blog – Patch Now: Apache Log4j Vulnerability Called Lof4Shell Actively Exploited
- Demo Video on Trend Micro Protection Against Log4Shell
- Demo Video on Trend Micro Cloud One Protection
- Demo Video on Using Trend Micro’s Log4j Vulnerability Scanning Tool
- ZDI Blog on CVE-2021-45105
Source :
https://success.trendmicro.com/solution/000289940?mkt_tok=OTQ1LUNYRC0wNjIAAAGBUlOzNGxvi_7Cbd5hCo7M1KS9OoANyeARcT0Crf9e3bFO1dVGLCxVdccyh8RMRHxGqwXi0k9r967Rv5_FYxQM5l0UeQJXzwl8xR3_Jfab4XyH87irwjo