April 26, 2023 Thiraviam
As an organization admin, you may encounter situations such as users leaving their position or migrating to another mail service, etc. In such circumstances, you need to export Office 365 mailbox to PST and store them offline for investigation purposes. You can accomplish this in Office 365 without depending on any external third-party tools. You can export individual mailboxes or entire exchange mailboxes as an eDiscovery admin through the Microsoft Purview compliance portal.
This guide will walk you through the steps to export Office 365 mailboxes to PST format using eDiscovery and PowerShell.
Why Do We Need to Export Exchange Online Mailbox to PST?
PST stands for Personal Storage Table file format used by Microsoft Outlook to store email messages, contacts and calendar entries. When you back up your email mailbox to a PST file, that will be saved on your computer.
Here are some reasons why PST files are commonly used for exporting Office 365 mailbox data:
Compatibility: PST files can be opened and accessed by a variety of email clients, including Outlook and some third-party email clients. This makes it easy to share data with others or to access your data from different devices.
Portability: PST files are small in size and can be easily transferred to a different location, such as a hard drive, USB drive, or cloud storage. This makes it easy to create backups of your mailbox data or to move your data to a different computer.
Offline Access: PST files can be accessed even when you are not connected to the internet, making it easy to access your email messages and other data when you are on the go.
Organization: PST files allow you to organize your email messages, contacts, and other data into folders, making it easy to find and retrieve specific items.
Steps to Export Office 365 Mailbox to PST
As an Office 365 admin you can get the Exchange Online mailboxes and their details by exporting them to PST with eDiscovery admin permission. You need to follow the steps listed below.
- Assign eDiscovery administrator
- Content search to export Office 365 mailbox
- Export Office 365 mailbox to PST
- Download exported PST file from Office 365 mailbox
Assign eDiscovery Administrator
To export Office 365 mailboxes, you must be an eDiscovery Administrator. By default, this role is not assigned to a global administrator. Follow the steps to assign user(s) to eDiscovery admin role.
- Login to the Microsoft Purview compliance portal with your global administrator account.
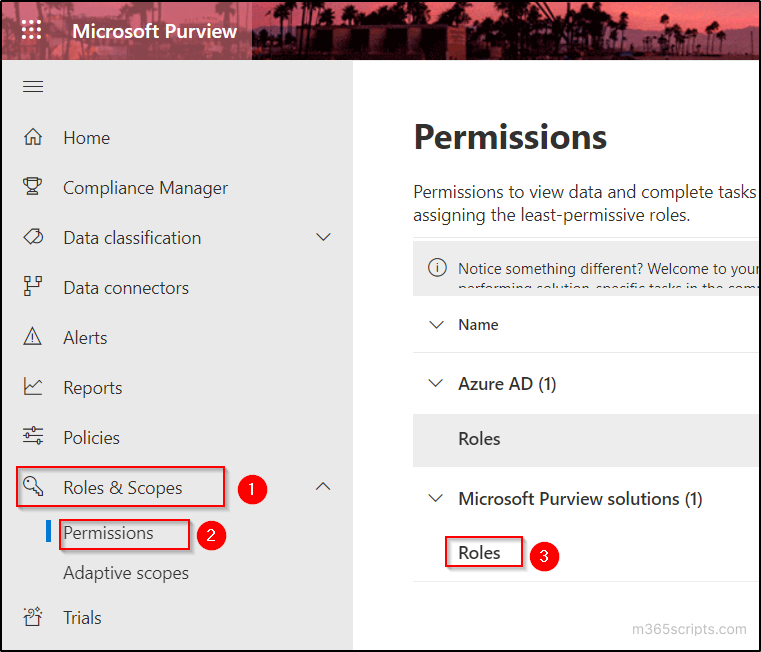
- Navigate to ‘Roles & Scopes’ tab and select ‘Permissions’ option.
- Select ‘Roles’ under ‘Microsoft Purview Solutions’ category.
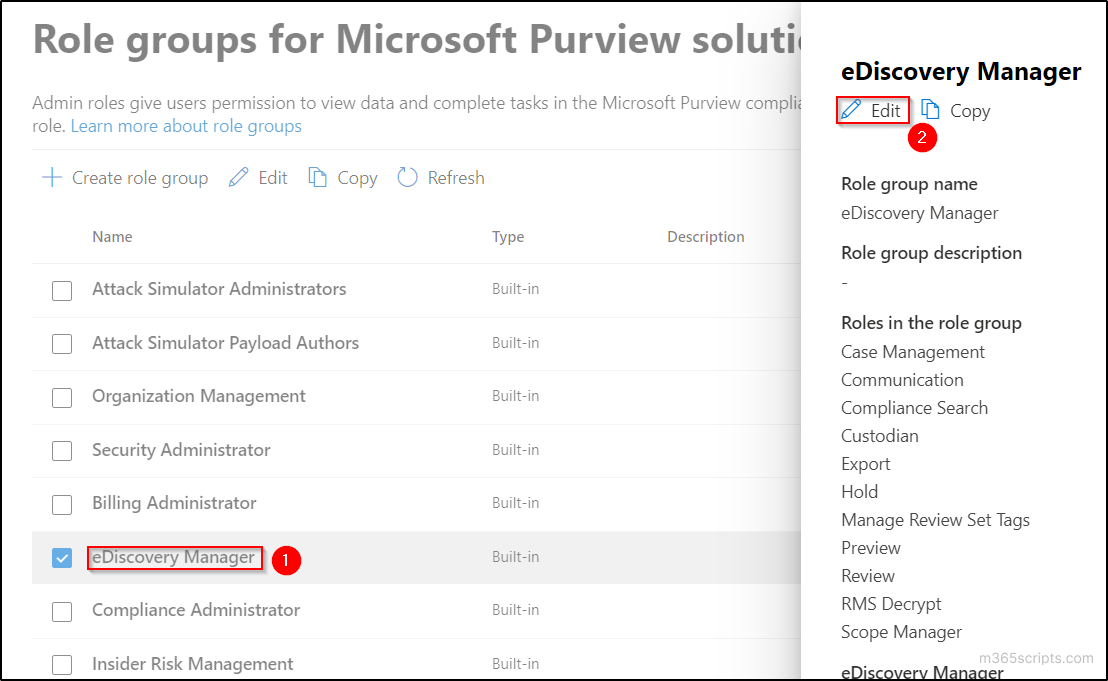
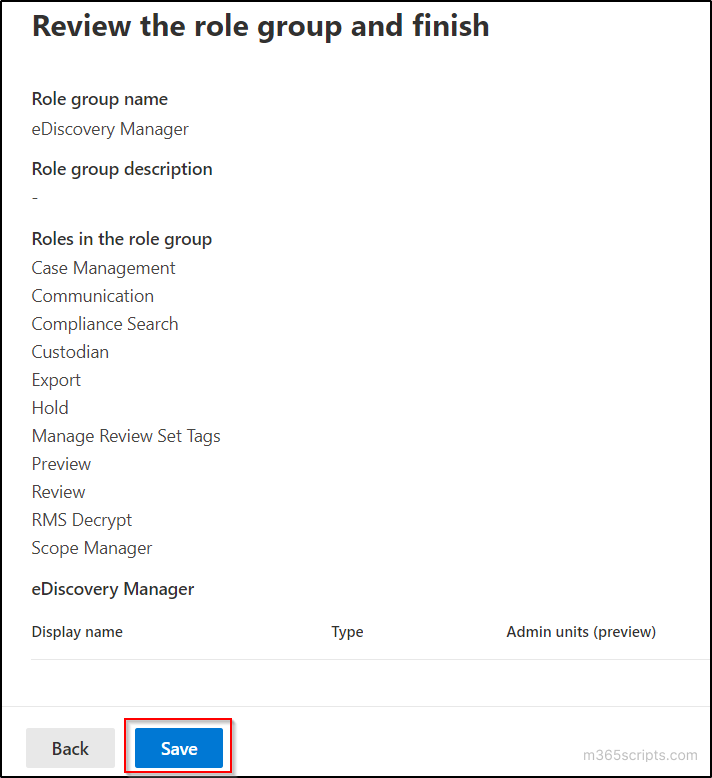
- Click on ‘eDiscovery Manager’ role and select ‘Edit’ option in the popup window.
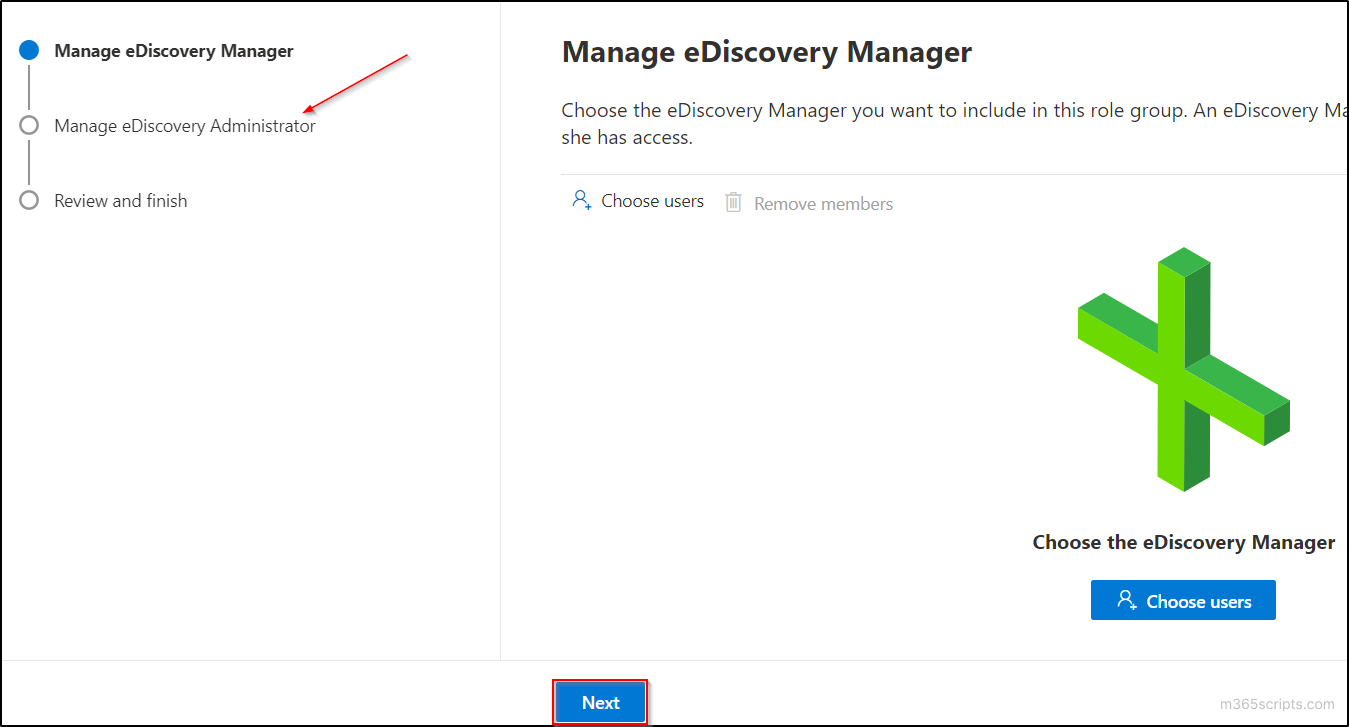
- Navigate to ‘Manage eDiscovery Administrator’ page by clicking on ‘Next’ button.
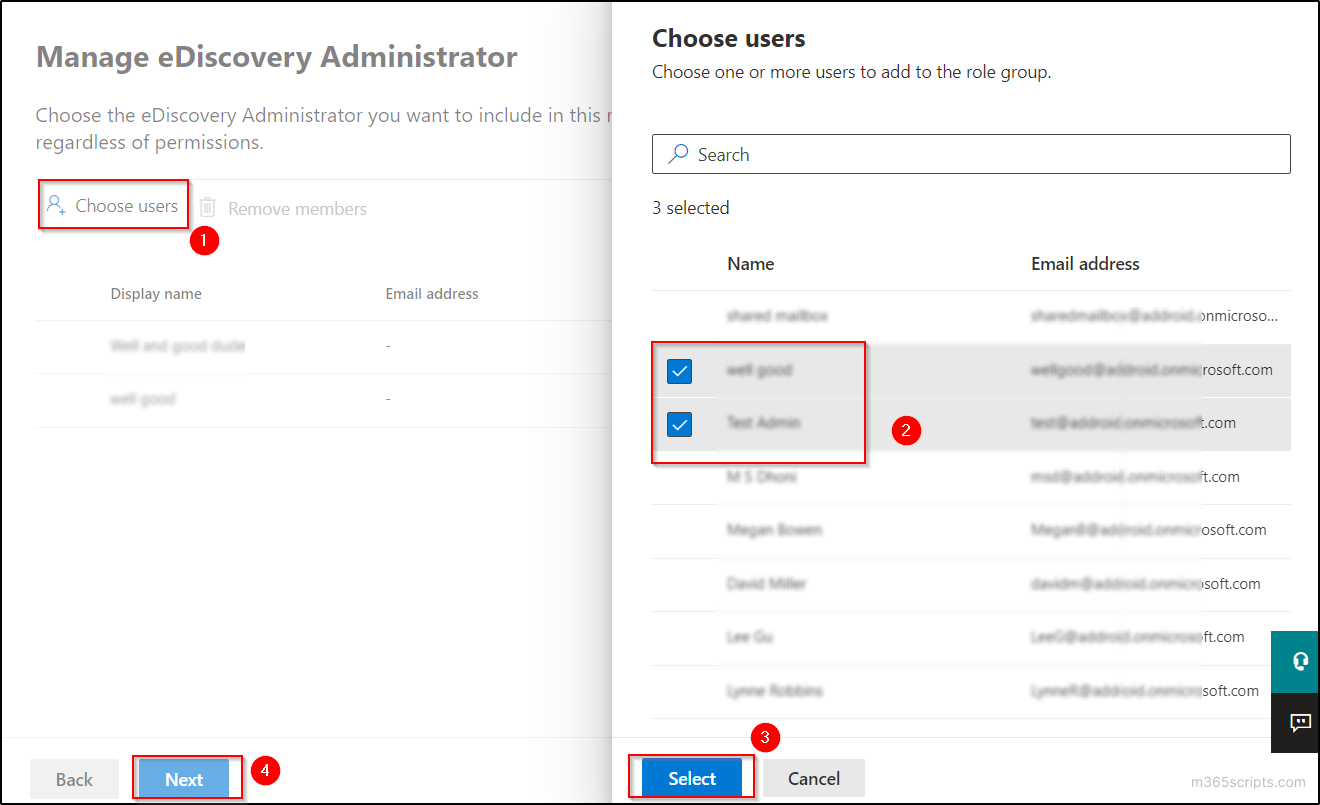
- Select ‘Choose users’ and select the user(s) who you want to make as eDiscovery admin. Then click on the ‘Select’ button in the popup and select ‘Next’ button.
- Finally, click ‘Save’ on the ‘Review and finish’ page.
Content Search to Export Office365 Mailbox to PST
In Office 365, before exporting a mailbox, it’s necessary to perform a content search that collects all the mail of the specified user(s) or all the contents of a mailbox. Once you complete the search, you can use the Export option to export the results to a PST file.
Note: An informational alert will trigger, and you will receive mail when an eDiscovery search started or exported.
- Login to the Microsoft Purview compliance portal with the user account with which you have assigned an eDiscovery Administrator role.
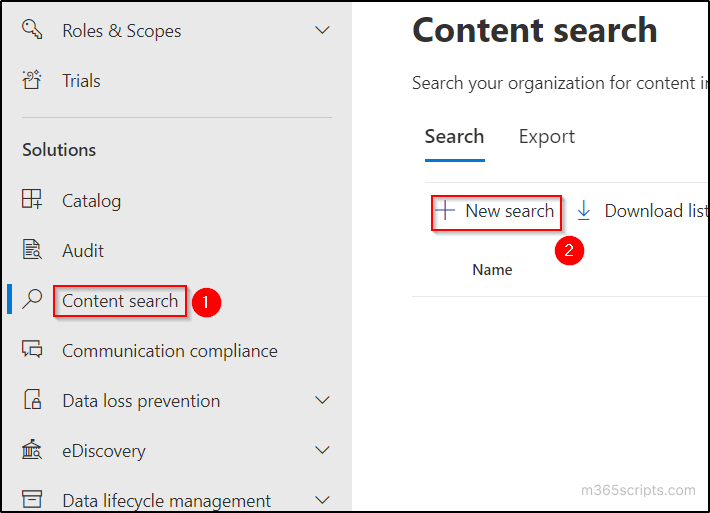
- Go to ‘Content search’ tab in the solutions menu and click on ‘New Search’ option.
- Type the preferred name and description in the ‘Name and description’ page and click on ‘Next’.
- Turn ‘Exchange mailboxes’ on and click on ‘Choose users, groups, or Teams’ to select the users from the list.
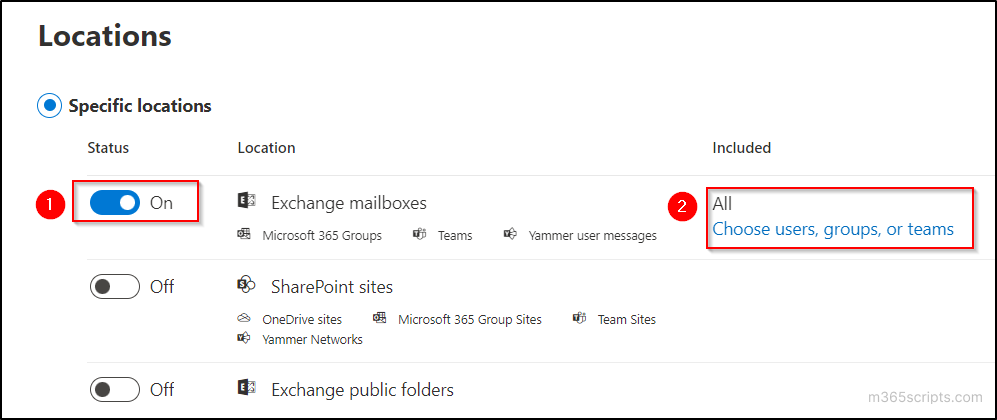
- Select the required users whose mailbox is to be exported or leave this option to export all user’s mailboxes and click on the ‘Next’ button.
- Leave the conditions empty if you want to export the complete mailbox and click on ‘Next’. You can also define your conditions if you want filtered results.
- Check the details in ‘Review your search’ page and click on ‘Submit’.
- A message ‘New search created. Soon you will be able to review estimates and preview results for your search’ will show in the portal.
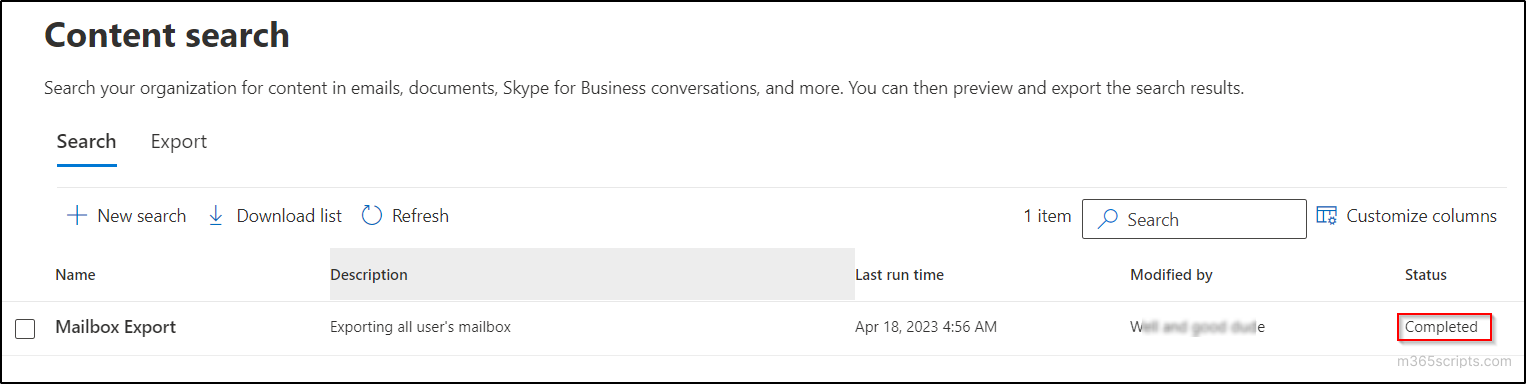
- Click on ‘Done’ and wait for the status to change to ‘Completed’ in the content search page.
Note: The waiting time may differ with respect to the size of the mailboxes you have performed a content search.
You can also perform Content search using the PowerShell with ‘New-ComplianceSearch’ cmdlet. First, connect to the compliance center ‘Connect-IPPSSession‘ cmdlet.
Connect-IPPSSession
Now run the cmdlet below by providing the name for the content search and Exchange location that you want to do content search.
New-ComplianceSearch <SearchName> -ExchangeLocation <UPN>| Start-ComplianceSearch
Export Office 365 Mailbox to PST
Once you have successfully created a mailbox content search, the next step is to export the search results. To do this, simply follow the steps below, which will guide you through the process.
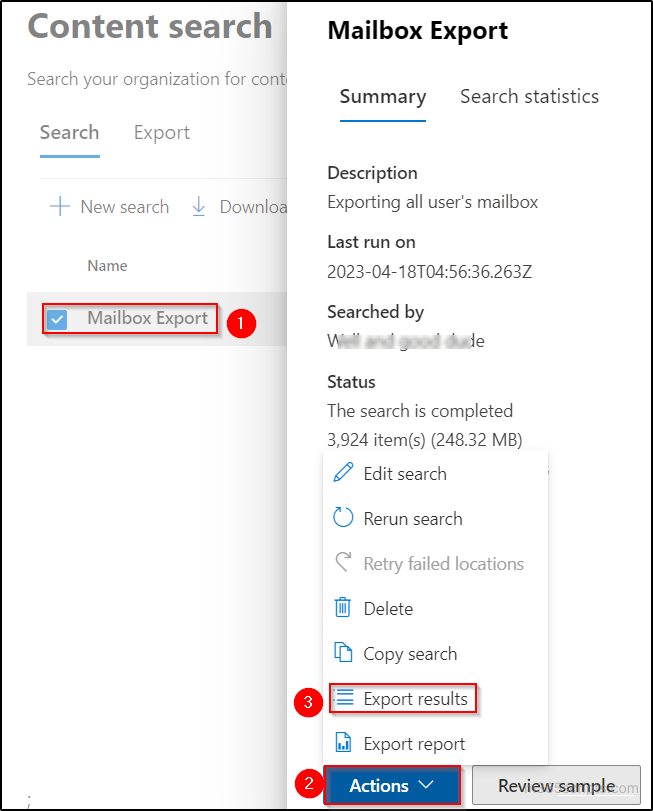
- Click on the content search ‘Mailbox Export’ that you have created in the previous steps.
- Select ‘Actions’ and choose ‘Export results’.
- Select the appropriate ‘Output options’ and the ‘Export Exchange Content as’ options. Then click on ‘Export’. If you are not sure about the options, leave it as default.
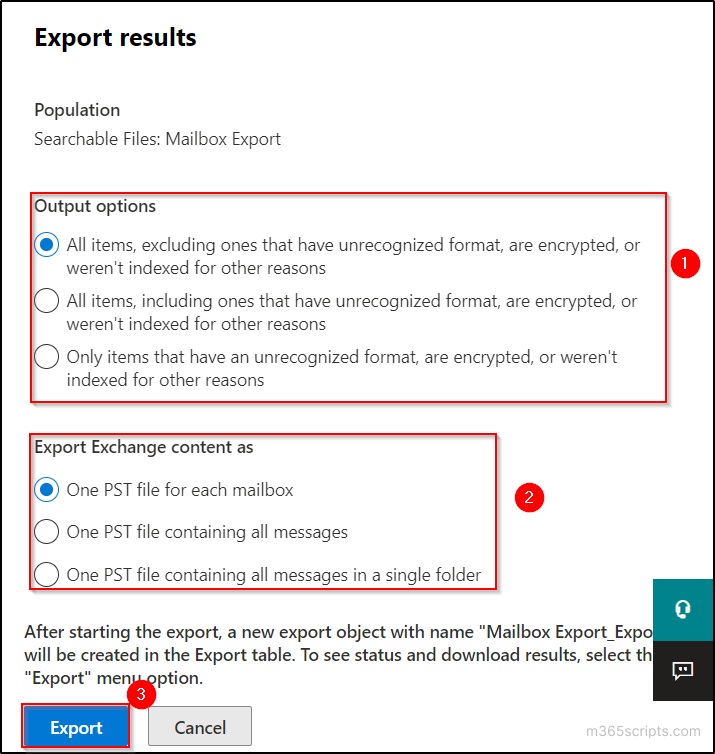
- A message box with a message “A job has been created” is displayed. Click on ‘OK’. It will take some time to complete the export.
You can also perform export using the PowerShell with ‘New-ComplianceSearchAction’ cmdlet.
Run the below cmdlet with the content search name to export the mailbox.
New-ComplianceSearchAction <SearchName> -Export -Format Fxstream

You can also get the properties related to the export by using the following cmdlet.
Get-ComplianceSearchAction "<SearchName>_export" -IncludeCredential | FL
Download Exported PST File From Office 365 Mailbox
With the help of Microsoft Office 365 eDiscovery Export Tool, you can download the exported mailbox results as a PST file.
Note: It’s important to note that this can only be done using the Microsoft Edge browser.
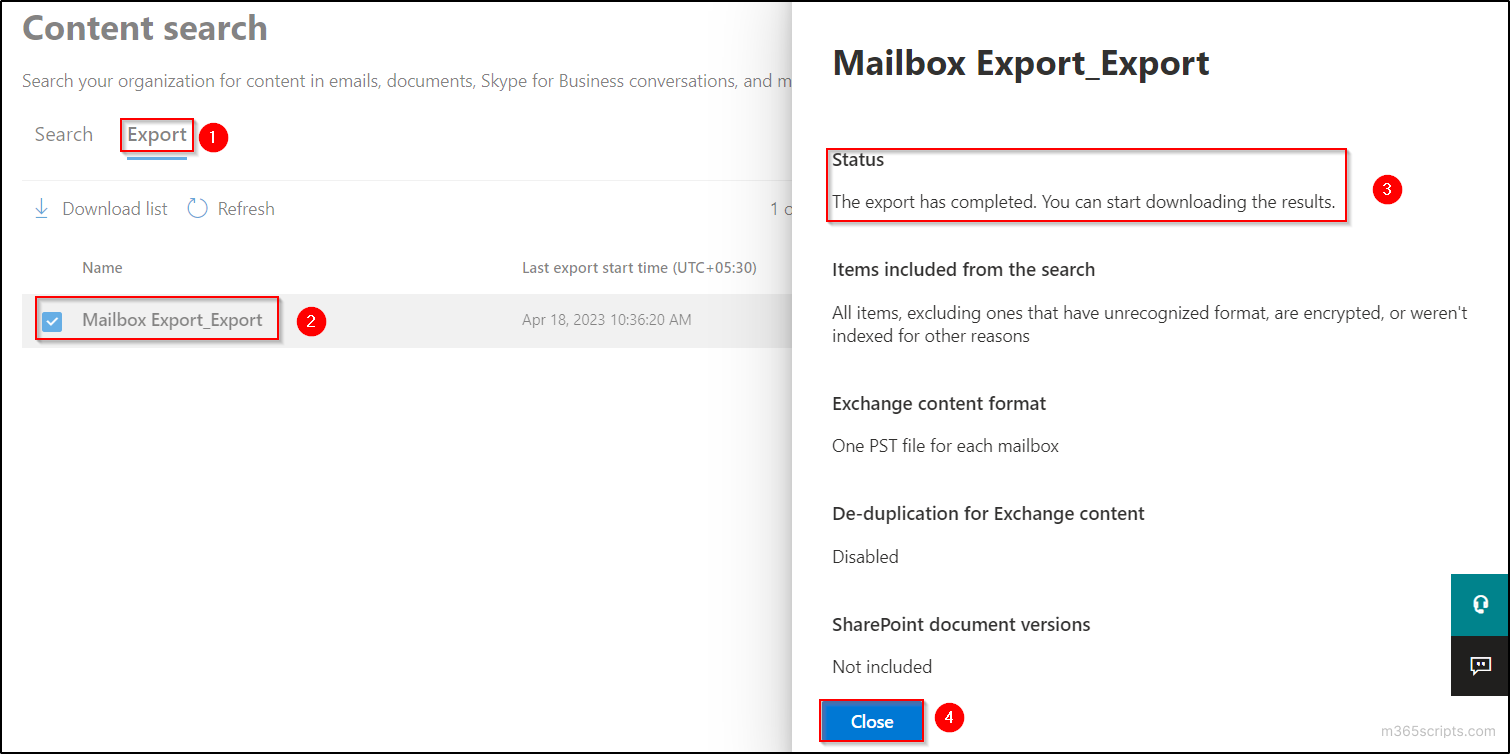
- Make sure that the status of the export is completed by clicking on the export job name in the ‘Export’ tab.
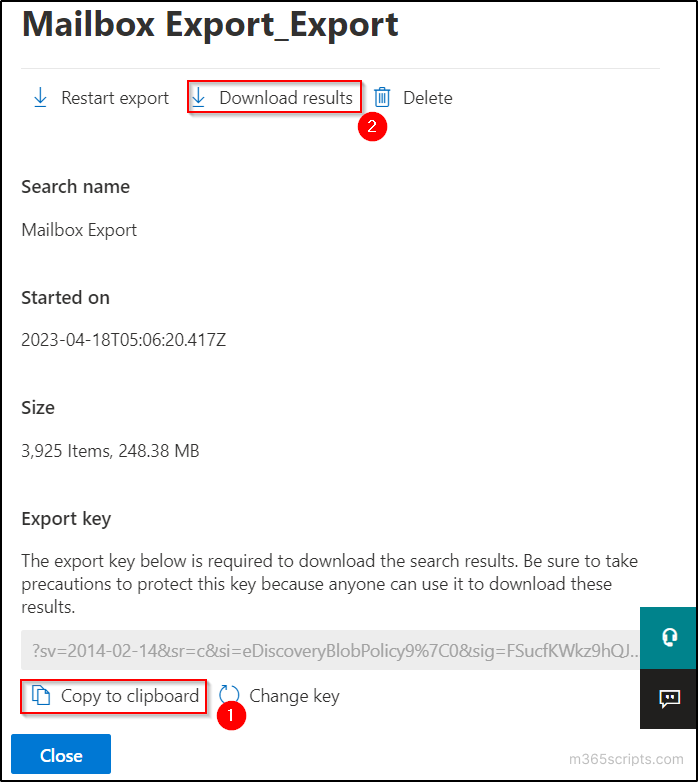
- Copy the ‘Export key’ by clicking on the ‘Copy to clipboard’ option and click on the ‘Download results’ option.
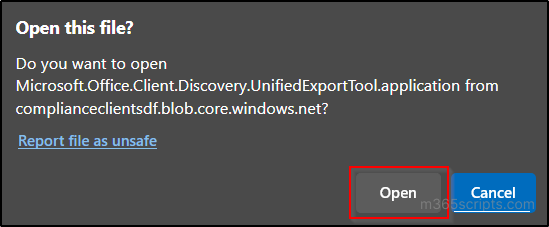
- If this is the first time you are downloading a .pst file, you are prompted to install Microsoft Office 365 eDiscovery Export Tool. If you have already installed, skip this step and go to the next step.
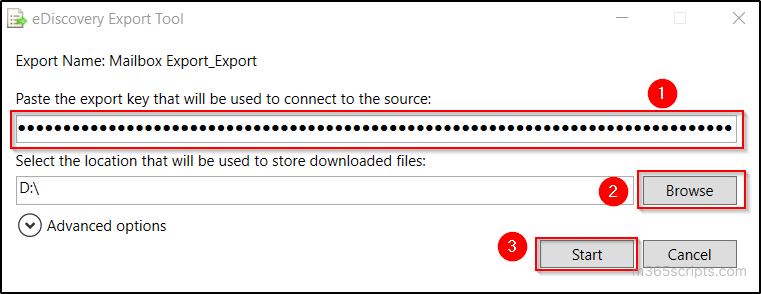
- Click ‘Open’ button in the upcoming popup and paste the export key.
- Select the required location to store the download file by clicking on the ‘Browse’ button and click ‘Start’.
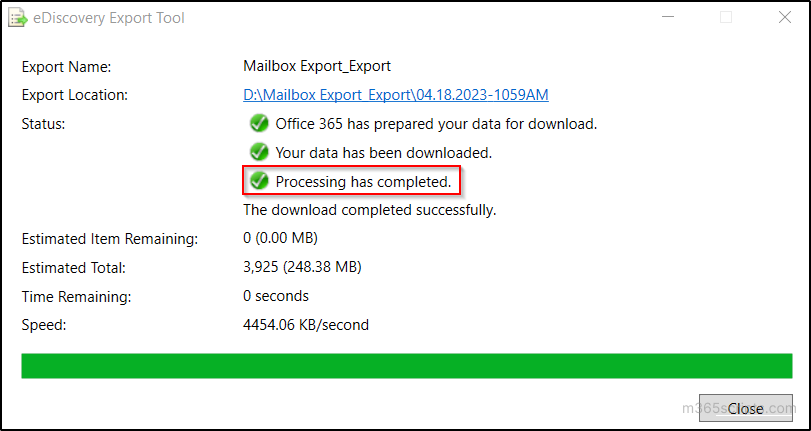
- You can be able to see the “Processing has completed” message after the download. Go to the specified location in your PC to view the downloaded PST file(s).
Office 365 Export PST File Size Limit
When exporting PST files, the default file size limit is 10 GB. However, you have the ability to change this limit depending on your specific needs by increasing or decreasing the file size. Additionally, if the exported mailbox exceeds the PST size limit, the tool will automatically split the PST file into sequentially numbered files to accommodate the larger size.
The main reason to do this is so PST files can fit on removable media, such a DVD, a compact disc, or a USB drive. You can adhere to the following steps to change the PST export file size limit.
- Before proceeding, make sure to check whether the eDiscovery Export tool is open, and if so, be sure to close it before continuing.
- Type the following text in a notepad and save the following text to a filename suffix of .reg. For example, Pst.reg.
Windows Registry Editor Version 5.00
[HKEY_LOCAL_MACHINE\SOFTWARE\Microsoft\Exchange\Client\eDiscovery\ExportTool]
"PstSizeLimitInBytes"="1073741824"
In the example above, the PstSizeLimitInBytes value is set to 1,073,741,824 bytes or approximately 1 GB. However, if you need to change this limit, you can easily do so by replacing the existing value with your desired limit in bytes.
- Once you have created the .reg file by following the previous steps, it’s time to open it and proceed with the next steps.
- In the User Access Control window, choose ‘Yes’ to grant permission to the Registry Editor to make the change.
- When asked to confirm, select ‘Yes’.

The Registry editor will then display a confirmation message indicating that the “keys and values was successfully added to the registry”.
Limitations in Exporting PST File in Office 365
When exporting an Office 365 mailbox to a PST file, it is important to be aware of the limitations involved. Here is a list of the limitations you may encounter during the export process.
- Browser Restrictions: You need to use Microsoft Edge browser. It’s not possible to export mailboxes to PST using other browsers without any extensions.
- File Corruption Issues: Increasing the default size of PST files larger than 10 GB might have corruption issues.
- Mailbox count limitation: You cannot download more than 100,000 mailboxes for search results using the eDiscovery Export Tool.
- Export Data Size Constraint: An organization can export 2TB data per day through content search.
- Output Display Restriction: Only 1,000 exports or reports will be displayed in Content search.
Thus, exporting Office 365 mailbox to PST is a simple process that can be done in a few clicks. You can have a clear understanding of how to complete this task efficiently by following the above steps. Feel free to leave a comment below if you encounter any difficulties or need any assistance.
Source :
https://m365scripts.com/microsoft365/a-step-by-step-guide-to-export-office-365-mailbox-to-pst/