Although there is a greater awareness of cybersecurity threats than ever before, it is becoming increasingly difficult for IT departments to get their security budgets approved. Security budgets seem to shrink each year and IT pros are constantly being asked to do more with less. Even so, the situation may not be hopeless. There are some things that IT pros can do to improve the chances of getting their security budgets approved.
Presenting the Problem in a Compelling Way
If you want to get your proposed security budget approved, you will need to present security problems in a compelling way. While those who are in charge of the organization’s finances are likely aware of the need for good security, they have probably also seen enough examples of “a security solution in search of a problem” to make them skeptical of security spending requests. If you want to persuade those who control the money, then you will need to convince them of three things:
- You are trying to protect against a real issue that presents a credible threat to the organization’s wellbeing.
- Your proposed solution will be effective and that it isn’t just a “new toy for the IT department to play with”
- Your budget request is both realistic and justified.
Use Data to Your Advantage
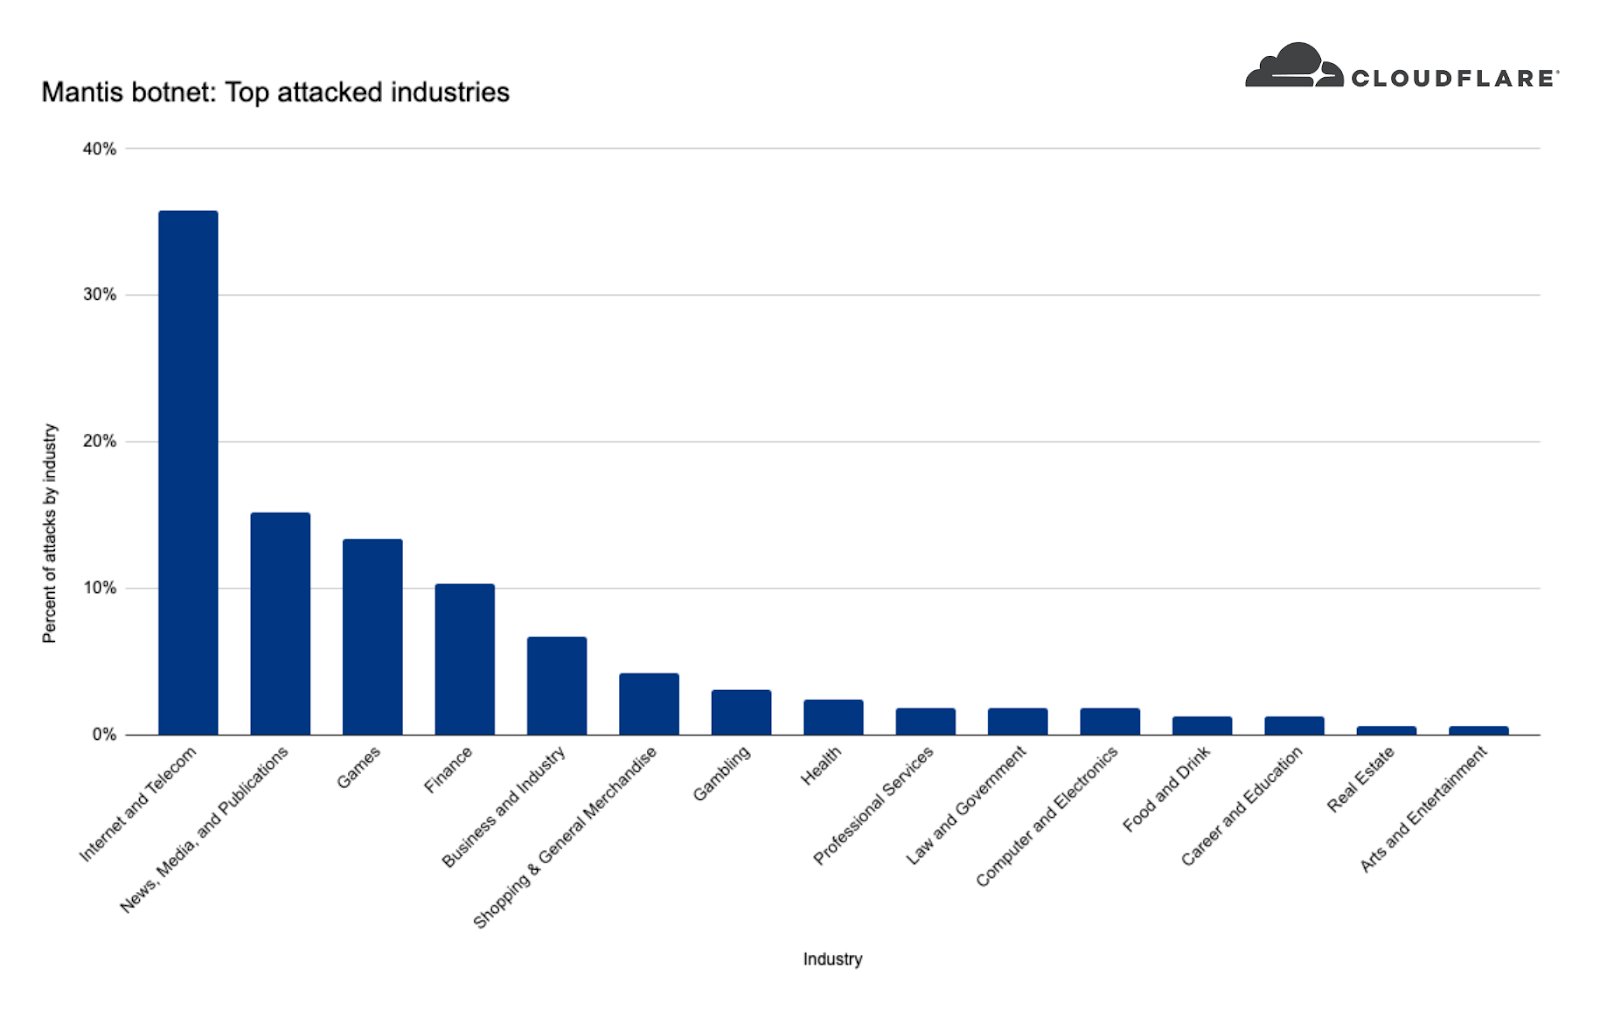
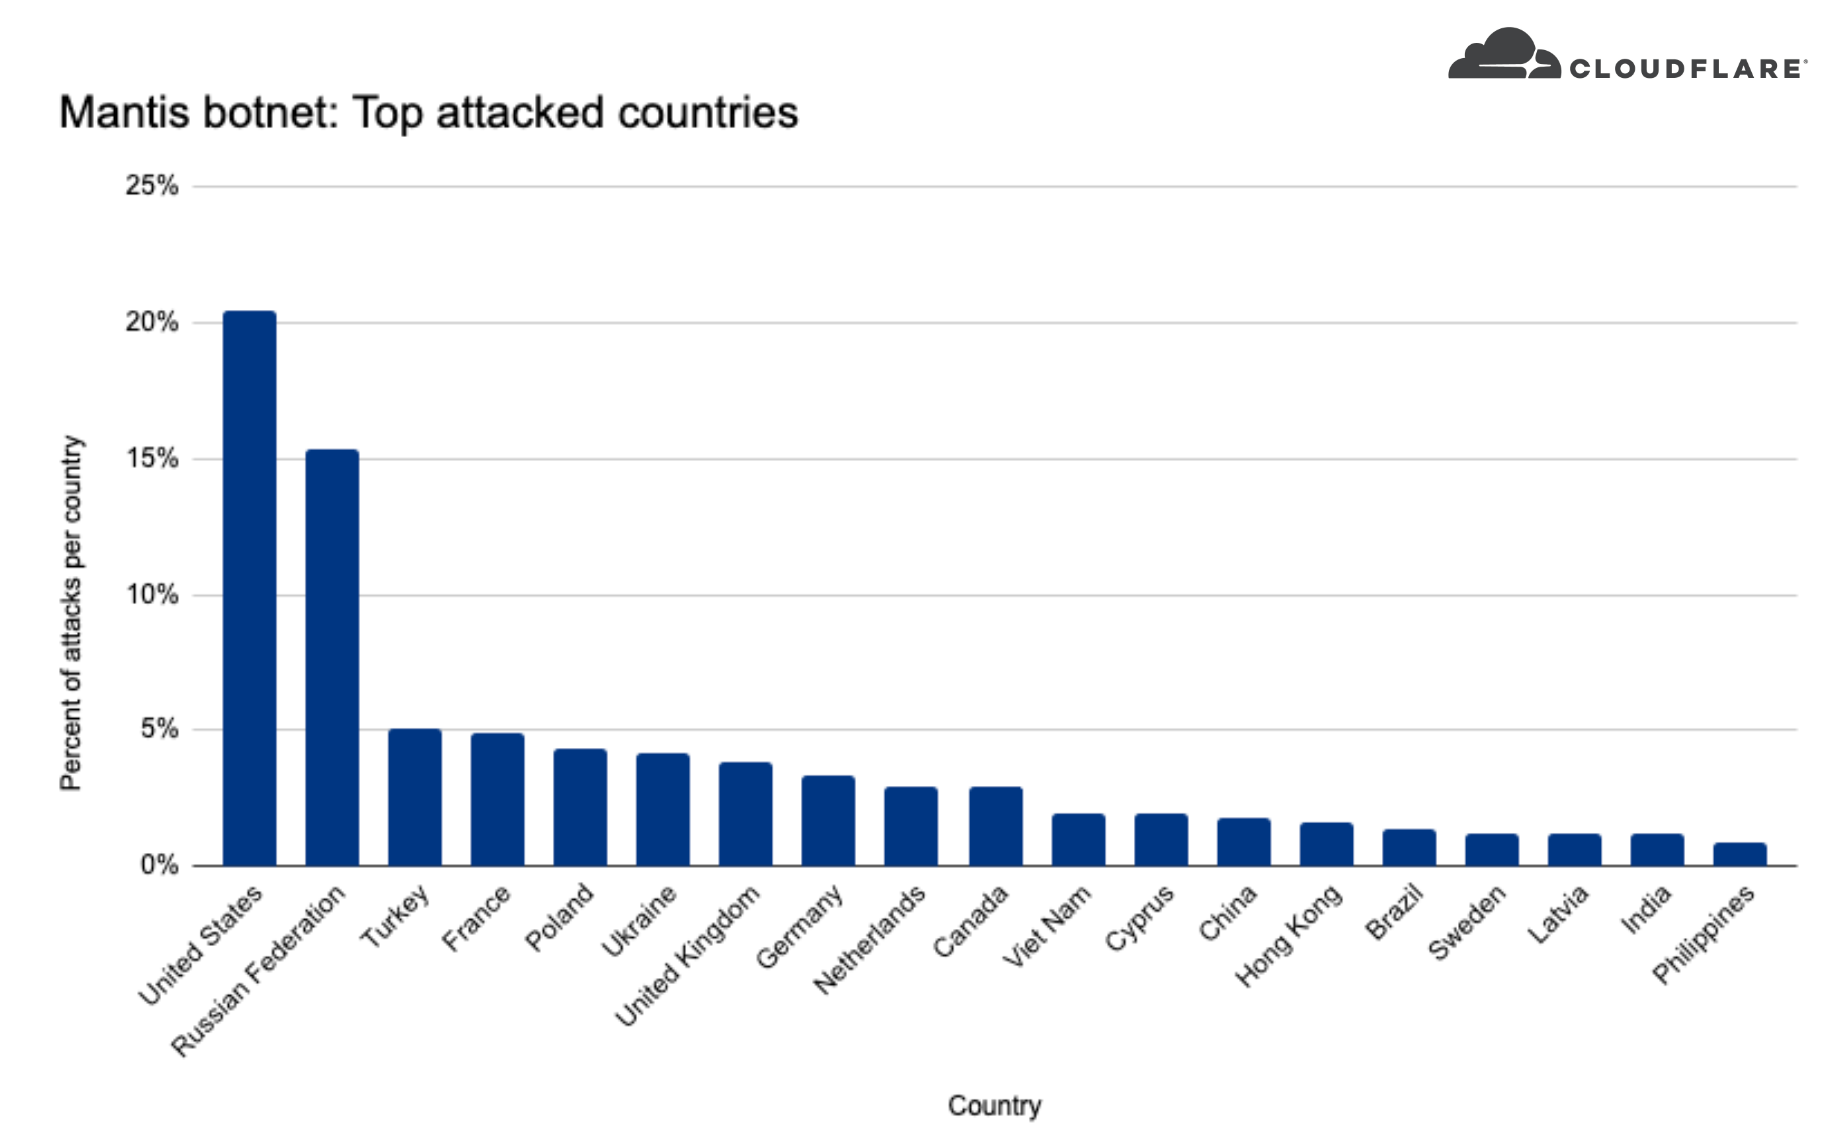
One of the best ways to convince those who are in charge that there is a credible cyber threat against the organization is to provide them with quantifiable metrics. Don’t resort to gathering statistics from the Internet. Your organization’s financial staff is probably smart enough to know that most of those statistics are manufactured by security companies who are trying to sell a product or service. Instead, gather your own metrics from inside your organization by using tools that are freely available for download.
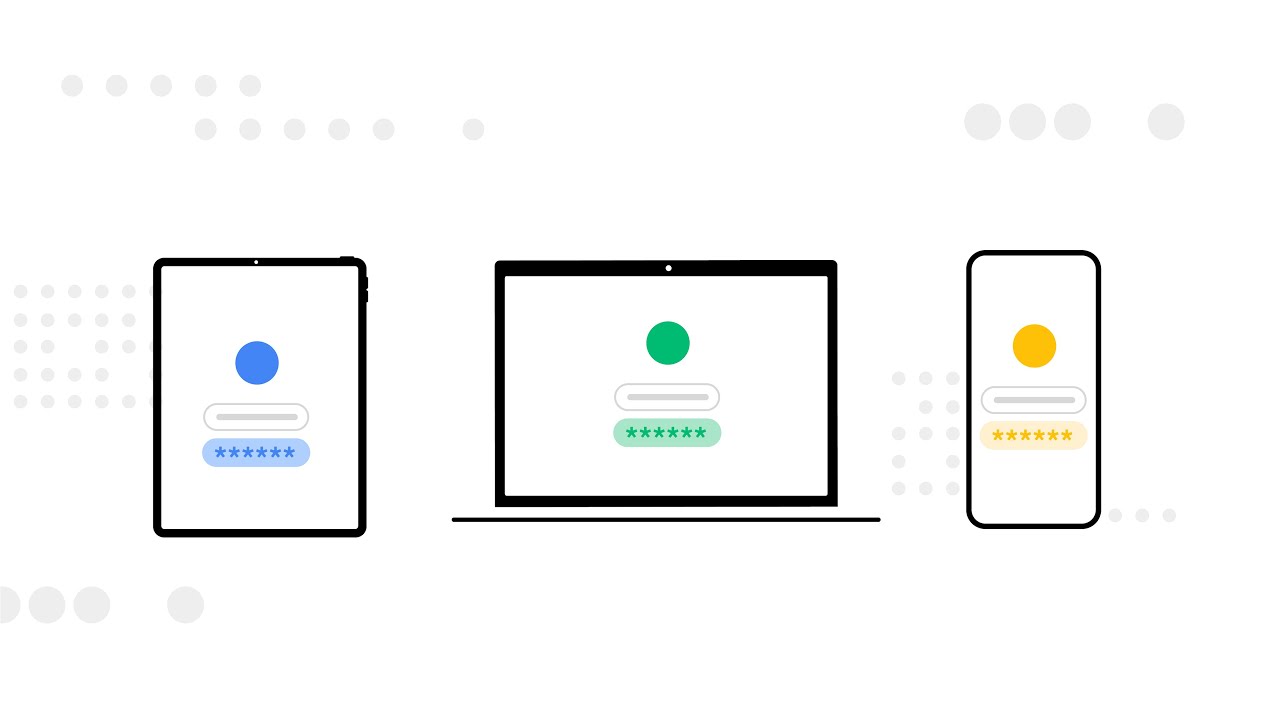
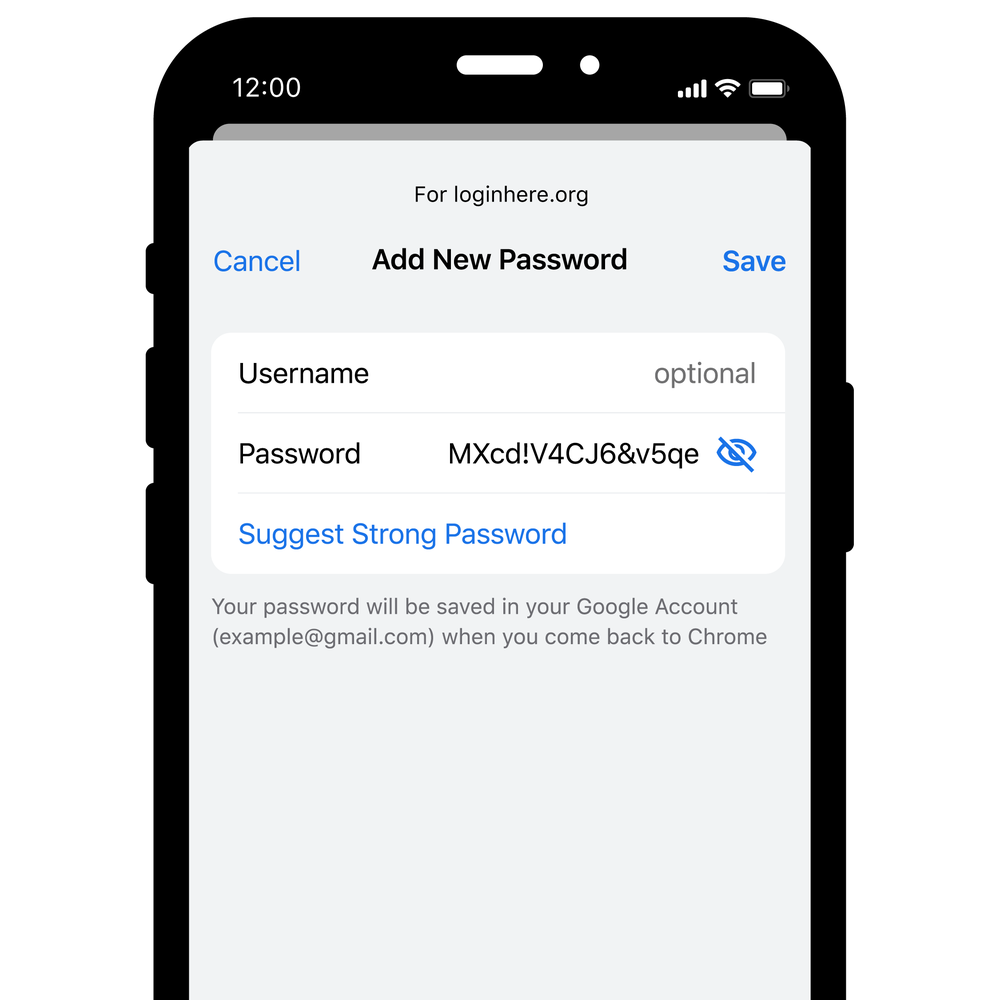
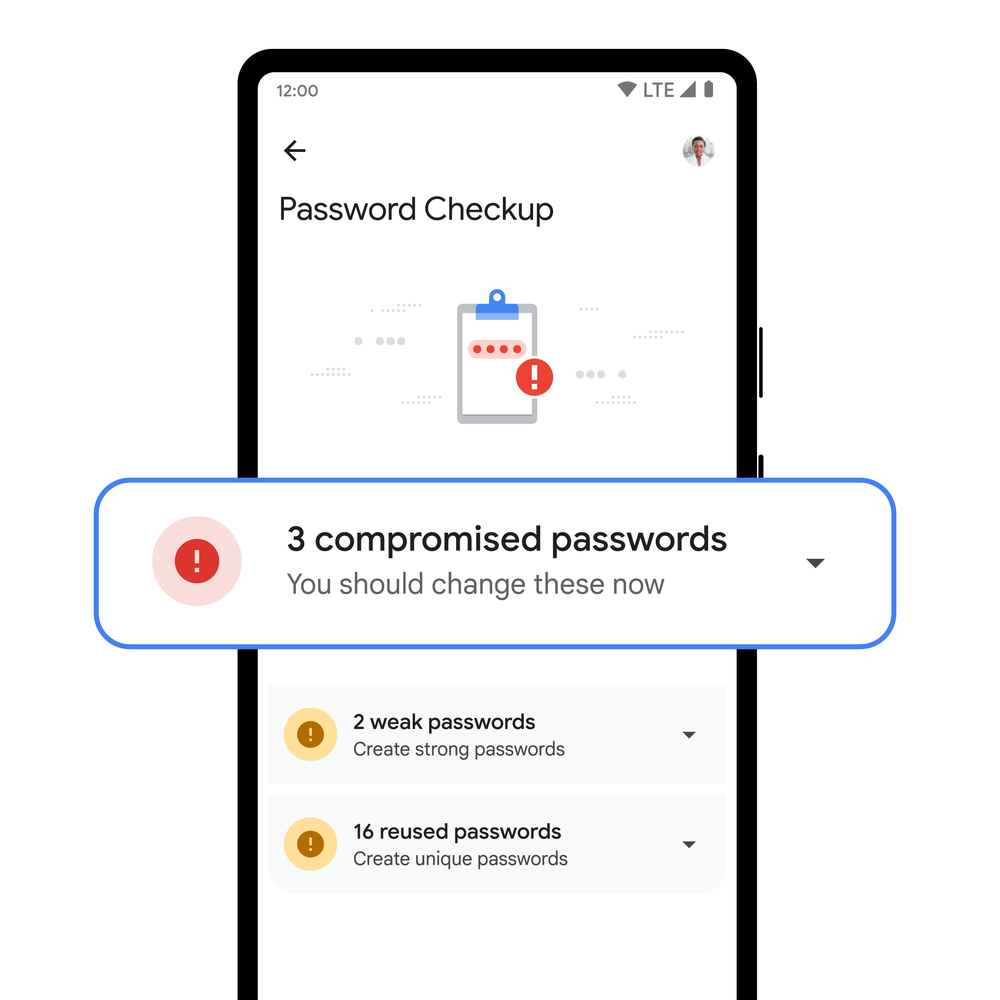
Specops for example, offers a free Password Auditor that can generate reports demonstrating the effectiveness of your organization’s password policy and existing password security vulnerabilities. This free tool can also help you to identify other vulnerabilities, such as accounts that are using passwords that are known to have been leaked or passwords that do not adhere to compliance standards or industry best practices.
Of course, this is just one of the many free security tools that are available for download. In any case, it is important to use metrics from within your own organization to demonstrate the fact that the security problem that you are trying to solve is real.
Highlight What a Solution Would Do
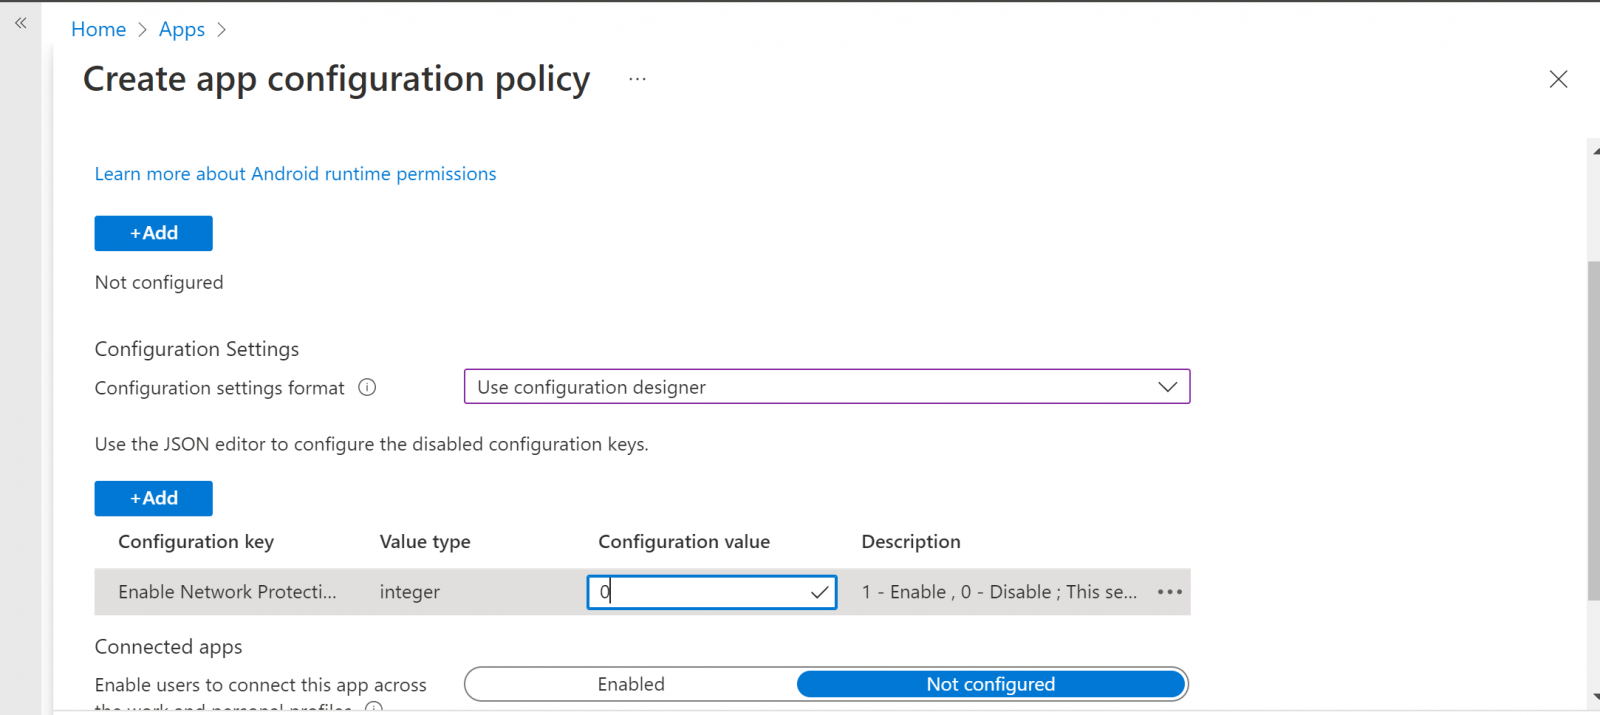
Once you demonstrate the problem to those who are in charge of the organization’s finances, do not make the mistake of leaving them guessing as to how you are planning on solving the problem. Be prepared to clearly explain what tools you are planning on using, and how those tools will solve the problem that you have demonstrated.
It’s a good idea to use visuals to demonstrate the practicality of your proposed solution. Be sure to explain how the problem is solved in non-technical language and enhance your argument with examples that are specific to your organization.
Estimated Time of Implementation and Seeing Results
We have probably all heard horror stories of IT projects that have gone off the rails. Organizations sometimes spend millions of dollars and invest years of planning into IT projects that never ultimately materialize. That being the case, it is important to set everyone’s mind at ease by showing them exactly how long it will take to get your proposed solution up and running and then how much additional time will be needed in order to achieve the desired result.
When you are making these projections, be careful to be realistic and not to make promises based on an overly ambitious implementation schedule. You should also be prepared to explain how you arrived at your projection. Keep in mind upcoming projects, company-wide goals, and fiscal year ideals when factoring in timing.
Demonstrate the Estimated Savings
Although security is of course a concern for most organizations, those who are in charge of an organization’s finances typically want to see some sort of return on investment. As such, it is important to consider how your proposed solution might save the company money. A few ideas might include:
- Saving the IT department time, thereby reducing the number of overtime hours worked
- Avoiding a regulatory penalty that could cost the organization a lot of money
- Bringing down insurance premiums because data is being better protected
Of course, these are just ideas. Every situation is different, and you will need to consider how your security project can produce a return on investment given your own unique circumstances. It is important to include a cost-saving element for clarity sake, even if it is citing the average cost of a data breach in your industry.
Show You’ve Done Your Homework with a Pricing Comparison
As you pitch your proposed solution, stakeholders are almost certain to ask whether there might be a less expensive product that would accomplish your objectives. As such, it’s important to spend some time researching the solutions offered by competing vendors. Here are a few things that you should be prepared to demonstrate:
- The total cost for implementing each potential solution (this may include licensing, labor, support, and hardware costs)
- Why you are proposing a particular solution even if it is not the least expensive
- If your solution is the least expensive, then be prepared to explain what you might be giving up by using the cheapest vendor.
- What each vendor offers relative to the others
A Few Quick Tips
As you make your budgetary pitch, keep in mind that those to whom you are presenting likely have a limited understanding of IT concepts. Avoid using unnecessary technical jargon and be prepared to clearly explain key concepts, but without sounding condescending in the process.
It’s also smart to anticipate any questions that may be asked of you and have answers to those questions ready to go. This is especially true if there is a particular question that makes you a little bit uncomfortable.
Present your information clearly, confidently, and in a concise manner (I.e., make it quick!) so you can make your case without wasting time.
Source:
https://thehackernews.com/2022/07/a-simple-formula-for-getting-your-it.html


.png)