By .Carol.fg.
This article provides a step-by-step guide to activating Two-factor authentication for connections (also known as TFA for connections). This feature enables you to allow or deny connections via push notifications on a mobile device.
This article applies to all Windows users using TeamViewer (Classic) 15.17 (and newer) and macOS and Linux users in version 15.22 (and newer).
What is Two-factor authentication for connections?
TFA for connections offers an extra layer of protection to desktop computers.
When enabled, connections to that computer need to be approved using a push notification sent to specific mobile devices.
Enabling Two-factor authentication for connections and adding approval devices
Windows and Linux:
1. In the TeamViewer (Classic) application, click the gear icon at the top right menu.
2. Click on the Security tab on the left.
3. You will find the Two-factor authentication for connections section at the bottom.
4. Click on Configure… to open the list of approval devices.
5. To add a new mobile device to receive the push notifications, click Add.
6. You will now see a QR code that needs to be scanned by your mobile device.
Below please find a step-by-step gif for Windows, Linux, and macOS:
Windows

Linux

macOS

7. On the mobile device, download and install the TeamViewer Remote Control app:
a. Android
📌Note: This feature is only available on Android 6.0 or higher.
b. iOS
8. In the TeamViewer Remote Control app, go to Settings → TFA for connections.
9. You will see a short explanation and the option to open the camera to scan the QR code.

10. Tap on Scan QR code and you will be asked to give the TeamViewer app permission to access the camera.
11. After permission is given, the camera will open. Point the camera at the QR code on the desktop computer (see Step 6 above).
12. The activation will happen automatically, and a success message will be displayed.
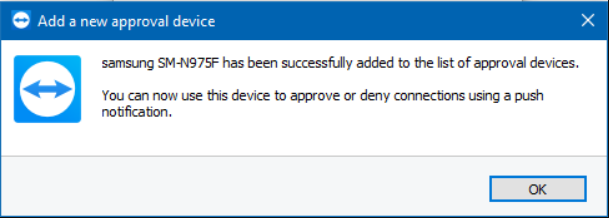
13. The new device is now included in the list of approval devices.

14. From now on, any connection to this desktop computer will need to be approved using a push notification.
📌 Note: TFA for connections cannot be remotely disabled if the approval device is not accessible. Due to this, we recommend setting up an additional approval device as a backup.
Removing approval devices
1. Select an approval device from the list and click Remove or the X.
2. You will be asked to confirm the action.
3. By clicking Remove again, the mobile device will be removed from the list of approval devices and won’t receive any further push notifications.
4. If the Approval devices list is empty, Two-factor authentication for connections will be completely disabled.
Below please find a step by step gif for Windows, Linux and macOS:
▹ Windows:
▹ Linux:

▹ macOS:

Remote connections when Two-factor authentication for connections is enabled
TFA for connections does not replace any existing authentication method. When enabled, it adds an extra security layer against unauthorized access.
When connecting to a desktop computer protected by TFA for connections, a push notification will be sent to all of the approval devices.
You can either:
- accept/deny the connection request via the system notification:

- accept/deny the connection request by tapping the TeamViewer notification. It will lead to you the following screen within the TeamViewer application to accept/deny the connection:

Multiple approval devices
All approval devices in the list will receive a push notification.
The first notification that is answered on any of the devices will be used to allow or deny the connection.
Source :
https://community.teamviewer.com/English/kb/articles/108791-two-factor-authentication-for-connections