Do you want to send email to WordPress users from your admin dashboard?
It’s actually quite simple to use WordPress for sending emails to your registered users. This can be useful if you have a membership site and want to send email announcements or other updates to your site members.
In this article, we’ll show walk you through the steps for sending emails to WordPress users without needing any code.
When Should You Send Email to WordPress Users?
WordPress automatically sends transactional emails to your customers like order receipts and password reset links. But you can also send mass emails to your entire list of users from WordPress. While this isn’t a recommended practice, it’s a good option to have in case you don’t have a proper email list maintained in an email marketing service.
If your website allows users to register, learning how to email users right from your WordPress dashboard is always an important skill. You may want to send emails about new product updates, changes to your website, or other important announcements.
How to Send Email to All WordPress Registered Users
To send emails to your WordPress users, just follow the steps below. First, we’ll set up WP Mail SMTP to take care of your WordPress email delivery from the backend. Then, we’ll set up another plugin that lets you select your WordPress email recipients, compose an email, and send it.
In This Article
- 1. Set Up WP Mail SMTP
- 2. Integrate WP Mail SMTP With a Mailer
- 3. Get the Send Users Email Plugin
- 4. Send Email to Registered Users
- 5. Track Your WordPress Emails (Optional)
Let’s begin.
1. Set Up WP Mail SMTP
First, you’ll need WP Mail SMTP on your site to deliver your emails reliably to intended recipients.
By default, WordPress uses PHP Mail for emails which is commonly responsible for poor email delivery and spam blocks by mailing servers.
A much more dependable method for sending emails takes advantage of SMTP. In SMTP, your emails are properly authenticated, so their legitimacy is easy to verify. As a result, your WordPress emails are able to avoid spam filters and reach recipients without fail.

To install WP Mail SMTP on your site, first select a plan that’s appropriate for your needs.
You’ll be able to log into your WP Mail SMTP account area once you’ve purchased a plan and created your account. From your account area, click on the Downloads tab.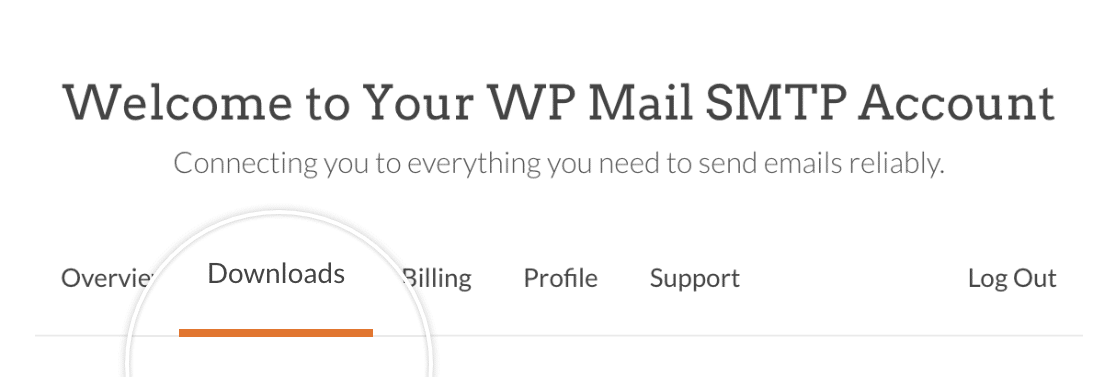
Now, press the Download Mail SMTP button to start the ZIP file download.

While the download is in progress, it’s a good idea to use this moment to copy your WP Mail SMTP license key. You’ll need this later on.

When the file has finished downloading, open your WordPress dashboard. Then, go to Plugins » Add New.

Here, you can upload the plugin file that you just downloaded. Click on the Choose File button and locate your WP Mail SMTP zip file in your download folder.

After selecting the file, click on Install Now. It will only take a few seconds for WordPress to install this plugin.

Press the blue Activate Plugin to activate WP Mail SMTP on your site.

Great job! Now we just have to configure a mailer with WP Mail SMTP to finish the setup.
2. Integrate WP Mail SMTP With a Mailer
WP Mail SMTP needs an API connection with a mailer service in order to deliver your WordPress emails properly.
The WP Mail SMTP setup wizard allows you to set up a connection between your WordPress site and a mailer service very easily.
After you activate the plugin, the setup wizard should launch automatically. But if for any reason it didn’t start, you can launch it manually.
From your WordPress dashboard, go to WP Mail SMTP » Settings. Underneath the Mail section, find and click the Launch Setup Wizard button.

The wizard will ask you to select an SMTP mailer service from a wide range of options.

If you need a reliable and reasonably priced mailer, we recommend SendLayer. However, you’re free to choose from other available options.
When you’ve selected a mailer, click Save and Continue. You’ll need to fill out a few fields to configure the mailer connection.
If you need help setting up a particular mailer, click one of the links below for detailed instructions.
| Mailers available in all versions | Mailers in WP Mail SMTP Pro |
|---|---|
| SendLayer | Amazon SES |
| SMTP.com | Microsoft 365 / Outlook.com |
| Sendinblue | Zoho Mail |
| Google Workspace / Gmail | |
| Mailgun | |
| Postmark | |
| SendGrid | |
| SparkPost | |
| Other SMTP |
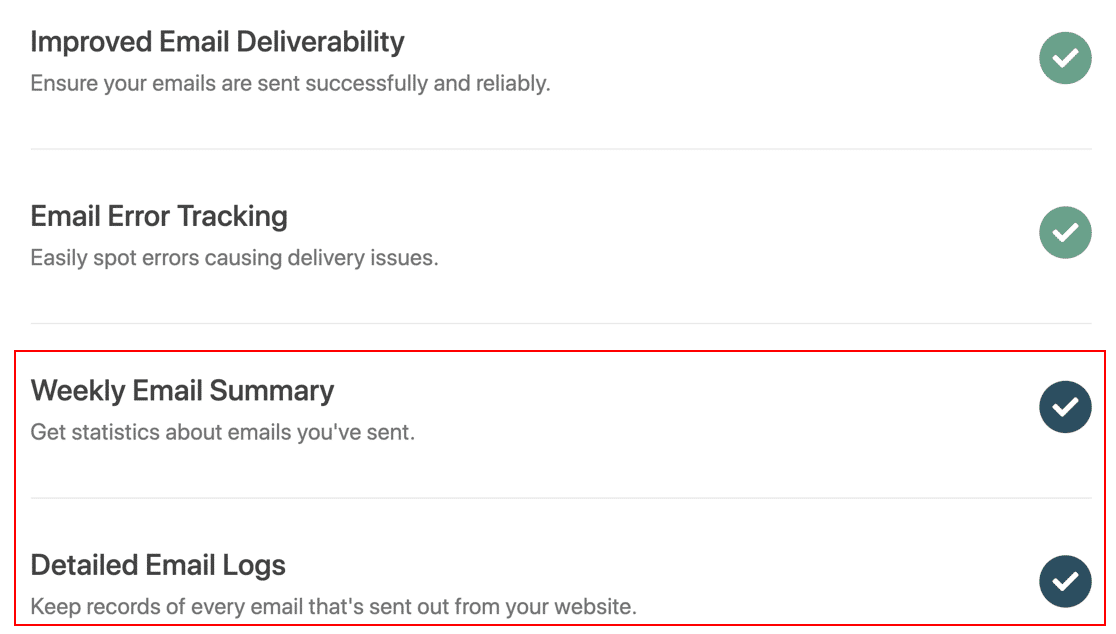
In the final step of the setup, WP Mail SMTP will ask you to check the features that you want to enable. If you have the paid version, you can enable extra features like email logs (which we highly recommend for the purposes of this topic).
If you check the Pro features, the setup wizard will then require you to add your license key (which we copied in an earlier step). Insert your license key and then press Verify License Key.

The wizard will now send a test email to make sure your configuration is properly set up. If all is good, move to the next step.
3. Get the Send Users Email Plugin
Now that you have WP Mail SMTP configured, you can rest assured that your emails originating from any plugin on your site will always deliver successfully.
But by default, there’s no way in WordPress to write an email and send it to your WordPress users at will.
To be able to send emails to any recipient of your choice in WordPress, you’ll need to install a plugin called Send Users Email.

If you need help setting up this plugin, you can check out this guide on installing WordPress plugins.
When the plugin is installed and activated on your site, you can start sending emails to your WordPress users easily.
4. Send Email to Registered Users
Open your WordPress admin area and then click Email to Users » Email Roles.

You should now see a page with options to send emails to people selected by their assigned WordPress roles. If you want to send the email to all of your WordPress subscribers, checkmark the box against Subscriber.

You can also select other types of users as your recipients such as administrators and authors. The email subject field lets you write a subject line for your email. There’s also a rich text field for composing the body of your email message.
After selecting recipients and writing the email, press the Send Message button,

Your email will now start sending to all WordPress users that you selected by role above.
But what if you only want to email individual users rather than mass emailing your entire list?
The Send Users Email includes a feature that lets you individually select each registered WordPress user you wish to send your email to.
To access this feature, go to Email to Users » Email Users. Here, you’ll see a list of all registered WordPress users on your site. You can simply select the users that you want to send emails to from this list.

As before, you can use the email subject field and email message fields to customize your subject line and email content.
Press the blue Send Message button to send your email to individually selected WordPress users.
Congratulations! You now have the necessary tools to send emails to WordPress users entire individually or to your entire subscriber list.
5. Track Your WordPress Emails (Optional)
Generally, WordPress isn’t the best way to send emails and run email marketing campaigns. This is because of the inherent limitations of the platform when it comes to email functionalities.
WordPress is primarily a content management system, so its email capabilities are only basic. For the best results and much easier management, you should consider using a dedicated email marketing service (Sendinblue, Constant Contact, and MailerLite to name a few).
However, if you are going to send some of your emails from WordPress, then it’s wise to log and track your emails.
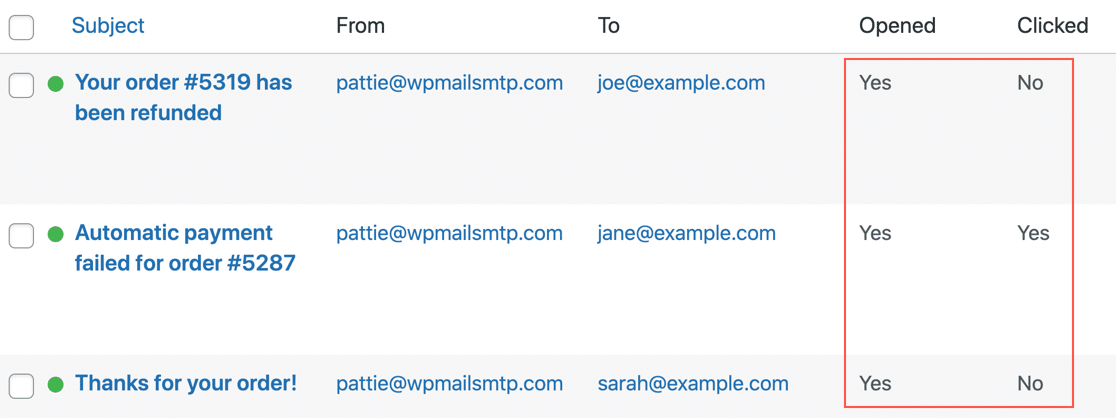
One of the many benefits of WP Mail SMTP Pro is that it includes email tracking features. With this feature, WP Mail SMTP can track how many times your emails were opened and clicked by your subscribers.
To enable this feature, navigate to WP Mail SMTP » Settings.
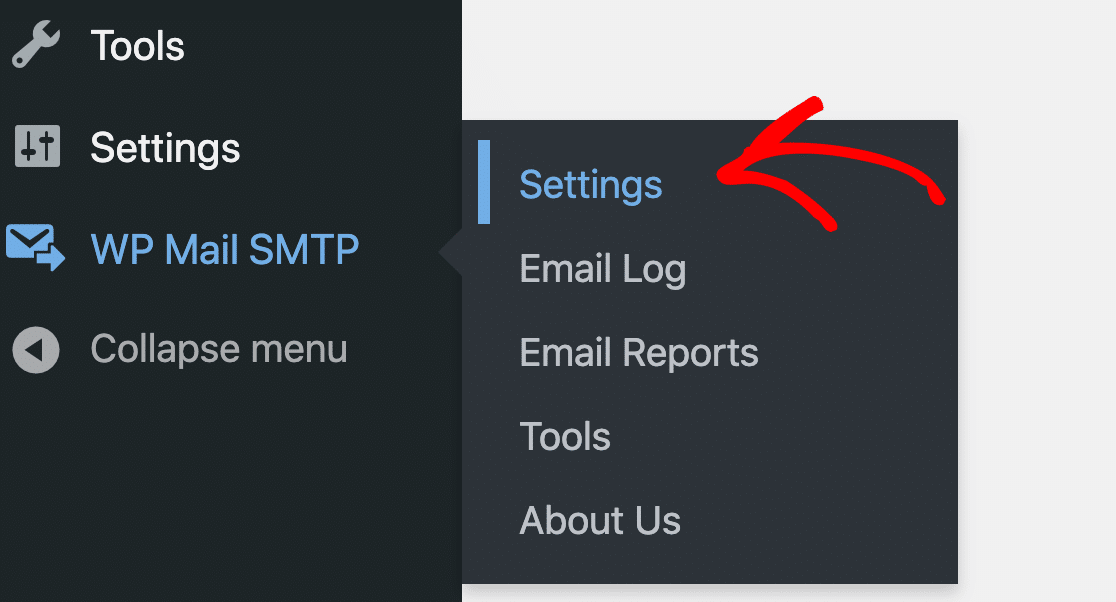
On the top of the Settings page, click on the Email Log tab.

Here, make sure that the Email Log option is enabled.

Now scroll down to view additional email tracking settings. You can enable open and click tracking to collect open and click rate data for every WordPress email you send to users.
With email tracking enabled, you will be able to see engagement metrics for each email right within your WordPress dashboard.
This information is extremely helpful as it allows you to experiment with different subject lines to produce higher engagement levels.
For more information, see our guide on tracking WordPress emails.
And that’s all! You now know how to send email to WordPress users (by role and individually) and also track the performance of your emails from your admin area!
Next, Take Email Tracking to the Next Level
There are only a few WordPress plugins that offer email tracking features. If you’d like to see a quick comparison of the best email tracking plugins, we’ve got a detailed guide just for you!
Also, if you’re being bombarded by spam on your site, check out our WordPress spam prevention tips to tackle this problem.
Ready to fix your emails? Get started today with the best WordPress SMTP plugin. WP Mail SMTP Elite includes full White Glove Setup and offers a 14-day money-back guarantee.
Source :
https://wpmailsmtp.com/how-to-send-email-to-wordpress-users/