Five new security weaknesses have been disclosed in Dell BIOS that, if successfully exploited, could lead to code execution on vulnerable systems, joining the likes of firmware vulnerabilities recently uncovered in Insyde Software’s InsydeH2O and HP Unified Extensible Firmware Interface (UEFI).
Tracked as CVE-2022-24415, CVE-2022-24416, CVE-2022-24419, CVE-2022-24420, and CVE-2022-24421, the high-severity vulnerabilities are rated 8.2 out of 10 on the CVSS scoring system.
“The active exploitation of all the discovered vulnerabilities can’t be detected by firmware integrity monitoring systems due to limitations of the Trusted Platform Module (TPM) measurement,” firmware security company Binarly, which discovered the latter three flaws, said in a write-up.
“The remote device health attestation solutions will not detect the affected systems due to the design limitations in visibility of the firmware runtime.”
All the flaws relate to improper input validation vulnerabilities affecting the System Management Mode (SMM) of the firmware, effectively allowing a local authenticated attacker to leverage the system management interrupt (SMI) to achieve arbitrary code execution.
System Management Mode refers to a special-purpose CPU mode in x86 microcontrollers that’s designed for handling system-wide functions like power management, system hardware control, thermal monitoring, and other proprietary manufacturer-developed code.
Whenever one of these operations is requested, a non-maskable interrupt (SMI) is invoked at runtime, which executes SMM code installed by the BIOS. Given that SMM code executes at the highest privilege level and is invisible to the underlying operating system, the method makes it ripe for abuse to deploy persistent firmware implants.
A number of Dell products, including Alienware, Inspiron, Vostro line-ups, and Edge Gateway 3000 Series, are impacted, with the Texas-headquartered PC manufacturer recommending customers to upgrade their BIOS at the “earliest opportunity.”
“The ongoing discovery of these vulnerabilities demonstrate what we describe as ‘repeatable failures’ around the lack of input sanitation or, in general, insecure coding practices,” Binarly researchers said.
“These failures are a direct consequence of the complexity of the codebase or support for legacy components that get less security attention, but are still widely deployed in the field. In many cases, the same vulnerability can be fixed over multiple iterations, and still, the complexity of the attack surface leaves open gaps for malicious exploitation.”
Source :
https://thehackernews.com/2022/03/new-dell-bios-bugs-affect-millions-of.html
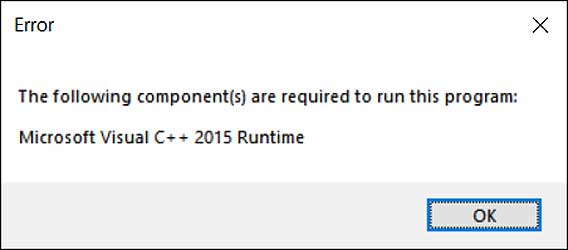
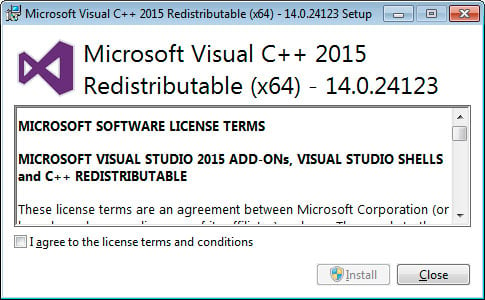 Microsoft Visual C++-2015 Redistributable
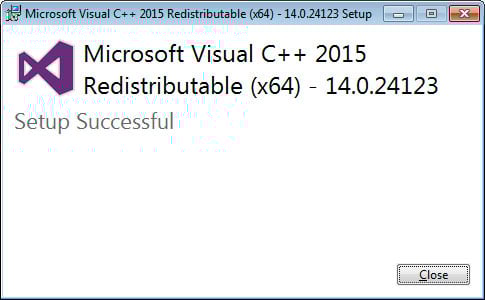 Redistributable Installed
 Enable Start full screen

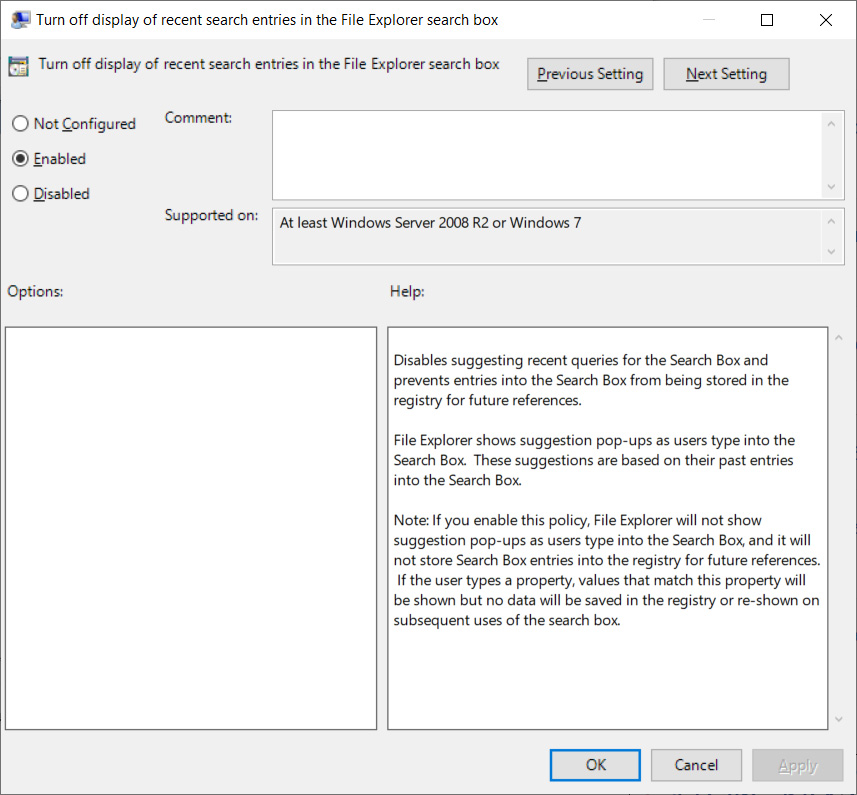
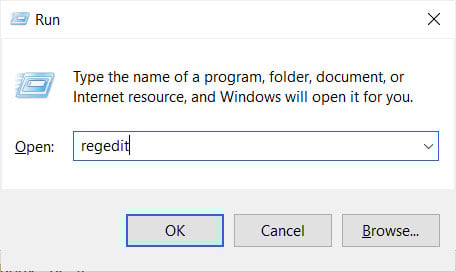 Starting Registry Editor
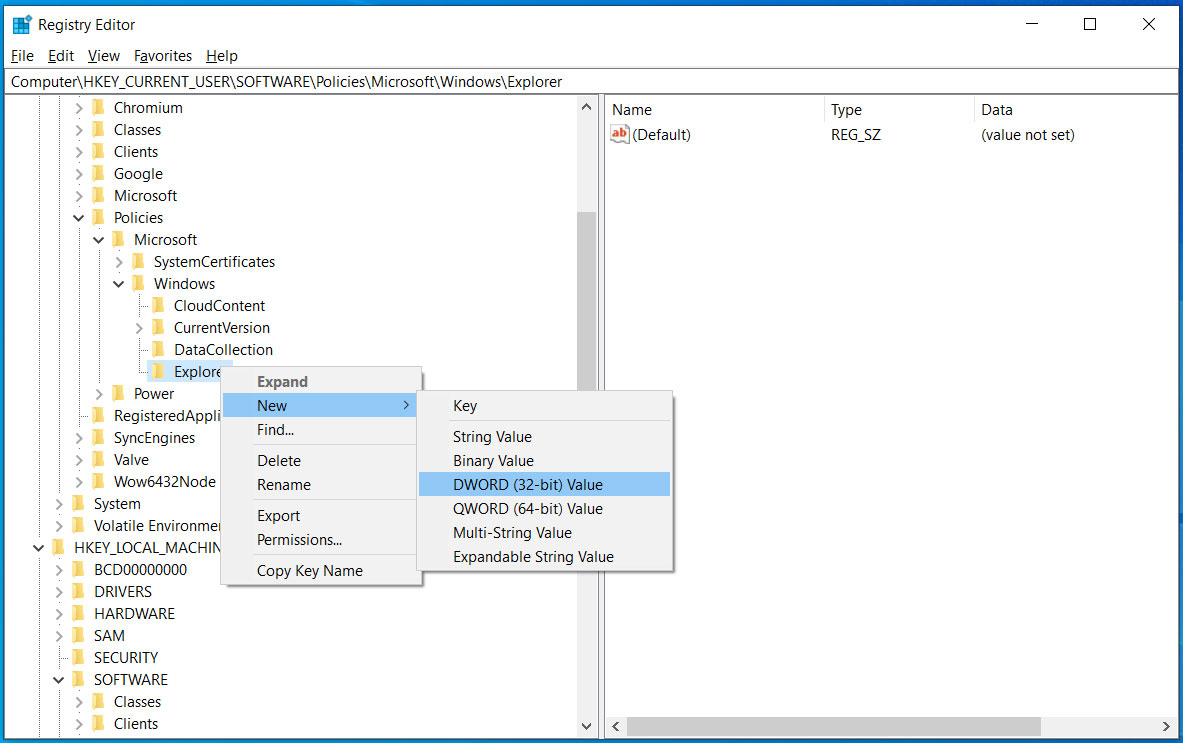 New DWORD value