Updated on 5 mag 2023 Print
Print
Recovery Mode is a last-resort solution to recover an unresponsive UniFi device, often resulting from power loss occurring at the same time as an update. Only use Recovery Mode if you are unable to perform a standard factory reset.
Note: UniFi Power Backup can prevent unexpected power losses from occurring.
The following UniFi devices support Recovery Mode:
- Dream Machine, Dream Machine Pro & Dream Wall
- Access Points (all models)
- Cloud KeyCloud Key Gen2+
- Cameras
- USW Flex Mini
Before Considering Recovery Mode
If you are considering Recovery Mode, first check two key points:
- Reboot your UniFi device. If this resolves your symptoms, no further actions are required.
- Factory reset your UniFi device. If you have cloud backups, you can easily restore your settings after factory resetting. If a factory reset works, no further actions are required.
Performing a Device Recovery
Dream Machine, Dream Machine Pro & Dream Wall
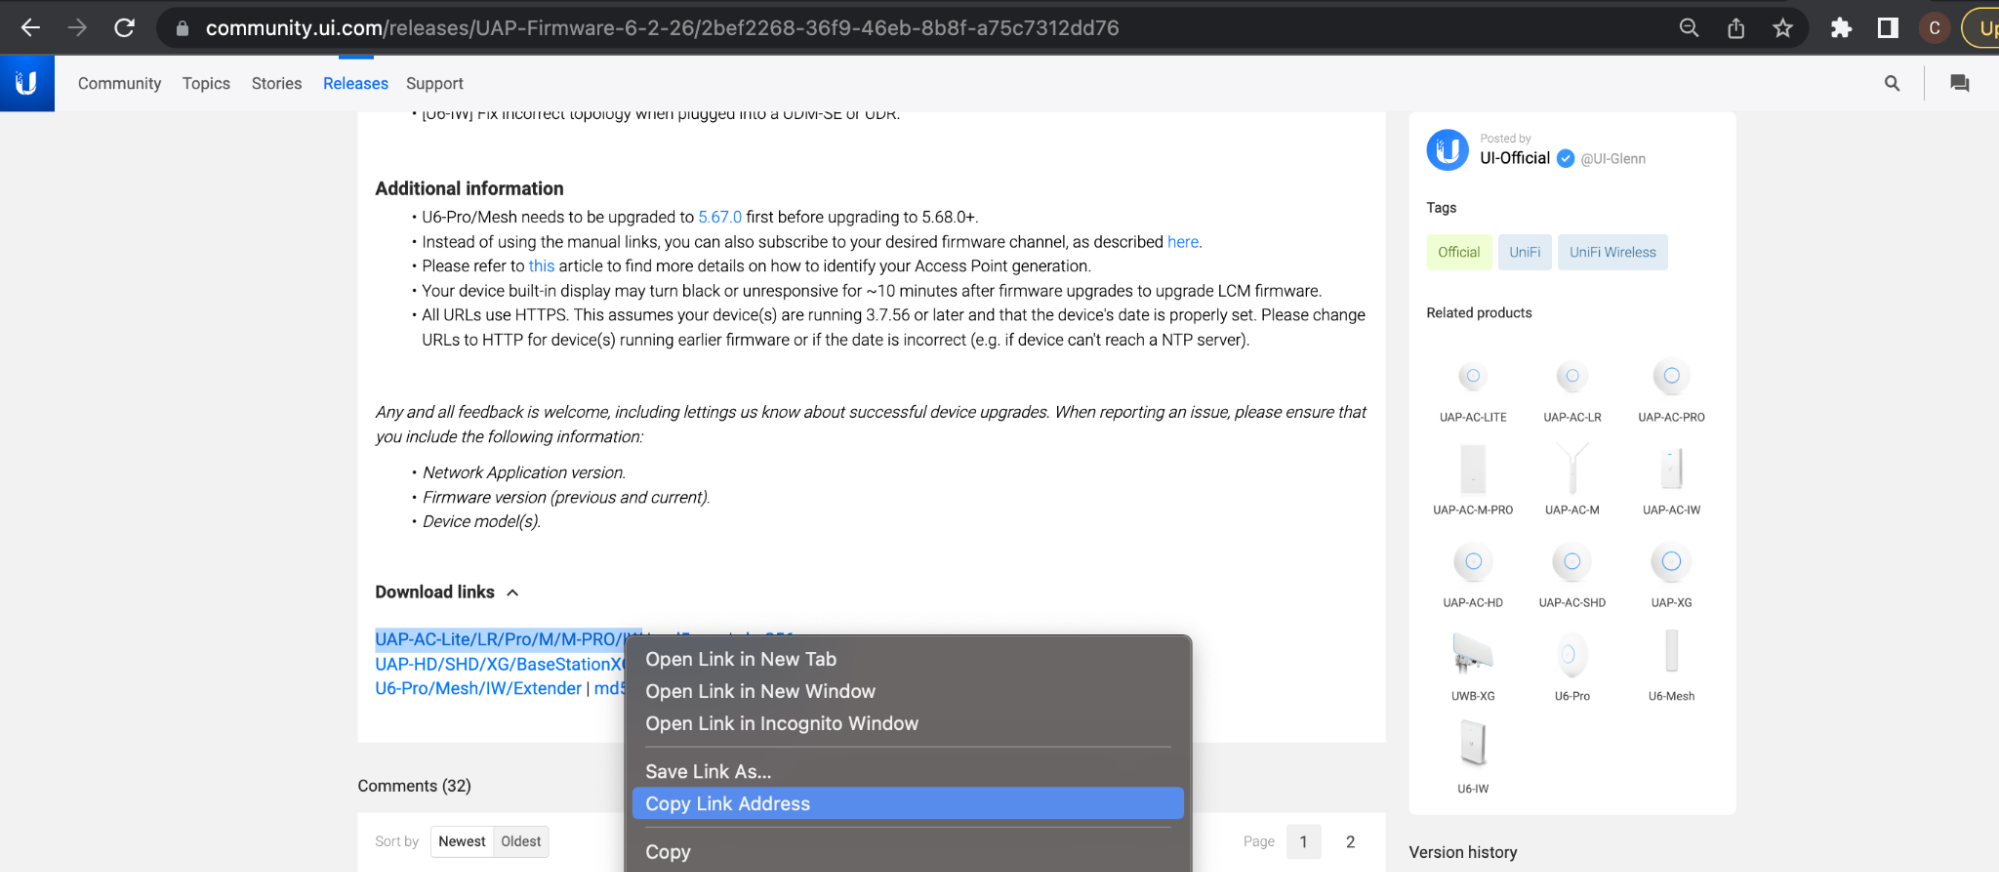
- Download the most recent firmware for your device, found here.
- Completely power-off the UniFi device and unplug it from its power source.
- Press and hold the Reset button and then reconnect it to the power source.
- Continue holding the Reset button for 5 seconds, or until the display (in supported models) indicates Recovery Mode.
- Connect an Ethernet cable from your computer to the first LAN port (Port 1). This is usually the port nearest to the top left corner.
- Note: Connect to the Dream Wall via Port 18, not Port 1.
- Configure a static IP address on your computer in the 192.168.1.0/24 range (for example, 192.168.1.11).
Windows Client
- Navigate to the Windows 10 Network connections
- Settings > Network & Internet > Status > Change Adapter Option
- Modify the IPv4 settings of the Ethernet adapter
- Ethernet Adapter > Properties > Internet Protocol Version 4 (TCP/IPv4) > Propertie
- Select the option to manually enter an IP address and add the following information:
- IP address: 192.168.1.11
- Subnet mask: 255.255.255.0
- Default gateway: <blank>
- DNS servers: <blank>
macOS Client
- Navigate to the mac OS Network connections.
- System Preferences > Networks > Ethernet Adapter
- Select to manually enter an IP address and add the following information:
- IP Address: 192.168.1.11
- Subnet Mask: 255.255.255.0
- Router: <blank>
- DNS server: <blank>
- In a web browser, navigate to http://192.168.1.30 to access the Recovery Mode UI.
- Note: The Recovery Mode UI is accessible via HTTP only (not HTTPS). Your browser may try to redirect your session to HTTPS. Use a different browser if necessary.
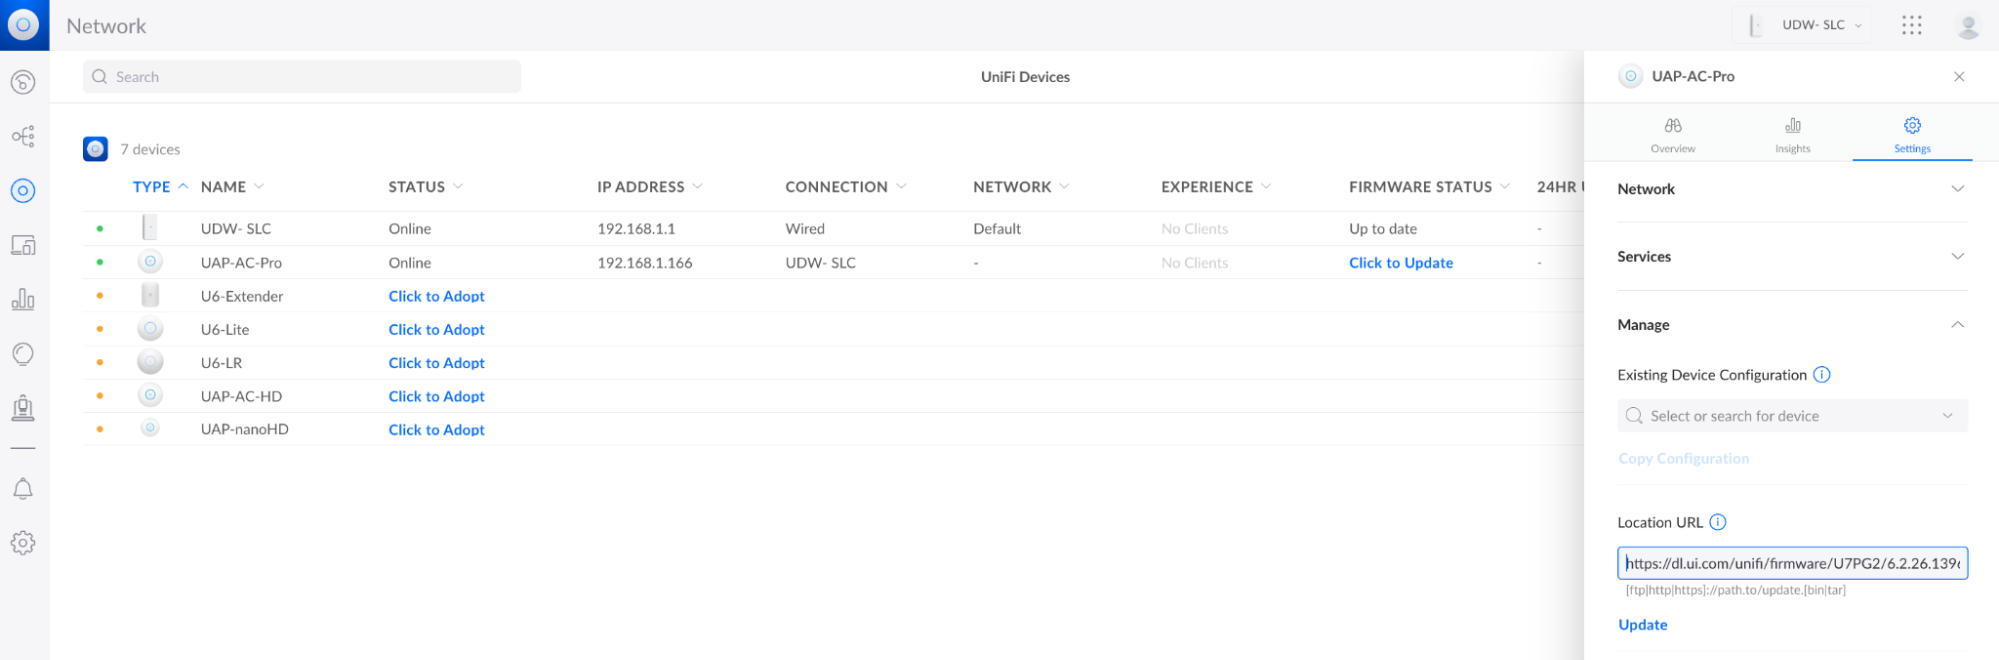
- Select Firmware Update > Choose and browse your computer for the previously downloaded firmware (.bin) image file.
- Wait for the upgrade process to complete and reboot the device afterwards.
Access Points
- Download the most recent firmware for your device, found here.
- Connect your AP and computer to the same network or VLAN, either through a PoE switch or by connecting the computer directly to the network (data) port on the PoE adapter.
- Press and hold the Reset button, and connect your computer to the available ethernet port of the AP.
- Continue holding the Reset button until the LED flashes white, blue, off as indicated in our LED Status Guide. This indicates your device is ready for TFTP Recovery and you can release the button.
- Set a static IP address on your computer to communicate with the AP, which has a default IP address of 192.168.1.20. The following is an example configuration:
- Static IP: 192.168.1.25
Subnet: 255.255.255.0
Gateway: 192.168.1.20
- Static IP: 192.168.1.25
- Use TFTP to move the firmware from your computer to your AP. There are various programs and methods for accomplishing this. Here are two methods for your reference.
- Windows
- Use the built-in TFTP command line tool, or a separate program such as Tftpd64 or pumpKIN.
- Select the downloaded firmware image and transfer it to the AP.
- macOS and Linux
- Open Terminal
- Enter TFTP mode by entering the command:tftp
- Once in TFTP, paste the following commands and hit enter.connect 192.168.1.20
binary
rexmt 1
timeout 60
put /path/to/firmware_name.bin
- Windows
- The file transfer will begin. The firmware will upgrade and the device will automatically reboot once it has finished. Do not reboot it yourself.
Cloud Key
Cloud Key Gen2, Gen2 Plus
- Download the most recent firmware for your device, found here.
- Power off the system.
- Press and hold the Reset button and then connect it to the power source.
- Continue holding the Reset button for 10 seconds, until the LED flashes blue and white. The LCD screen on the front panel will also read “RECOVERY MODE.”
- Open your browser and type the IP address for the Cloud Key, visible on the device’s screen.
- Note: The IP address comes from your DHCP server. If it has not been assigned an IP address, you can try the fallback: 192.168.1.30.
- Run the “Check Filesystem” to try searching for and repairing any problems with your storage disk that may cause system issues.
- Restore the firmware you downloaded in step (1). Note that this will also factory reset your device.
- The LED will flash white while upgrading and turn into a steady white when it is complete.
- If your device fails again, this is a sign that you should replace your storage disk.
Cloud Key (Gen1)
- Download the most recent firmware for your device, found here.
- Power off the system.
- Press and hold the Reset button and then connect it to the power source.
- Continue holding the Reset button for 10 seconds, until the LED flashes blue and white.
- Open your browser and type the IP address for the Cloud Key.
- Note: The IP address comes from your DHCP server. If it has not been assigned an IP address, you can try the fallback: 192.168.1.30.
- If your Cloud Key does have an IP address assigned by the DHCP server, the fallback IP will not work.
- User Tip: If you don’t know your Cloud Key’s IP address, you can use the
arp -aSSH command, or software such as nmap to find the IP address.
- You will be taken to the Recovery Mode screen. From here you can reset, reboot, power off and most importantly upload an updated firmware bin file.
- Upload the firmware you downloaded in step (1).
- Once it is uploaded, reboot the Cloud Key to complete the firmware upgrade.
- The LED will flash white while upgrading and turn into a steady white when it is complete.
Cameras
- Unplug the PoE cable from the camera.
- Press and hold the Reset button, then reconnect the camera to its PoE cable.
- Continue holding the Reset button for at least 10 seconds, or until you see the LED flash 3 times rapidly.
- Release the Reset button.
- The device will automatically reboot to an older firmware.
- To update to more recent firmware:
- Find your specific camera model at our Downloads page using the left hand menu.
- Copy the .bin file link of the firmware.
- Use that link to upload it via the webUI of the camera, in System Settings.
- Alternatively, adopt the camera to your NVR to perform an upgrade via the NVR-hosted UniFi Video user interface.
USW Flex Mini
- Prepare a web server (see below*).
- Set the server/computer’s IP to a static 192.168.1.99.
- The method to set a static IP on a computer varies from platform to platform. Find instructions in your product’s documentation (Windows, macOS or Ubuntu/Linux).
- Download the most recent firmware for your device, found here.
- Rename the binary to fwupdate.bin and place it in the directory that was created earlier (webserver).
- Power off the switch by unplugging it from its power source.
- Press and hold the Reset button and then connect it to the power source.
- Continue holding the Reset button for 10 seconds, until the LED flashes blue, white, off.
- The USW-Flex-Mini should be updated.
* The first step in the recovery process is to prepare a web server. See below for a walkthrough on your operating system: Windows, macOS and Ubuntu/Debian.
Prepare a Web Server on Windows
- Download Python for Windows (Executable Installer) here.
- Open the downloaded file and make sure you select Add Python x.x to PATH during installation.
- After the Python installation open Command Prompt as Administrator and confirm that Python is installed correctly with the command below:
python -V - Create a directory for the web server by running the commands below:
mkdir c:\webserver
cd c:\webserver - 5. Start the Python web server on port 80. Note that the version of Python can be found with the command from step 3:
- Python 3.x:
python -m http.server 80 - Python 2.x:
python -m SimpleHTTPServer 80
- Python 3.x:
Prepare a Web Server on macOS
- Download Python for macOS here.
- After the Python installation open Terminal and confirm that Python is installed correctly with the command below:
python -V - Create a directory for the web server by running the commands below:
cd ~
mkdir webserver
cd webserver - Start the Python web server on port 80. Note that the version of Python can be found with the command from step 2:
- Python 3.x:
python -m http.server 80 - Python 2.x:
python -m SimpleHTTPServer 80
- Python 3.x:
Prepare a Web Server on Ubuntu/Debian
- Install Python on your machine with the commands below:
sudo apt-get update && sudo apt-get install python3 - After the Python installation open a terminal and confirm that Python is installed correctly with the command below:
python_version=$(dpkg -l | grep “^ii” | awk ‘/python/{print$2}’ | grep “^python[0-9].[0-9]$” | head -n1)
sudo “${python_version}” -V - Create a directory for the web server by running the commands below:
cd ~
mkdir webserver
cd webserver - Start the Python web server on port 80. Note that the version of Python can be found with the command from step 2:
- Python 3.x:
sudo “${python_version}” -m http.server 80 - Python 2.x:
sudo “${python_version}” -m SimpleHTTPServer 80
- Python 3.x:
Source :
https://help.ui.com/hc/en-us/articles/360043360253-UniFi-Recovery-Mode